7. Fly away – a bookmark

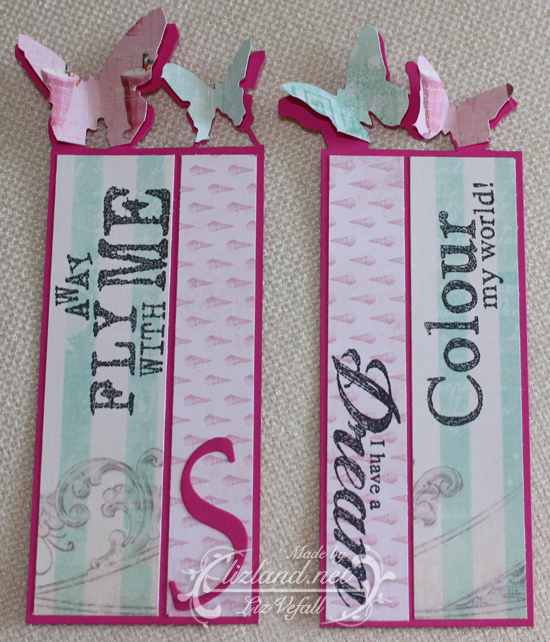
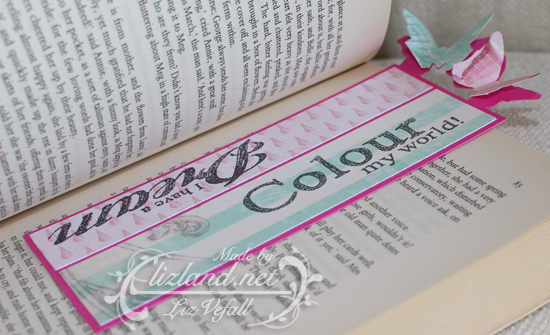
A week into my month of posts, so let’s have something else. What about a bookmark?

It is a very simple bookmark. The stamp is from Mo’s Digital Pencil and coloured in with Copic Markers. I like having very plain, flat bookmarks and this image is perfect as it’s so easy to have your dreams float away as you sit there reading. At least I think so. I love reading and managed to reach my moderate goal of 18 books for 2017 in November, so I guess I will up it to 20 next year.

I think I forgot to write down the colours I used for this (or I’ve just lost the paper..), but I’ll give it a good guess: (skin) E000, E11, E21, (hair) E08, E18, E19, E97, (greens) YG01, YG03, YG63, YG67, (bear) E42, E44, E47, (violets) V04, V06, V09

Lots more bookmarks

A couple of months ago I made some bookmarks. With butterflies. I love using butterflies. Here is a link to that post. This post is to show some more of the bookmarks I made with a very similar style. I used the same Tim Holtz butterfly die. I used paper scraps from various sources. Quite frankly I am glad I found something so useful to make with it. The main difference between these bookmarks and the first one I posted is that these have an added row of pearls on the butterflies to create the body. I also added a letter on some of them, the first letter of the name of the person who was getting the bookmark. I reckon I will soon make up quite a few more. They are very handy to have. Especially for someone like me who is currently reading three books at once!

You can click on the images to view the a bigger photo of each of them.

bookmark006_1  bookmark006_2

bookmark009_1  bookmark009_2  bookmark008_1

bookmark007_1  bookmark007_2

Butterfly bookmarks

So here they are: the new bookmarks I’ve made.

I got challenged by my other half to create something different as I usually only make cards. He suggested bookmarks in particular and I was a little gutted as I couldn’t manage to think of anything I liked the idea of. It was only after I made a card I got the idea for these ones. Butterfly bookmarks! I decided on an entirely random size and started by making the top border, twice. To make it I used a butterfly puncher by Tim Holtz. The bottom butterfly is joined with the actual bookmark, and the top layer is only glued in the middle and cut apart to stand up and make them look like they are flying. To decorate them, I used some stamps I won in a challenge ages ago. They were available at Panduro.

The two I’m posting today are two I made for my sister. She wanted them in pink and turquoise so that’s what she got. Below you can see photos of what they look like, both stand alone and in a book. I have made them in various colour combinations and will post them over the next few weeks.

bookmark005_1

Here you can see what one looks like on a page in a normal sized pocket-book.

bookmark005_2

And this is what it looks like with the book closed. You can see the butterflies popping out, ready to fly away!

bookmark005_3

More corner bookmarks

About half a year ago I made some bookmarks (see the old post here). I made them after I’d found a tutorial which was very simple to use. While making a birthday card for a young lad, I decided to make some matching bookmarks, as he is always happy getting books for Christmas and birthday presents. I decided to try to make the bookmarks from memory, and they turned out surprisingly well as I didn’t use any dimensions or a blank template.

bookmark post thumbnail

Continue reading “More corner bookmarks”

Bookmark – corner

I wanted to make a bookmark to go with a card I made for my other half’s lil cousin who recently broke her arm. If it had been me breaking my arm as a kid I’d have been reading, anyway. Besides, one can never have too many books or bookmarks! Right?

So I went to my mates at Google and wondered if they had any good inspirational bookmarks for me. And boy did I find a good one. I knew the second I saw it that I had found what I was looking for. Wee monsters for munching your pages! They are so adorable! Have a look here for the brilliant tutorial I found!

However, my first attempt didn’t turn out like a proper monster, as I’ve yet to figure out a good way to do the eyes properly. My circle cutter doesn’t make circles small enough. So while I ponder how to do the eyes on the monstermarks, here is my ‘normal’ corner bookmark. This is the front:

Corner bookmark, front.

This is how the back looks:

Corner bookmark, back

Here you can see how it looks on a page:

Corner bookmark, on a page

I love it! It sits really nice on the corner of the page and is not sticking out to get in the way. I’m going to make several for myself.