A thank you card

It has been a while since I coloured up a Wee Stamps image, so I thought I was due using one again. This super cute little girl is one of my favourites and this time I decided on a blue and purple combination!

The Kort og Godt charm, twine, Wild Orchid Crafts flowers, various papers (Lili of the Valley and Pion Design for sure) together with a dash of acrylic paint and an embossed Papirdesign stamp make up this card. I made it for one of my co-workers as her leaving card and the text says thank you very much.

And here is another photo, just for fun.

Copics used: (dress) B91, B95, B97, B99, (hår) E08, E18, E19, E49, E97, (skin) E000, E00, E04, E11, (flower) V01, V05, V06, V09, (yellow) Y04, Y38, YR09, (floor) W1, W3, W5

31. Happy New Year, and how dots make a difference

First off I would like to wish you all a Happy New Year! Go easy on the bubbles with the children around, and take a moment to remember all the good things that happened to you the past year before fretting over a new one. I hope the new year will bring you creative moments and great memories that last a lifetime!

Today I have a simple card I was challenged to do. Well, two, actually. It seems fitting to add today, the last day of the year. It is definitely the day to get the bling on! The challenge I was given, by a fellow Copic Marker Norge design team member, Kjersti B., was to make something metallic. I decided I should try colouring in metallic, and for some reason picked an image with loads of folds in the dress and funky hair. Why not doubling the challenge, right? Oh, and I asked if I should make it sparkle or not, so when she let me choose I decided to do both…

Anyway, here are the finished cards. I’ve used glittery paper around the image on the non-sparkly one, but kept it without embellishments etc. I think the colouring turned out alright as well. It wasn’t too difficult colouring up something metallic. I’ve used an image from Make it Crafty, called Girl with Glass Slipper.
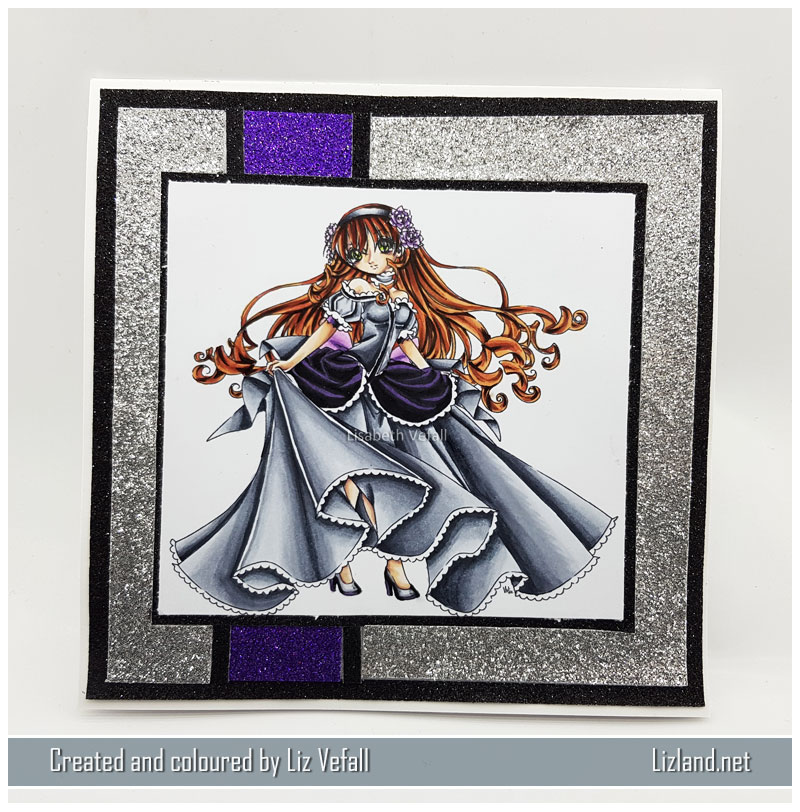
So what about the glittery one? Well, I used the exact same colours for the dress, but I added a whole bunch of dots everywhere. It really sparkles, doesn’t it?! Throwing a lot of dots in the mix can really transform a dress!
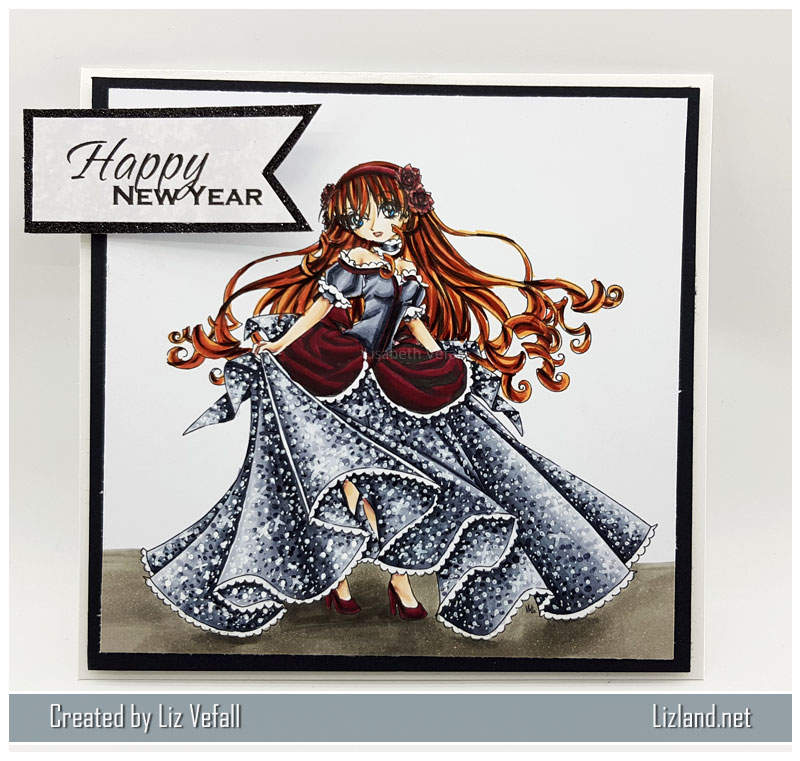
Copics used: (silver) C1, C3, C5, C7, C9, (hair) E08, E18, E19, E49, E97, (skin) E000, E00, E04, E11, E21, (purple on card 1) V12, V15, V17, 100, (red on card 2) R22, R59, R89, W9 + two different white pens.

The bottom card has been entered into the following challenge:

Make it Crafty – Sparkle

***

Thank you so much for picking my card!
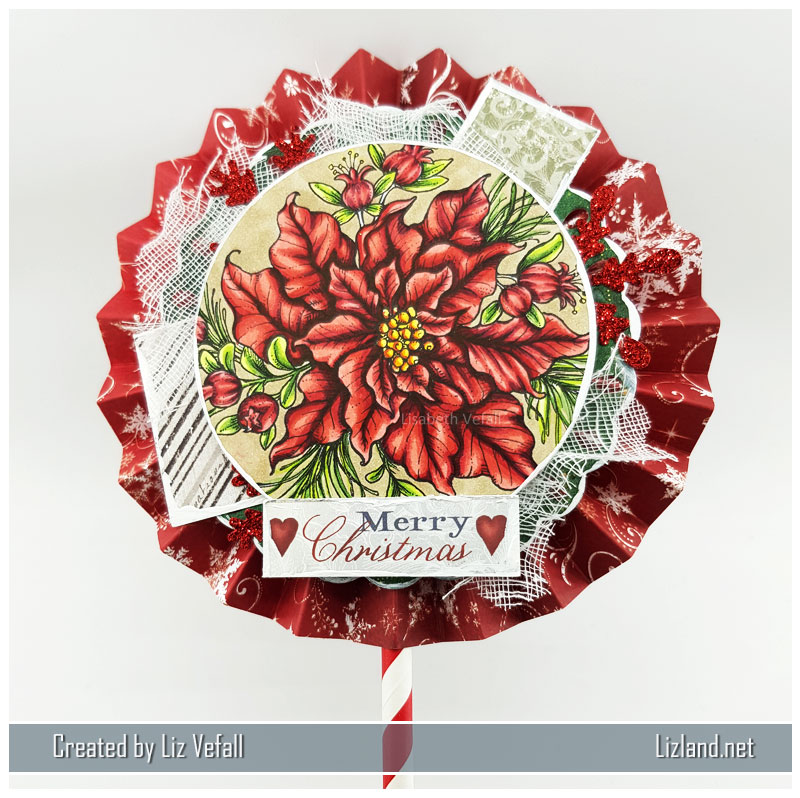
30. Pionsettia lollipop card

Two days ago I had an inspirational post up at Copic Marker Norge where I was showing off two cards made with the same image. The first one appeared here on the 28th and the second is due today. This one is a lollipop card. If you click on the image to the right you can view the post where I added the first of these, which was a clean and simple card. Using one image on two completely different cards is quite fun to do actually!

The image for these two cards was the pretty pionsettia by Power Poppy. I’ve used various paper from Papirdesign, Lemoncraft and Maja Design for this one. Some memory box showflakes in red glitter, cheese cloth and white acrylic paint help make up the card.

Copics used: (red) R22, R24, R27, R59, R89, (green) YG00, YG03, YG63, YG67, (yellow) Y13, YR16, E08, (background) E43


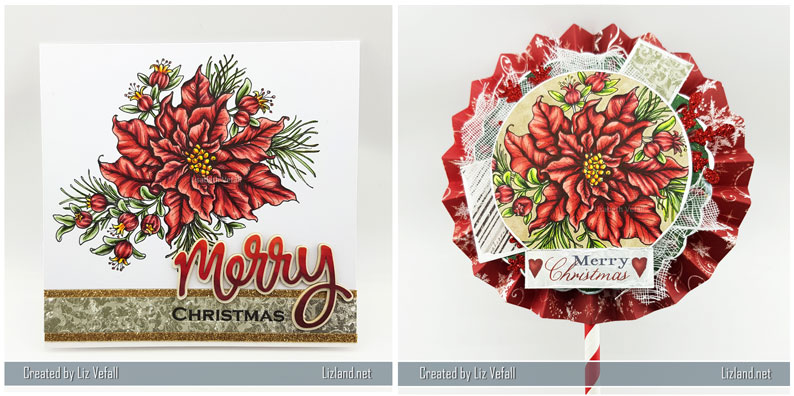
Here is a photo of the two next to each other. As you can see, I have also angled the flower a bit different on the two projects.

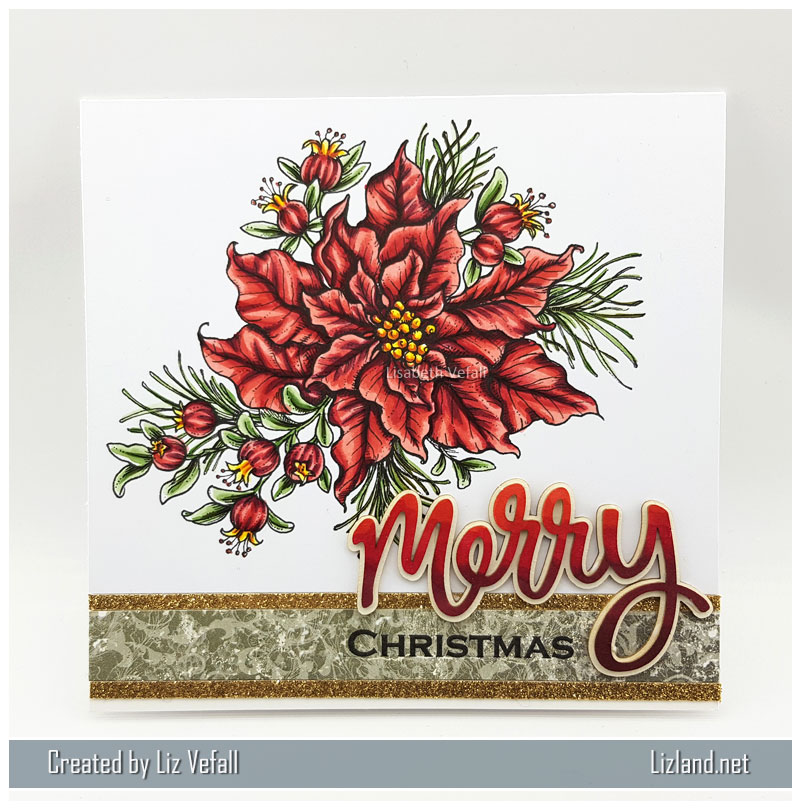
28. Poinsettia, clean and simple

It is my turn for another inspirational post on Copic Marker Norge today and as we rarely have any projects with coloured flowers I decided it was time for just that. I made two projects using the same image. I will show off one of these on my blog today. The other one will appear in two days, on the 30th. If you’d like to sneak a look of the other project just pop over to CMN to see them both at once today.

I’ve used this super pretty poinsettia from Power Poppy. It was a lot of fun colouring it up. I’ve decided to keep the card super simple with just a couple of stripes of glitter to frame the Maja Design paper I printed Christmas on. The gorgeous chipboard is from Make it Crafty.

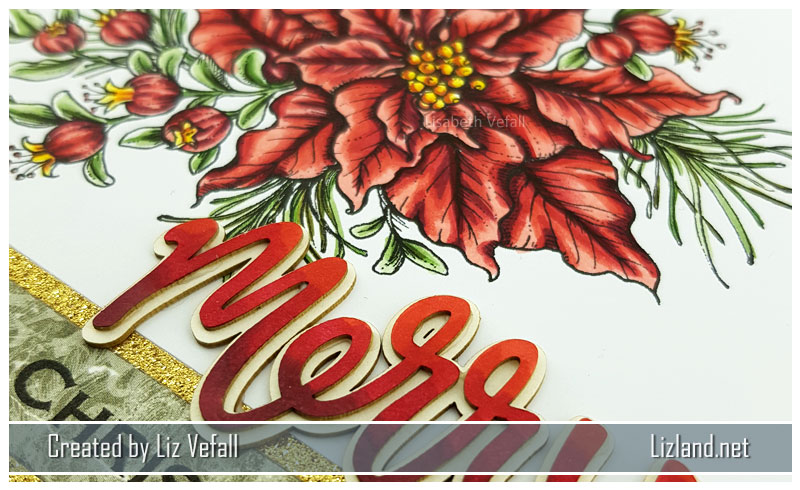
Let’s have the funky view as well, because it looks super cool with the chipboard! I coloured the chipboard with the same reds as on the poinsettia, apart from the lightest colour.

Copics used: (red) R22, R24, R27, R59, (green) YG61, YG63, YG67, YG99, (yellow) Y13, Y19, YR16, E08

20. Magnolia, first time ever

Some of you know that I have not been a fan of Magnolia. I mean, I think they’re super cute and all, but I’ve never felt like colouring one up.

Until now.

I decided to surprise my fellow DT (and some of its followers) on Copic Marker Norge for the last of my days for our Christmas/Advent calendar this year by finally buying a stamp and colouring it up. I can tell you it took quite a while to pick it out at the shop! Here you can see the card I made with it. And what’s worse? It didn’t go horribly wrong, so I may own more than one of these in the future! We shall see! For now I am happy with the one!

I have kept the card reasonably simple, just layered up a lot of various papers. Most of the papers are by Maja Design. I simply LOVE this collection. It suits me perfectly and they are just exactly how I want them for my Christmas cards! The acrylic paint is a trusted friend for my Christmas cards, as is the twine and charm. I love this tree! It is from Kort og Godt. The jul stamp is by Norsk Stempelblad. I’ve also used some card candi by Craftwork Cards. There’s a fair bit of distress ink added to the image along with frantage for a cold winter effect. Here is a view from the side.

Copics used: (skin) E000, E00, E04, E21, R20, (hair) E25, E27, E29, E34, E41, (red) R22, R24, R27, R59, (green) YG61, YG63, YG67, G99, (grey) W1, W2, W3, (jacket) E71, E74, E77, E79, (ground effect) W0, W1, W2, W3, W5, W7