LLLC Ballerina Box

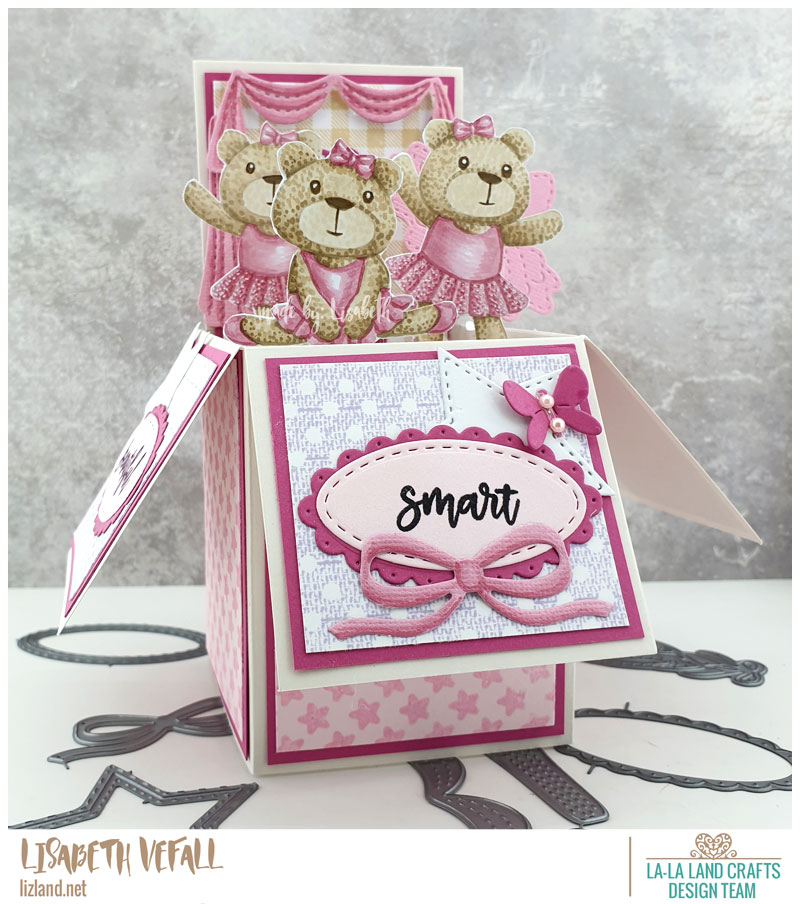
Friday again already and that means La-La Land Crafts day. This week we are to make something 3d, so I decided to make a box card. I have made one of these before, last year, for a boy, so this time it’s girly girl.

Stamps:
Tutu Cute
Good Vibes Only clear stamp
Just For You background stamp
Hello Lovely background Stamp
Shine Bright background stamp

Dies:
Pierced Scalloped Ovals
Double Stitched Ovals
Tutu
Ballet Slippers
Stage Curtain
Double Stitched Stars
Jingle Bells Wreath
Mini Butterflies

Copics used: E41, E42, E43, E44, R81, R83, R85

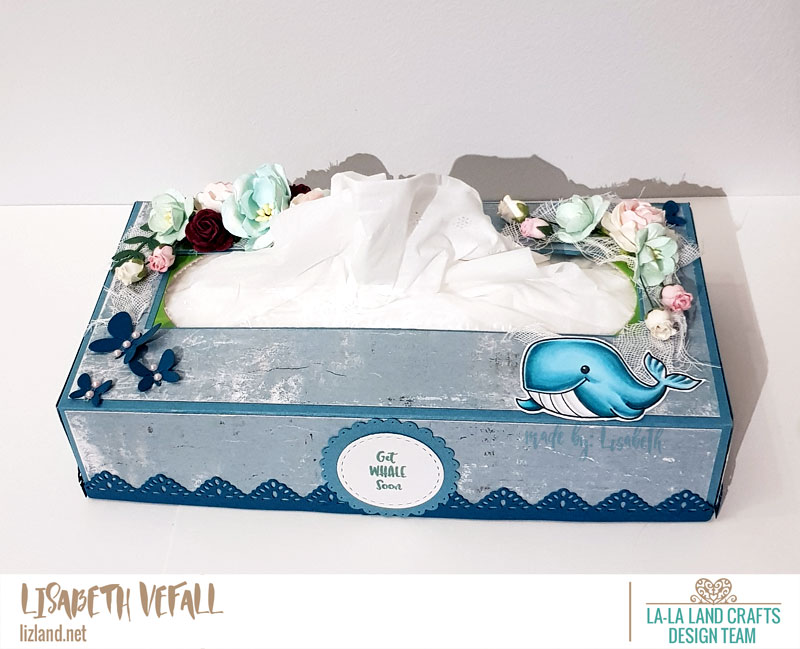
LLLC: Get whale tissue box

For this week’s inspiration at La-La Land Crafts we had to make a 3D project. I opted for making a tissue box cover. I’ve deliberately made the cut out part square so that I can easily see which type of tissues I have in the box (as the actual tissue boxes are in different colours). As usual I decided to do it all myself. I did not write down the measurements I used as I figure there are loads of tutorials on this out there. If I am wrong, just let me know and I’ll make another and do a tutorial for it, too. You can find all the LLLC products I used at the bottom of the page. In addition I used Wild Orchid Crafts flowers and Maja Design and Bazzil paper.

Also, did you know that La-La Land Crafts is having a sale this weekend? The Labor Day sale lasts through 4th September and you get 20% off by using the code LD2018. No exclusions! Sounds great to me!
*promo must be applied to receive this discount
*cannot be combined with other offers/promotions
*not valid on previous orders
*not valid on Club La-La Land Crafts Kits and subscriptions
*not valid for classes and events
*not valid for wholesale

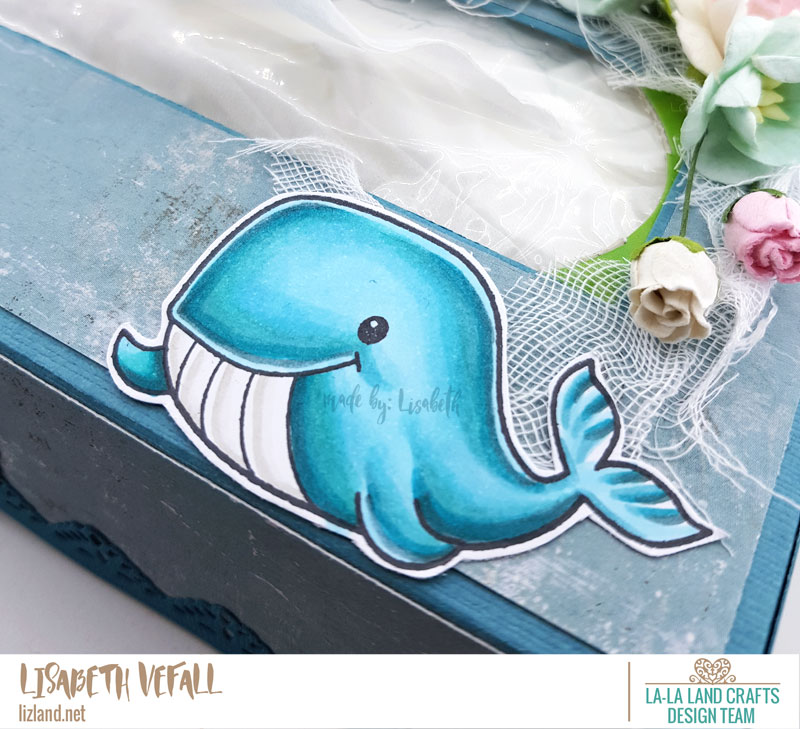
My favourite whale had to get a spot! It fits the sentiment too well to leave out. You can find the list of Copic colours at the bottom of the post.

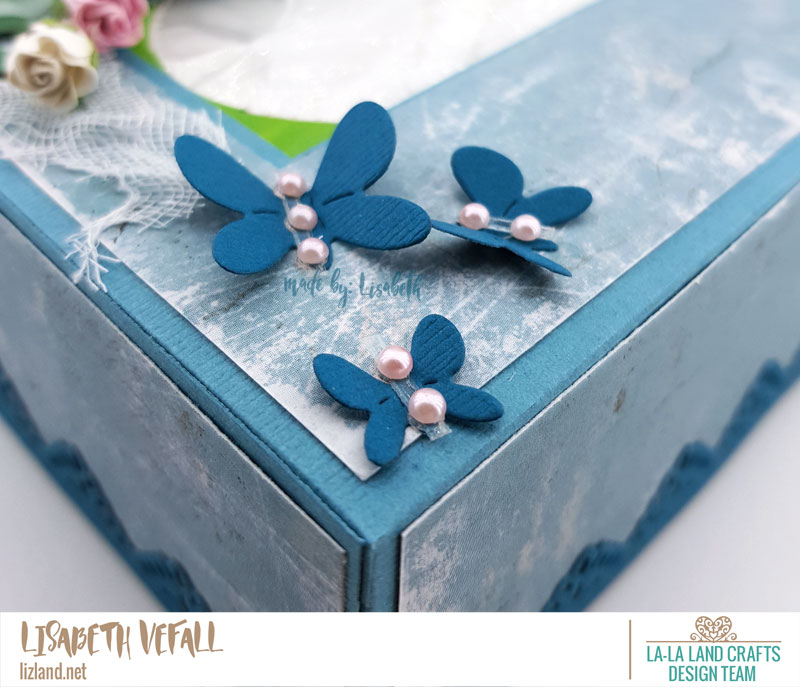
The bottom left corner has three butterflies. I do love these little butterflies.

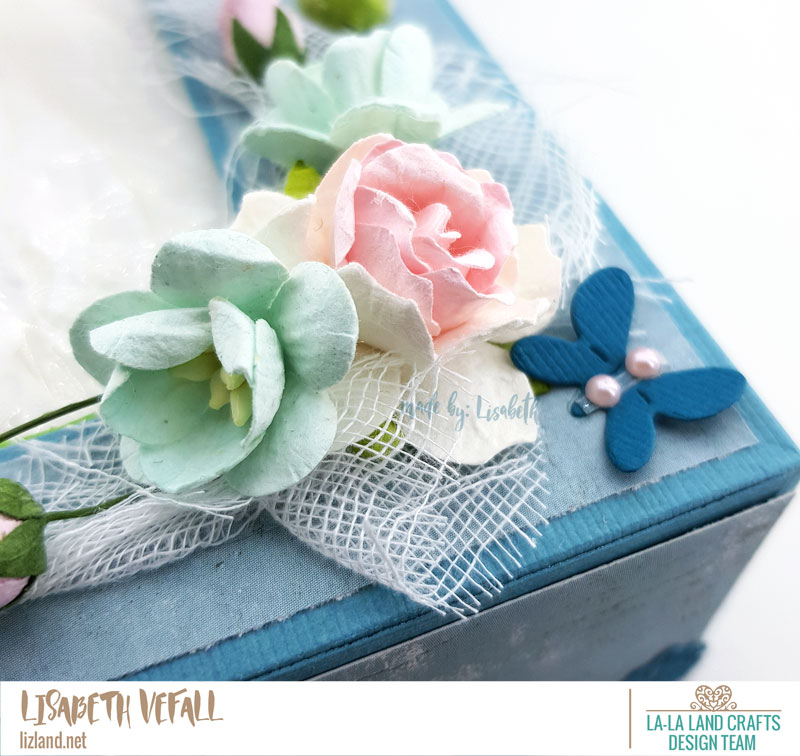
The larger floral arrangement is in the top left corner. I’ve used a couple of leaf dies and some cheese cloth as well

The other top corner also holds flowers, but as a smaller arrangement and with a butterfly.

Stamp:
Jaws Because clear stamp

Dies:
Two Branches
Pierced Scalloped Circles
Triangle Lace Border
Mini Butterflies
Long Flags
Stitched Nested Circles

Copics used: B00, BG15, BG49, BG53, BG57, BG78 W1, W3

Superhero box card

So, I got a request to make something. A box card, for a young lad. Considering I hardly every make anything for boys, and never had made this type of box before, of course I had to say yes! Haha.

I followed a great tutorial by Jenny at LaLa Land Crafts. It was very easy to follow and my box looks just like it should!

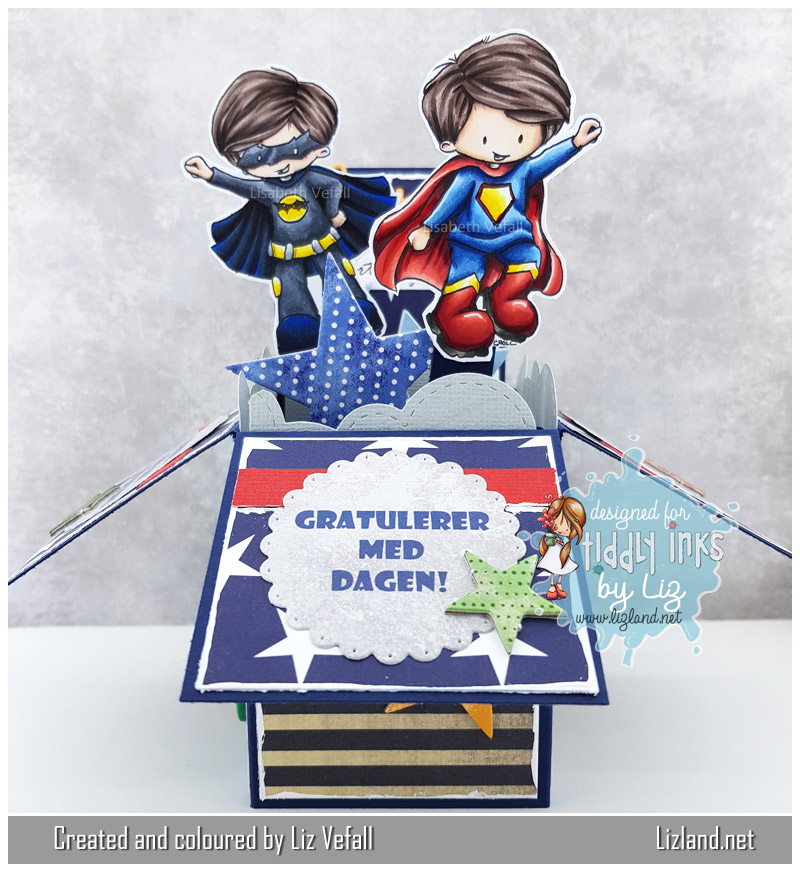
The products I’ve used are two stamps by Tiddly Inks, My Batty Hero and My Super Boy. They have been coloured in with Copic and then cut out by hand. The stars are by Papirdesign, the Happy, cloud and scalloped circle dies are from La La Land Crafts. Let’s look at the box!
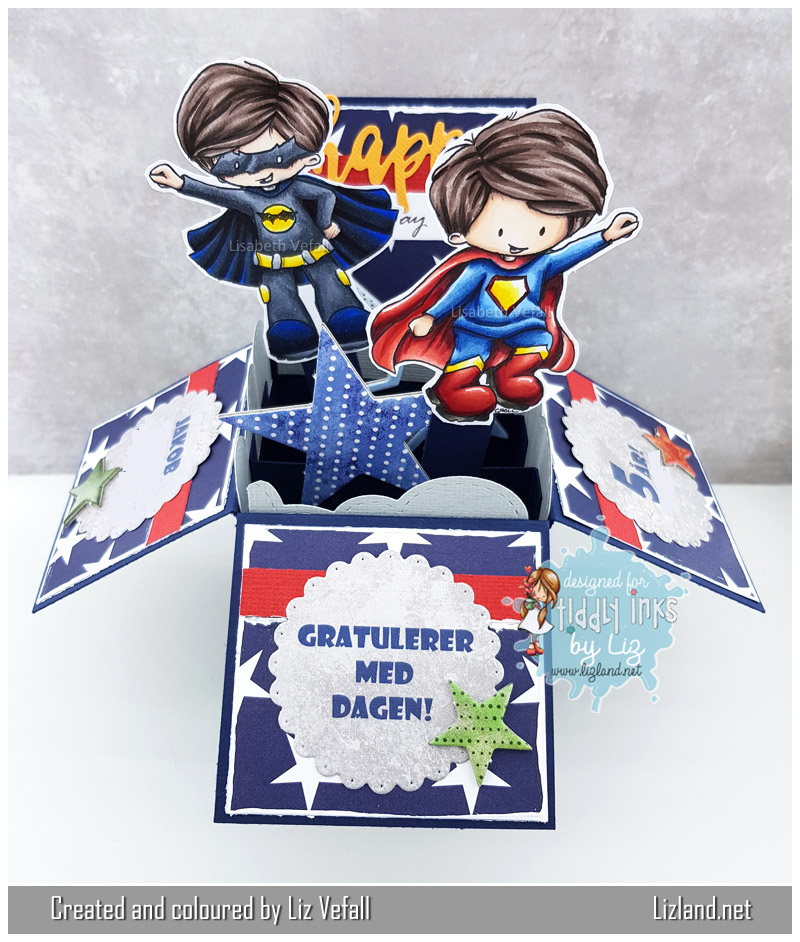
Here you can see the box directly from the front:
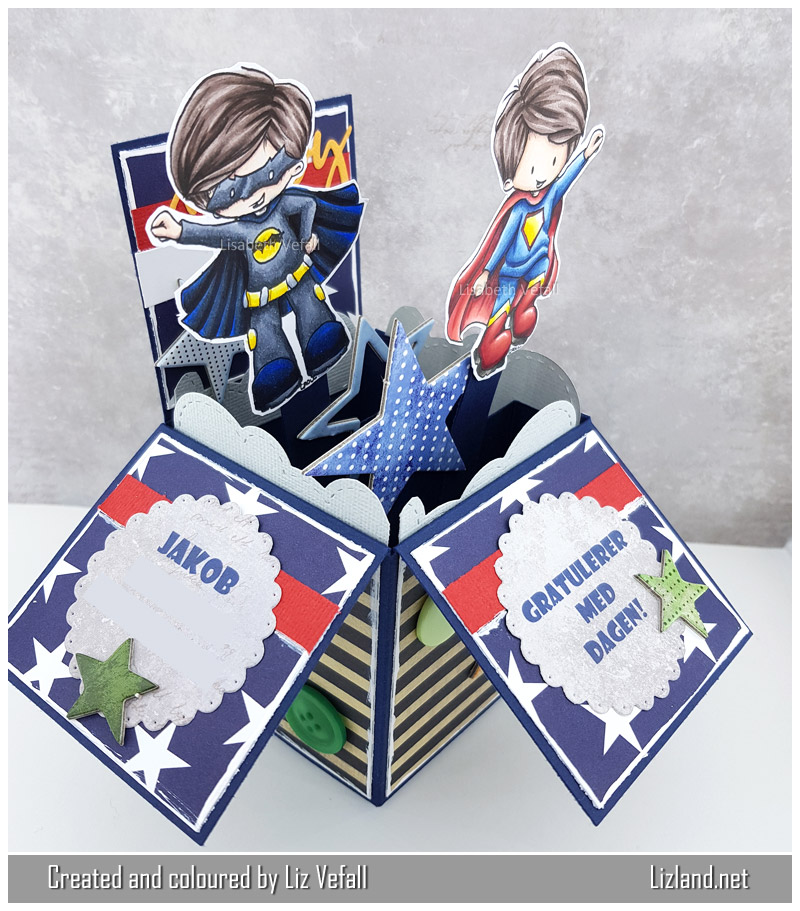
From the left side you can see how the images pop up. The boy’s first name has been left on the photos as per the recipient’s request.
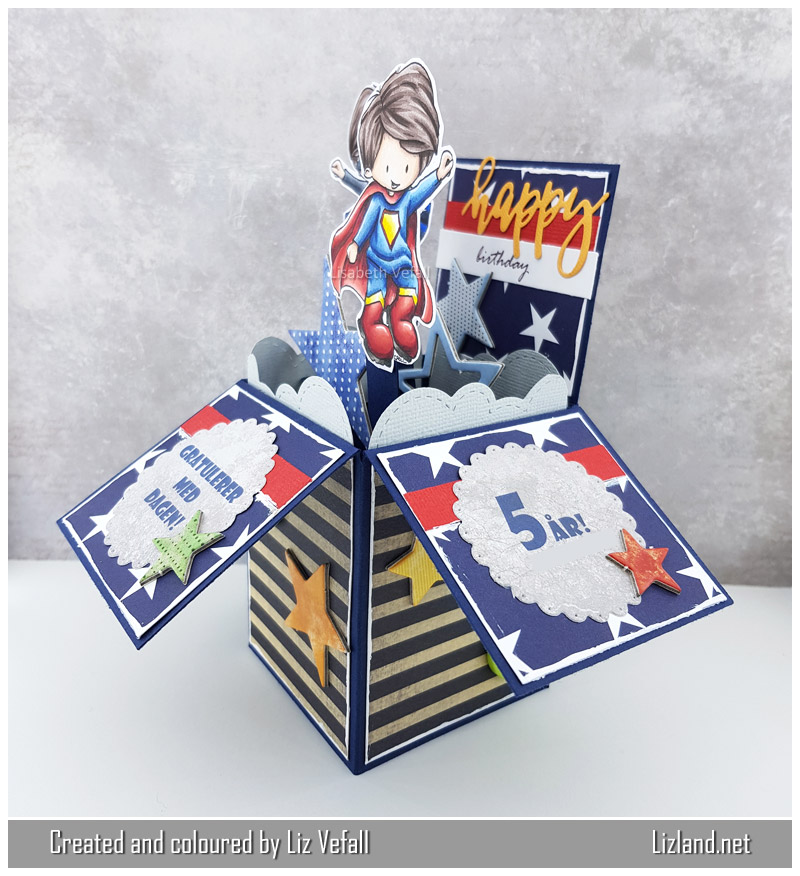
And from the right side you can see the bit behind them quite well with the English birthday greeting and die:
Here is a close-up view of the bottom of the box:
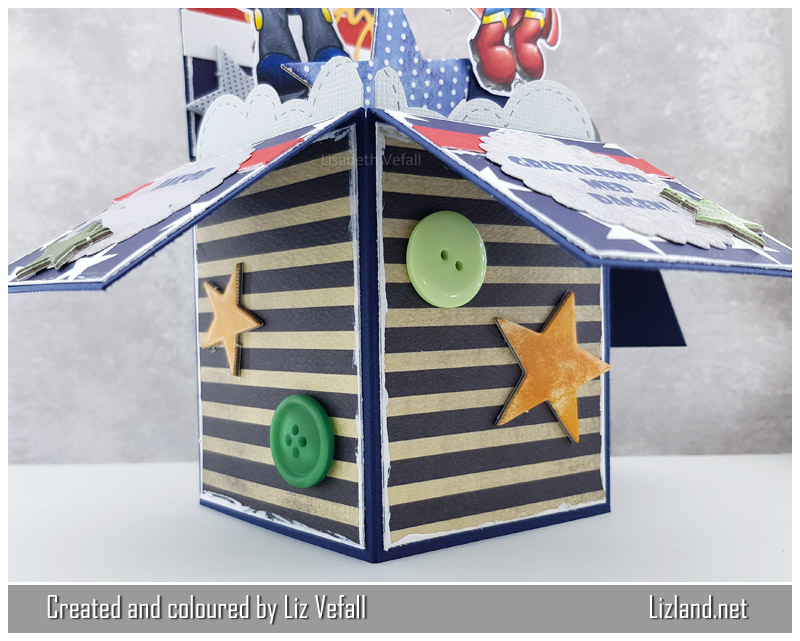
See how nicely it folds down? That made it easy to send it by post!
Superman: (skin) E000, E00, E13, E04, (hair) E71, E74, E77, E79, E49, (outfit) B32, B34, B37, B39, R22, R24, R27, R29, R89, Y13, Y19, W5, W7, W9

Batman: (skin) E000, E00, E04, (hair) E71, E74, E77, E79, E49, (outfit) B28, C3, C5, C7, C9, 100, Y13, Y19
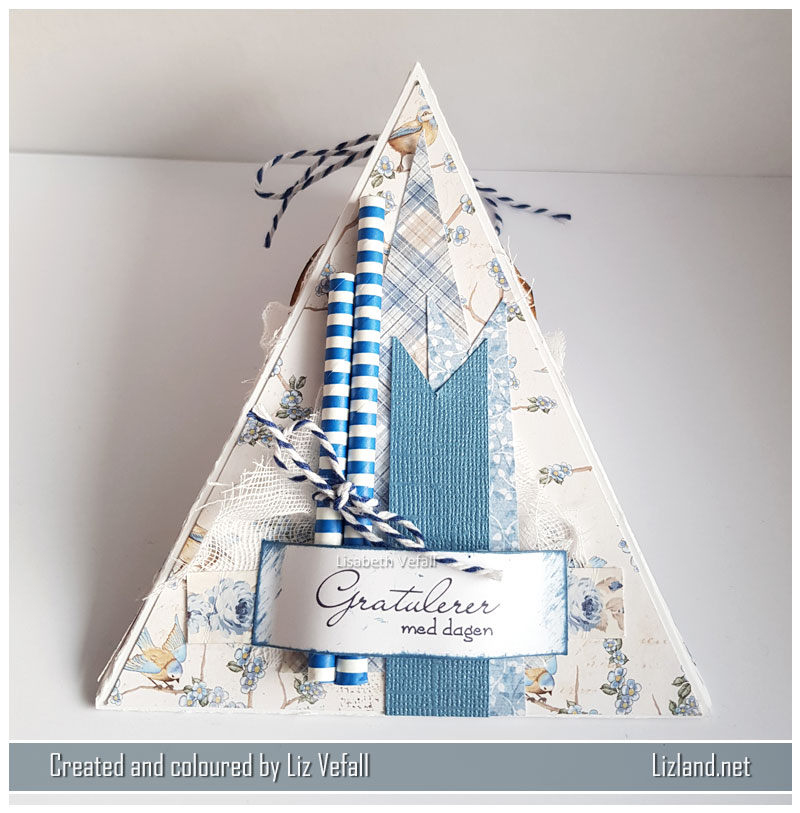
Box for a small gift

So here is something that doesn’t happen very often, a non-card project and no colouring! I made this box by request from a co-worker. She really likes the colour blue so I wanted to make it in that colour for her. It was to be given to a couple who were both celebrating their 50th birthday.

I used various blue papers and made a sentiment myself. I cut a paper straw in half and died some twine around it. A bit of cheesecloth, chipboard and blue distress ink helped make up the rest of the box.

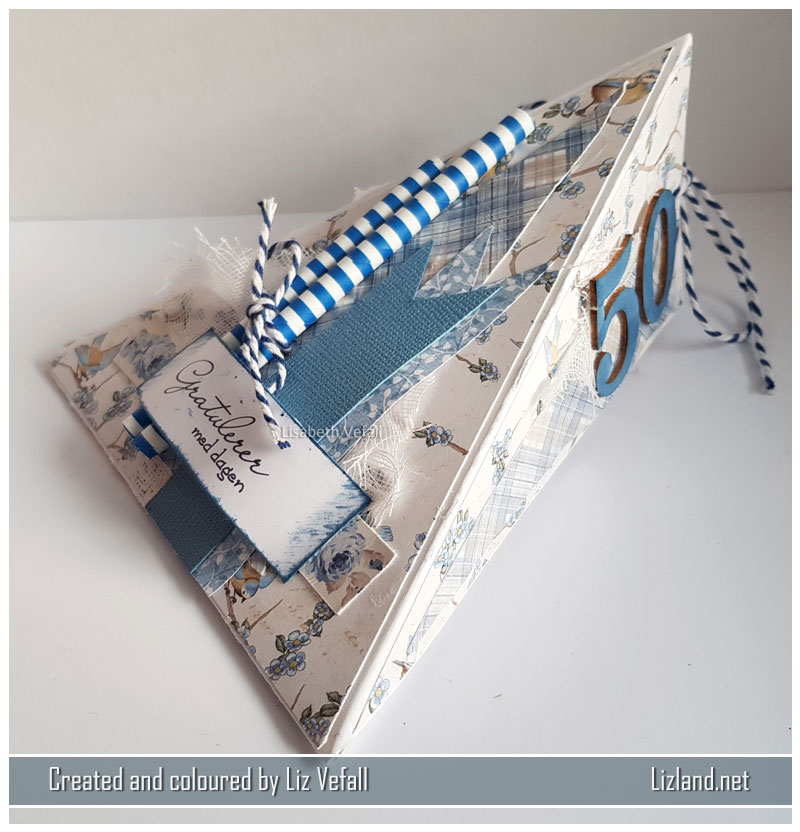
Here you can see the side and front of the box at the same time:

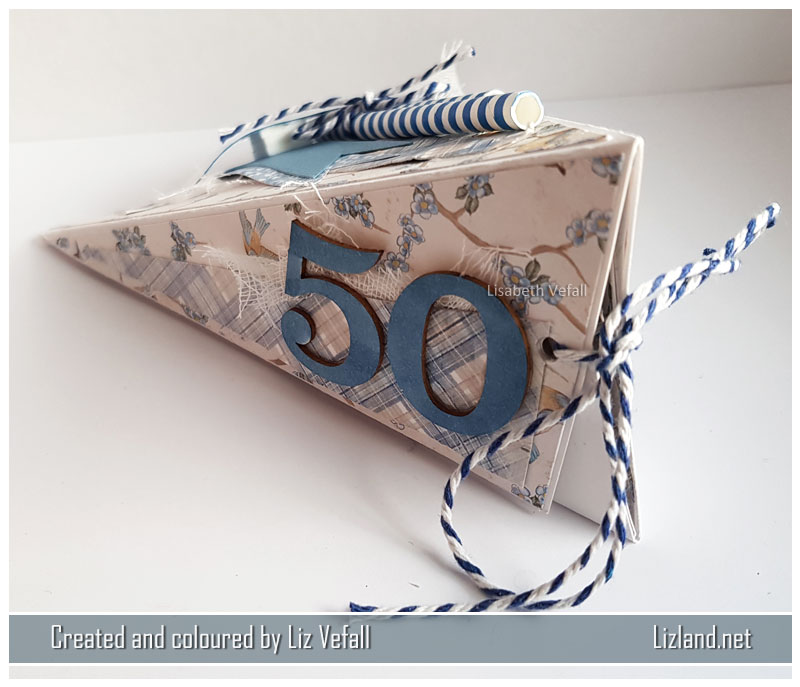
The box is easy to open. Just untie it!

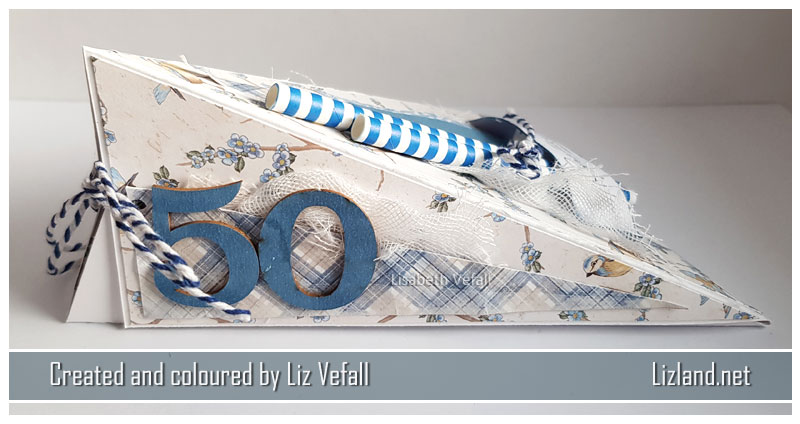
As you can see, I added the number 50 to each side. One for each of the two people celebrating their birthday.

Would you like to try to make one? I’ve added a template here.

16. Blue triangle box with snowman

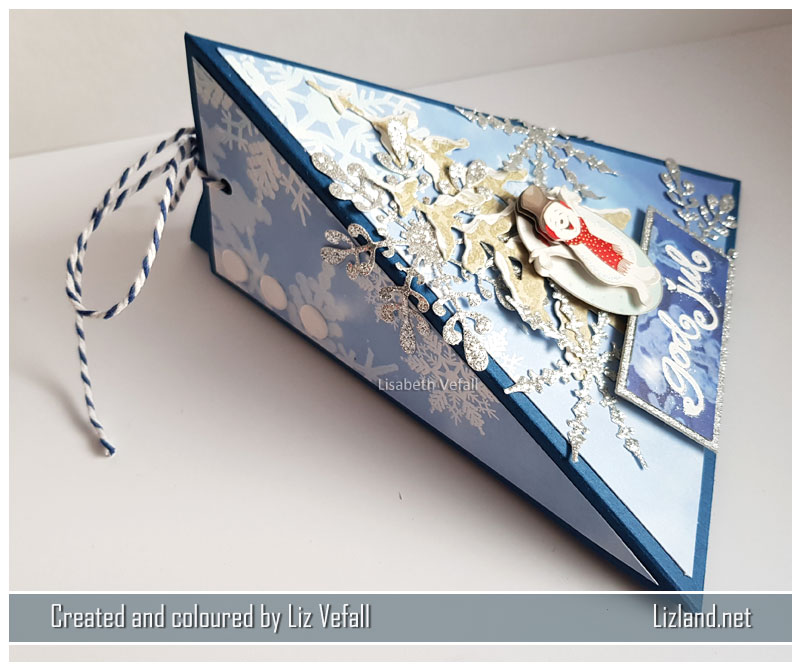
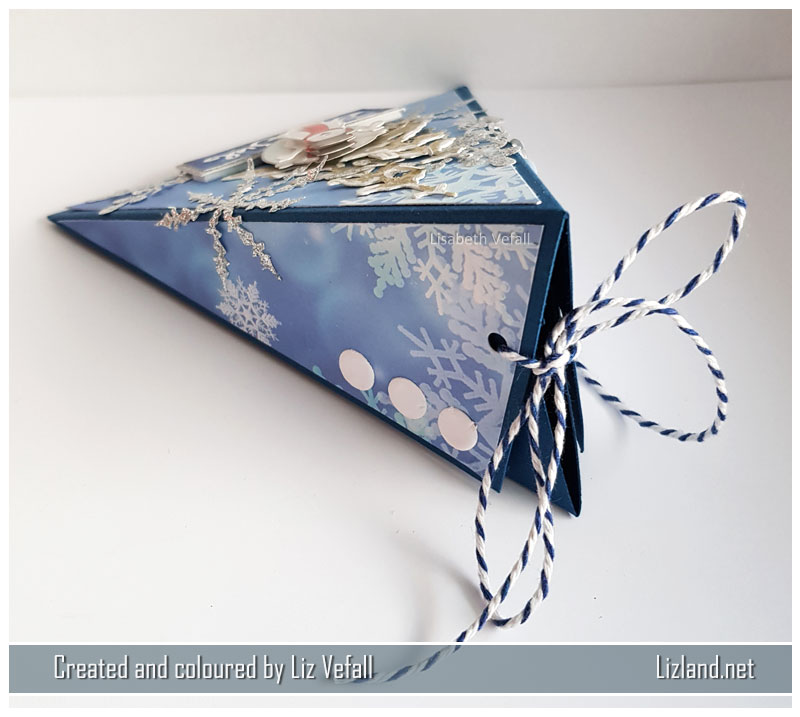
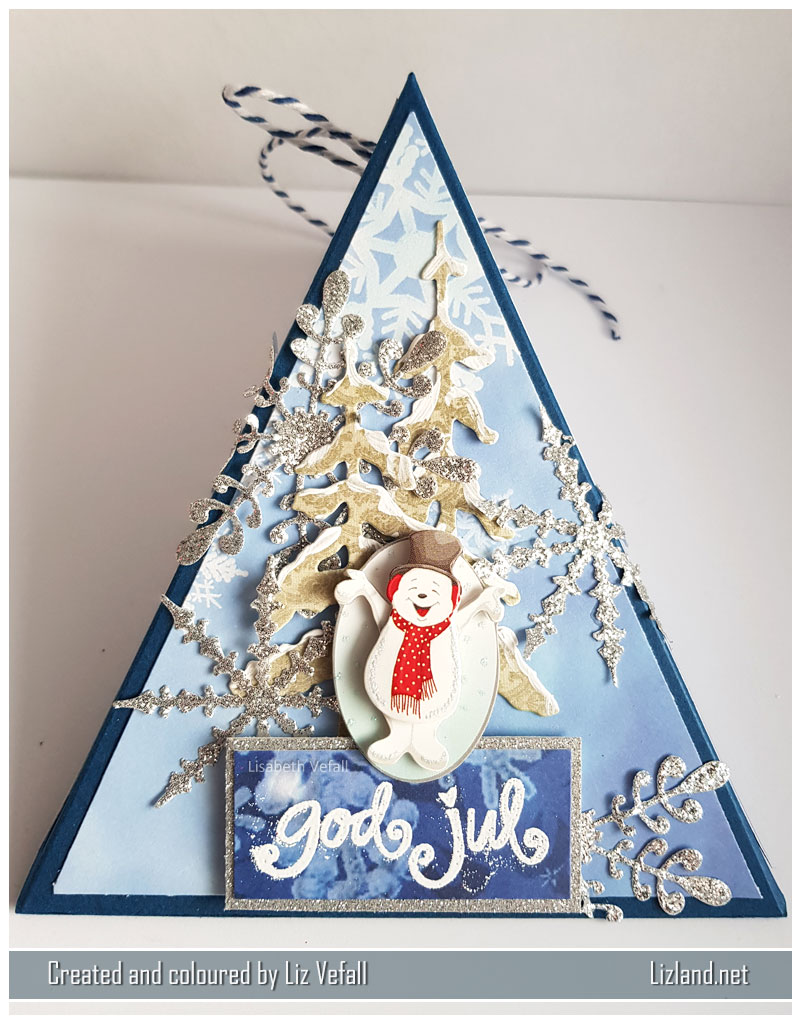
After my co-worker challenged me to make the triangular shaped boxes, I’ve made a few more. This is the very first one of them that I made. She likes blue very much, so that was the obvious colour for the box. I’ve decorated it with various Noor Design dies, a Panduro snowman sticker, Norsk Stempelblad stamp, some twine and Craftwork Cards candi.

This is where you can open the box. You simply untie the string and open it up.

Here is a photo from the front of the box.