Superhero box card

So, I got a request to make something. A box card, for a young lad. Considering I hardly every make anything for boys, and never had made this type of box before, of course I had to say yes! Haha.

I followed a great tutorial by Jenny at LaLa Land Crafts. It was very easy to follow and my box looks just like it should!

The products I’ve used are two stamps by Tiddly Inks, My Batty HeroΒ andΒ My Super Boy. They have been coloured in with Copic and then cut out by hand. The stars are by Papirdesign, the Happy, cloud and scalloped circle dies are from La La Land Crafts. Let’s look at the box!
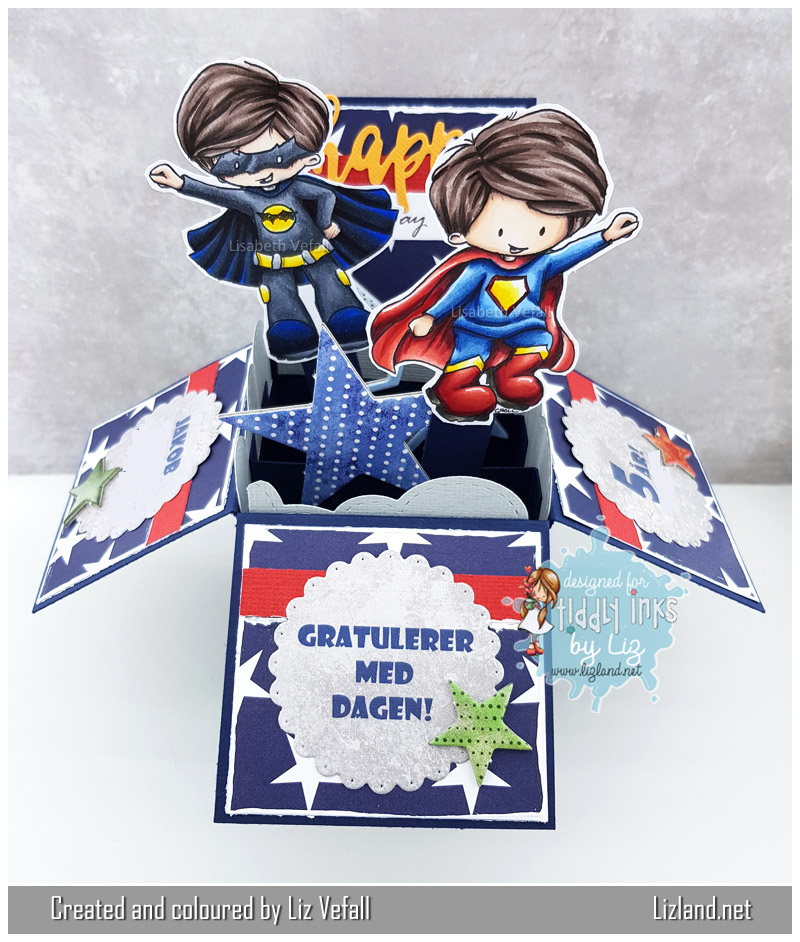
Here you can see the box directly from the front:
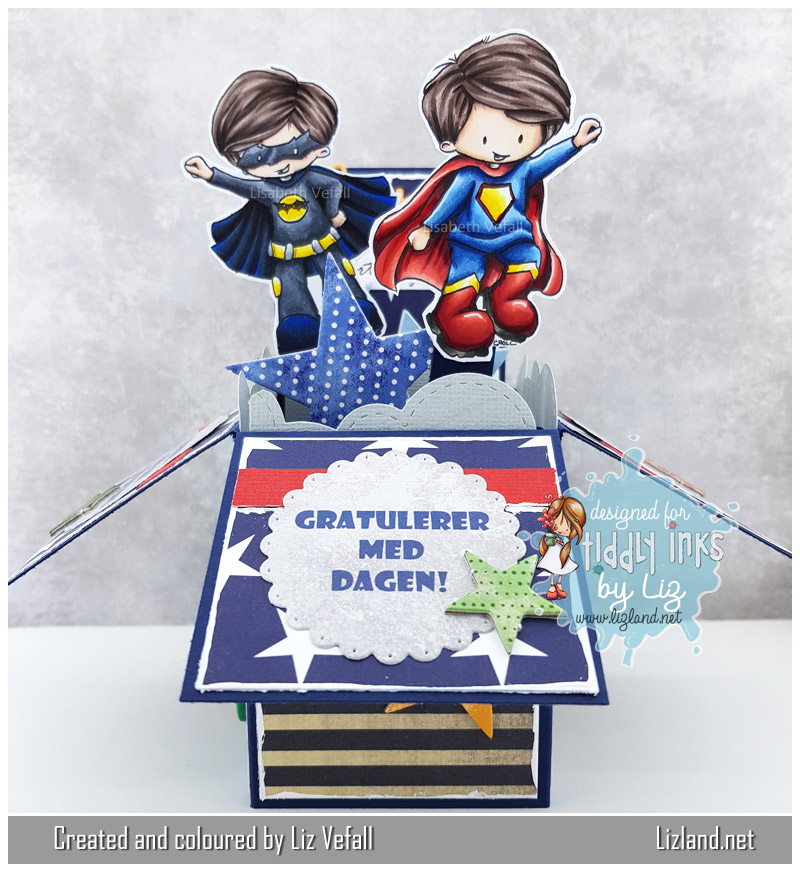
From the left side you can see how the images pop up. The boy’s first name has been left on the photos as per the recipient’s request.
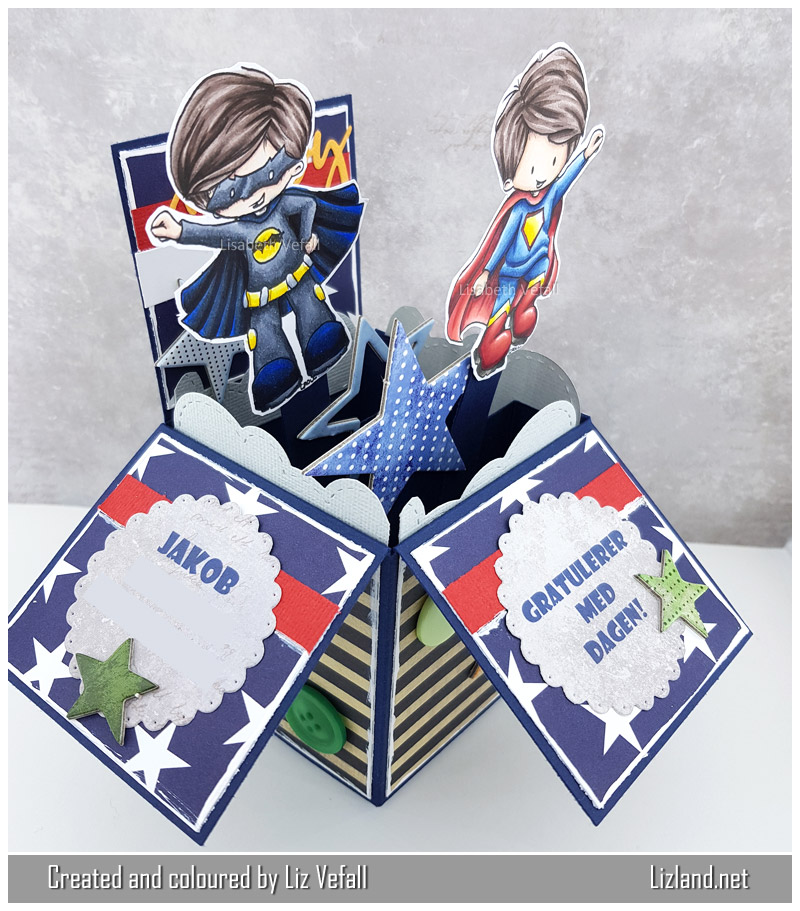
And from the right side you can see the bit behind them quite well with the English birthday greeting and die:
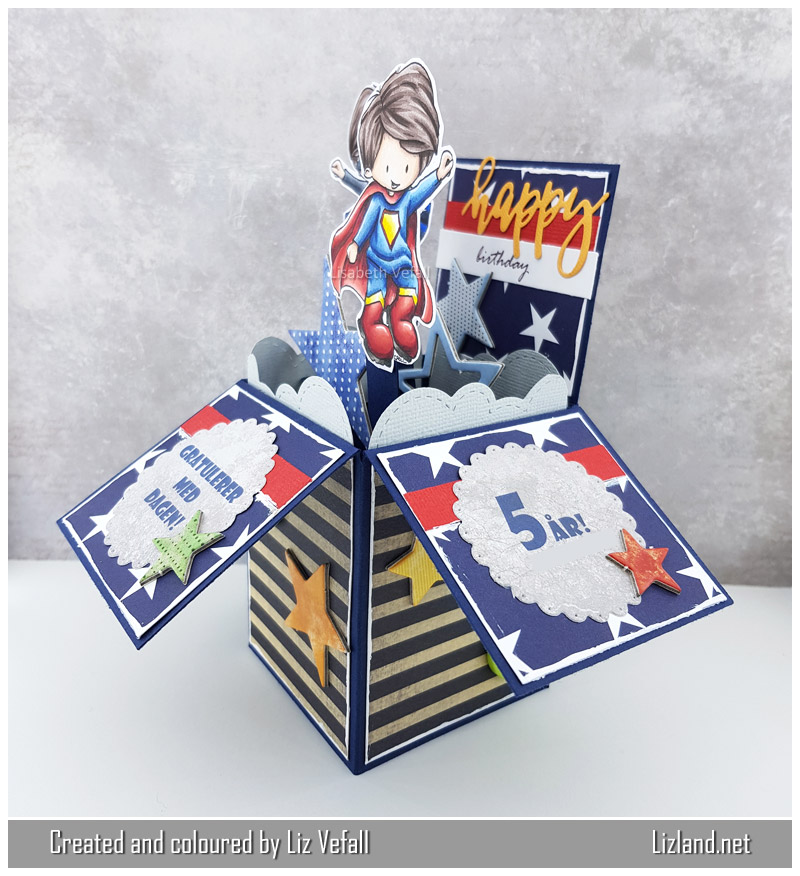
Here is a close-up view of the bottom of the box:
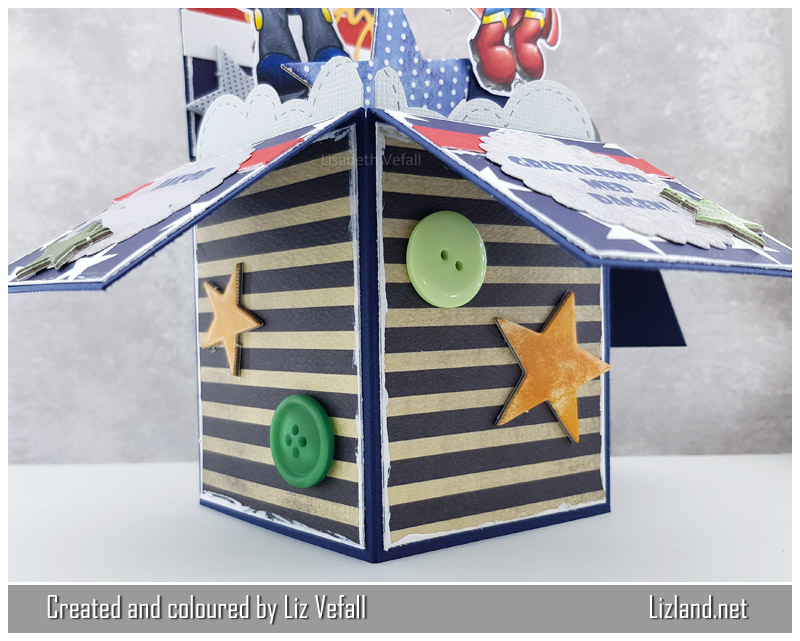
See how nicely it folds down? That made it easy to send it by post!
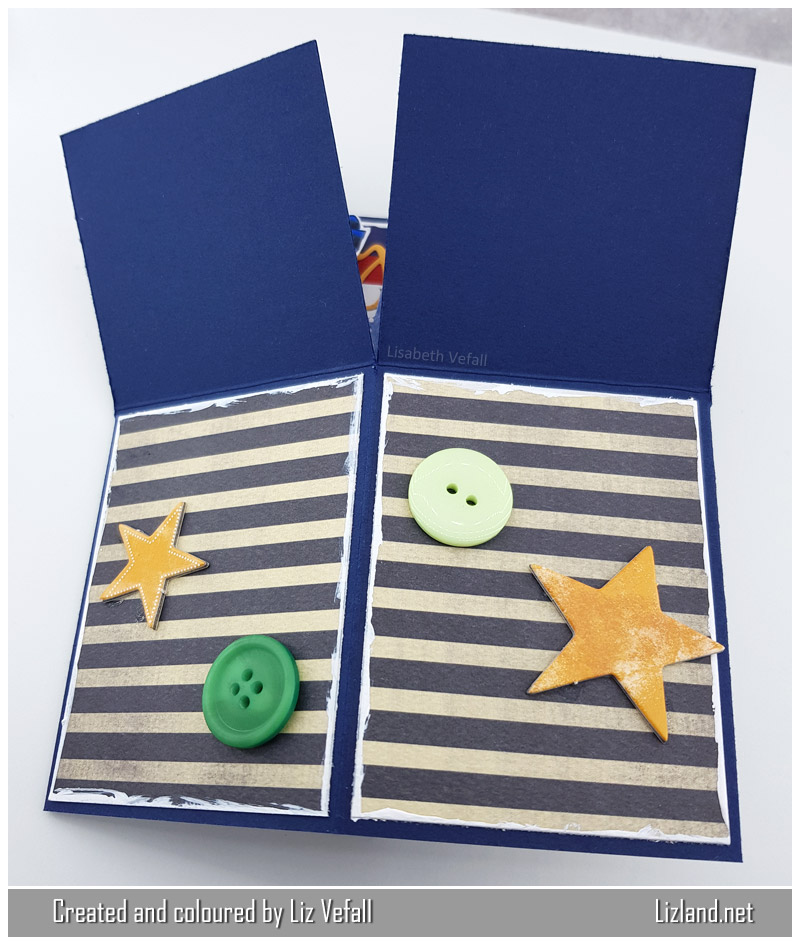
Superman: (skin) E000, E00, E13, E04, (hair) E71, E74, E77, E79, E49, (outfit) B32, B34, B37, B39, R22, R24, R27, R29, R89, Y13, Y19, W5, W7, W9

Batman: (skin) E000, E00, E04, (hair) E71, E74, E77, E79, E49, (outfit) B28, C3, C5, C7, C9, 100, Y13, Y19

Happy birthday

Monday means it’s time for another LaLa Land Crafts inspirational project. This week our theme is birthday. I think this is my favourite LLLC stamp. Isn’t she adorable? She is called Darling Molli. Definitely one of my favourites. As usual you can find a link to all the LLLC products below the card photo.

But first off, let me quickly remind you of the sale they are having! It finishes today, so be quick!

One week ONLY! SAVE 20% with coupon code THANKYOU20 on ALL PRODUCTS in our online store INCLUDING NEW RUBBER STAMPS and NEW DIES and NEW DIGIS! Shop today at www.lalalandcrafts.com.

*sale valid today through March 19th
*valid on items in stock only
*not valid on previous purchases
*not valid on Club La-La Land Crafts subscriptions
*not valid on classes and events

This card is made with Maja Design papers which I’ve painted around the edges with white acrylic paint. I printed the word birthday and distressed it with the Tattered Rose colour, as that colour was a pretty good match for the card. The two butterfly dies (aren’t they pretty?!) got a body made out of pearls. The image, which is coloured in with Copic, was cut out by hand and added to the top with foam tape.

I coloured this image in during the 30 day colouring challenge on Instagram and the reason she ended up with bright pink hair is because that is what got the most suggestions when I asked. I love it. Thanks for the great suggestions!

Stamp:
Darling Molli stamp

Dies:
Happy birthday
Two butterflies
Pierced scalloped circles

Copics used: (hair) R39, R81, R83, RV09, RV17, (skin) E00, E02, E04, E13, E15, R20, (outfit) BV20, BV23, BV25, BV29

Dragons!

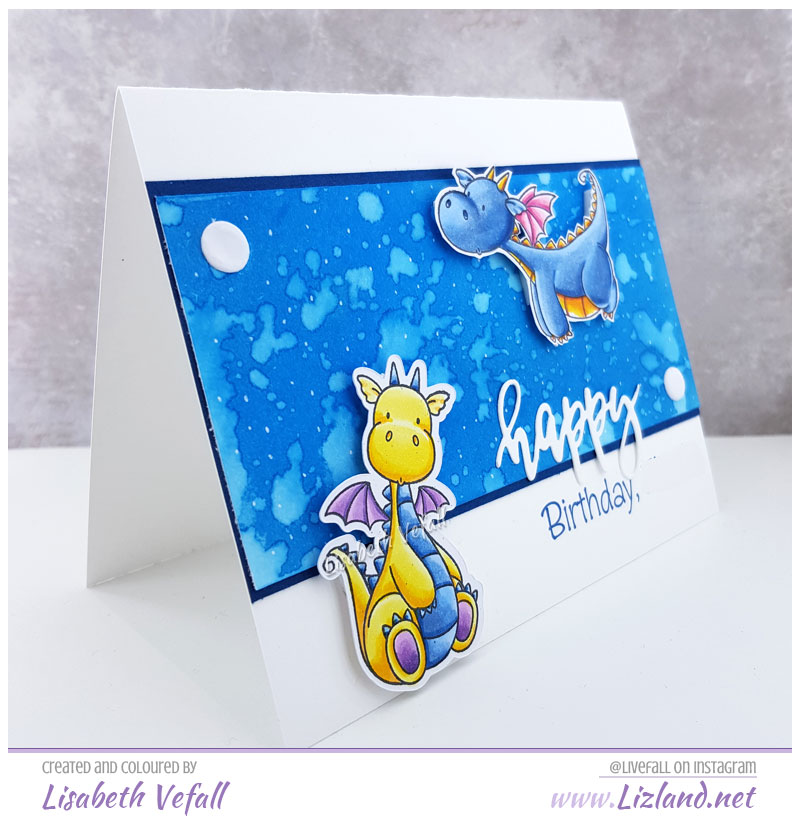
I don’t make a lot of cards for boys, so this month is pretty rare. I have made 3 projects which were specifically made for boys! This is the first one I will show you and it is featuring dragons from My Favorite Things. I mean, who doesn’t love dragons, right?!

Distress Oxide Inks have quickly become a favourite of mine and I have used them here for the background. The colour I used is called Salty Ocean and I’ve spashed some water on it to get the cool effect.

The happy die is from La-La Land Crafts. (They still have a sale on. It lasts through the 19th March, see here for more details.)

As you know I don’t like having names on cards shown on the blog (especially children), unless their parents want it shown (I don’t tend to ask, just remove it), so the boy’s name has been removed.

Also, I’ve made a new credit strip for myself at the bottom of the photos. I felt I was really due a new one and it ties well in with the website theme. There will still be a few cards showcasing the old one as they are posts already scheduled. I like it πŸ™‚

Here is the card viewed from the side, before I decorated it with doodles inside.

Copics used:Β  (yellow dragon) Y11, Y13, Y19, Y38, B32, B34, B37, V12, V15, V17, (blue dragon) B32, B34, B37, Y19, YR04, E08, RV09, RV10, RV14


Edit: Oh how cool. My card was spotted at My Favorite Things! Thank you so much!

Power Poppy tulips

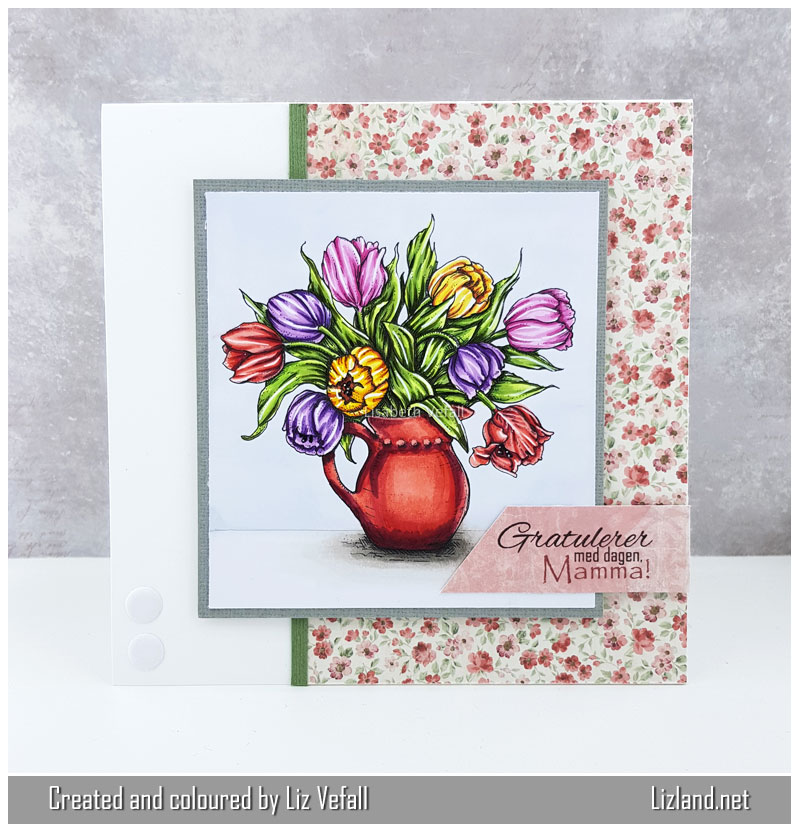
My mum loves tulips. So when she had her birthday this week I really wanted to make a card with tulips on. I found a beautiful stamp at Power Poppy and it suited me perfectly.

I wanted to keep the flowers completely in focus so I made a very simple card to go with it, where I made the sentiment myself.

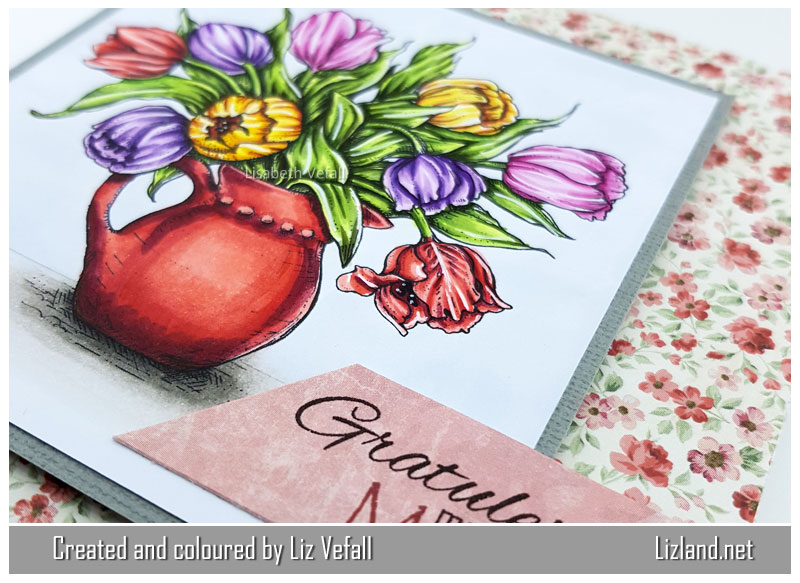
Here is another photo as well

Copics used: (green) YG01, YG13, YG63, YG67, G99 (red) R22, R24, R27, R59, R89, (yellow) Y13, Y19, YR15, E08, (pink) RV17, RV52, RV55, RV66, (purple) V09, V12, V15, V17, (shadow) W0, W1, W3, W5, W7

This card has been entered into the following challenge:

Copic Marker Sverige – LΓ€ngtan efter vΓ₯ren

Thank you so much!

Nolines with Darling Molli and a sale

First off I thought I would let you know that La-La Land Crafts is having a sale!

One week ONLY! SAVE 20% with coupon code THANKYOU20 on ALL PRODUCTS in our online store INCLUDING NEW RUBBER STAMPS and NEW DIES and NEW DIGIS! Shop today at www.lalalandcrafts.com.

*sale valid today through March 19th
*valid on items in stock only
*not valid on previous purchases
*not valid on Club La-La Land Crafts subscriptions
*not valid on classes and events

They’ve just added a bunch of new products, and I cannot wait to get my hands on some of them!

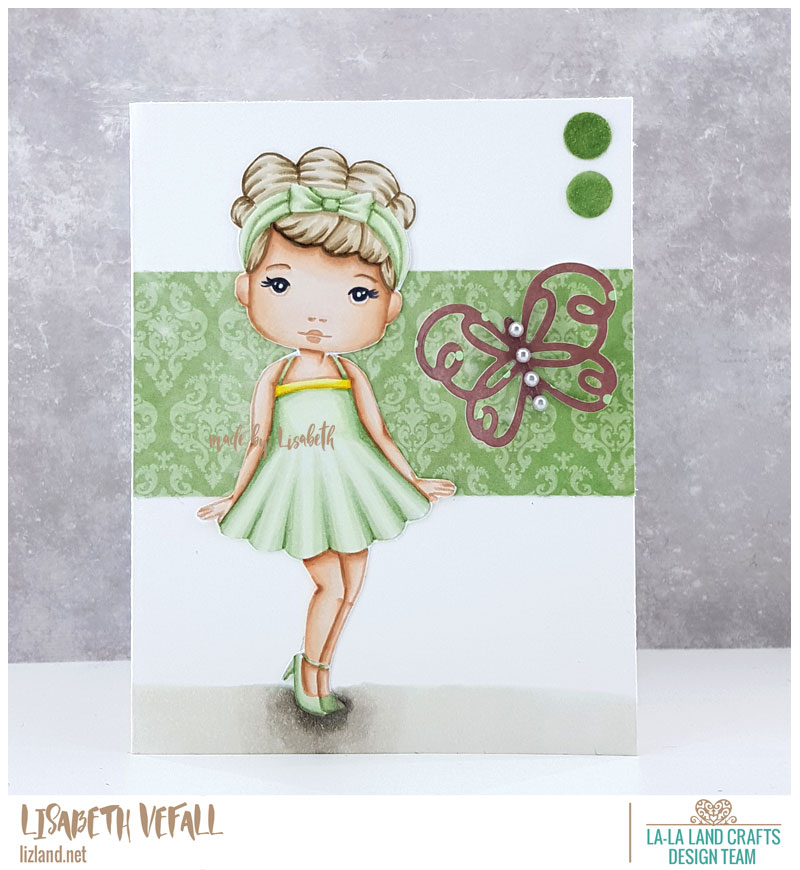
I’m also showing you a card I made today. I decided to give nolines colouring of Darling Molli a go. It wasn’t very difficult, even if I’ve done less than a handful of nolines colouring in the past. I also played around with a new green colour combination. I do love trying new random combinations by just picking up some Copics and seeing how they work together!

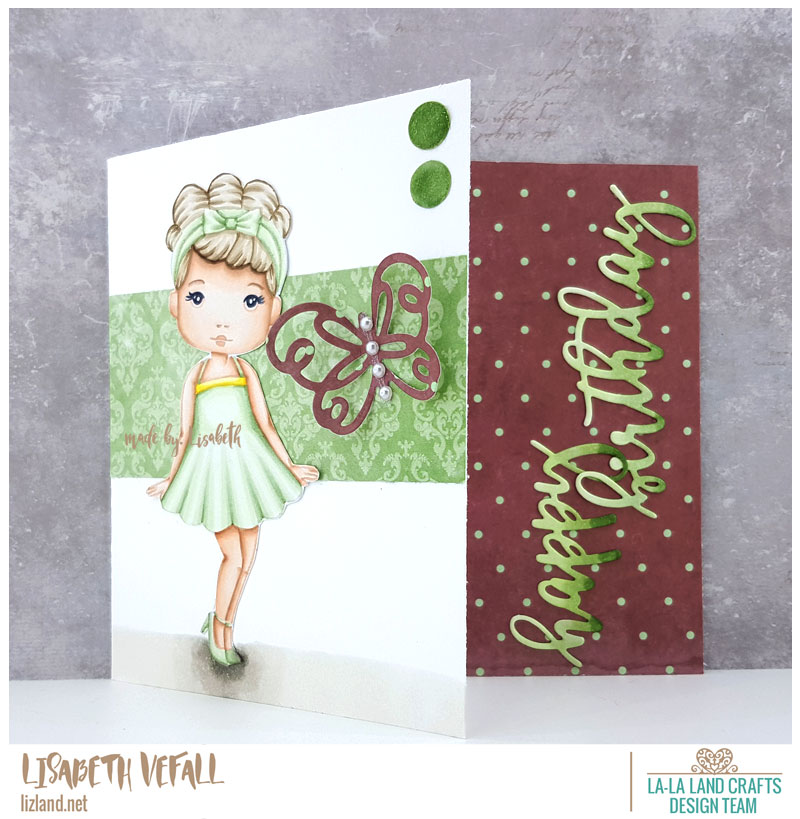
This time I wanted to play around and try a newish layout as well. I did one a few months ago that was a little similar. What I did was that I made the front part of the card much narrower than the inside, so when the card lies down flat you can see part of the inside. The front is about 10cm wide, while the inside is 15cm.

This first photo shows the front of the card only. I decided to keep it simple. I found a green coloured paper that matched the dress, coloured up a couple of candi and used the butterfly die in the same colour as the paper inside the card. After I’d fussy cut out the stamp and put it on I drew the ground directly onto the card base.

This is a photo where you can see the part that is decorated inside as well. When the card lays down flat you can see the border with the happy birthday quite well. I cut out the sentiment die in white and then coloured it up using the same colours that I used on the dress. The border inside is only as wide as you can see in the photo (about 6 cm) which leaves 9cm of blank space to write on.

Stamp:
Darling Molli

Dies:
Happy Birthday
Two Butterflies

Copics used: (skin) E000, E00, E02, E13, E15, (hair) E41, E42, E43, E44, (dress) Y000, G40, YG61, YG63, Y11, Y13, Y17, (ground) W0, W1, W3, W5, (facial features) E02, E25, C7