Fairy Sunny Day “photos” card

Do you always colour the images as they were when you bought them? Or do you dare to experiment? To crop, resize and make something a bit different? Christy of Tiddly Inks asked a question that (perhaps unintentionally, haha) got me thinking a bit outside the box. I quickly made a few frames in Photoshop using the Fairy Sunny Day stamp to show what I was thinking and was instantly inspired to make a card with it.

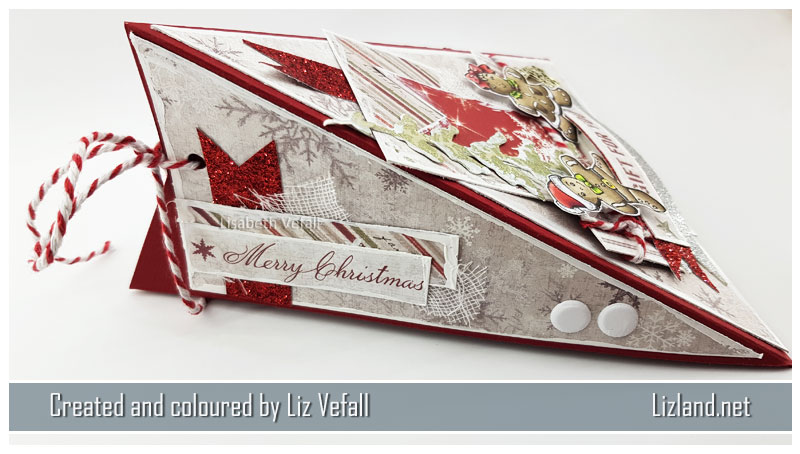
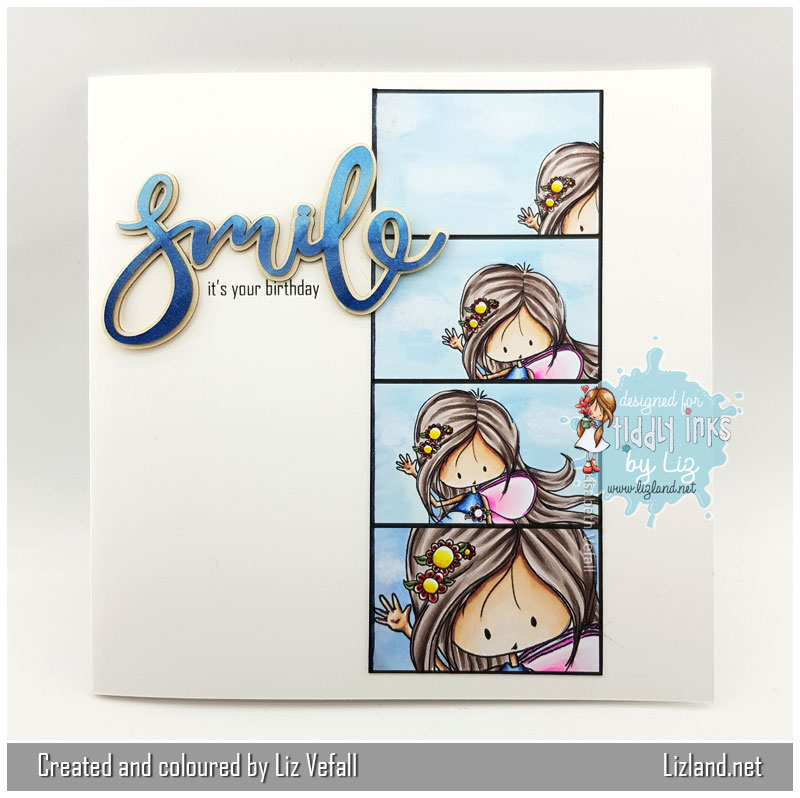
My idea was to have several photos in a film strip type style. I aligned her slightly different in each rectangle and then cropped off what I didn’t need. For the final rectangle I zoomed in a little bit to get her nice and close. As I really enjoyed this, you will probably see me do this again!

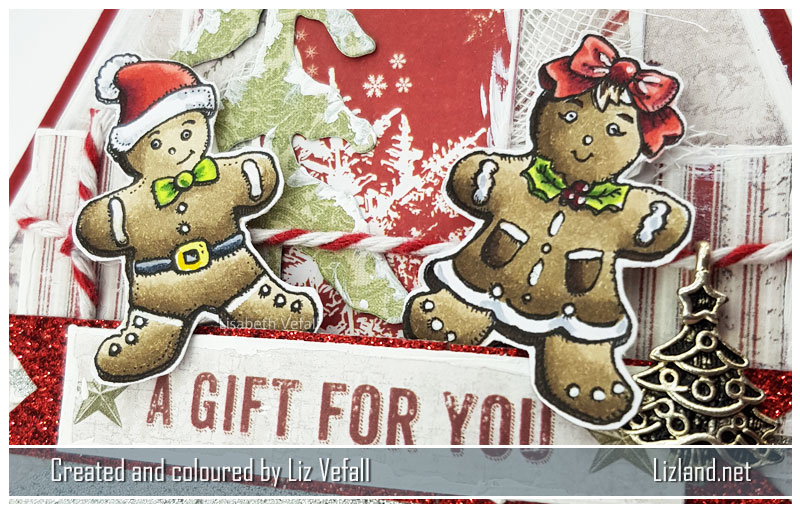
So what is the most difficult part about using the same image several times?! Trying to colour it somewhat similar in all versions, hahaha. This is the first time I’ve coloured the same image repeatedly for one card! The hair was the most interesting! Let’s see the result.

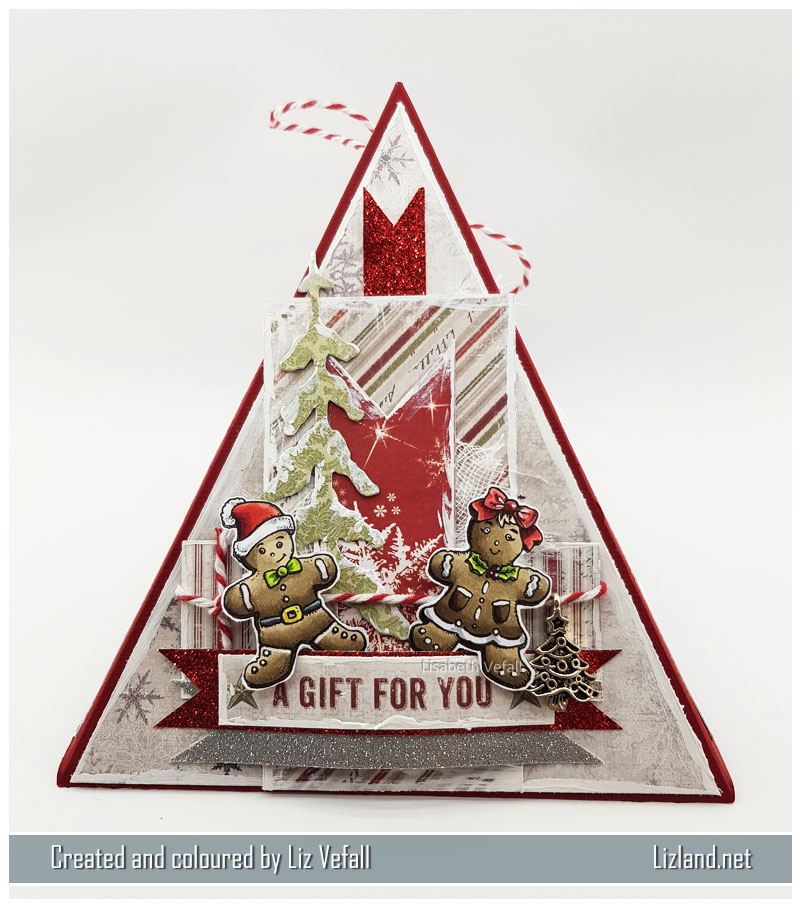
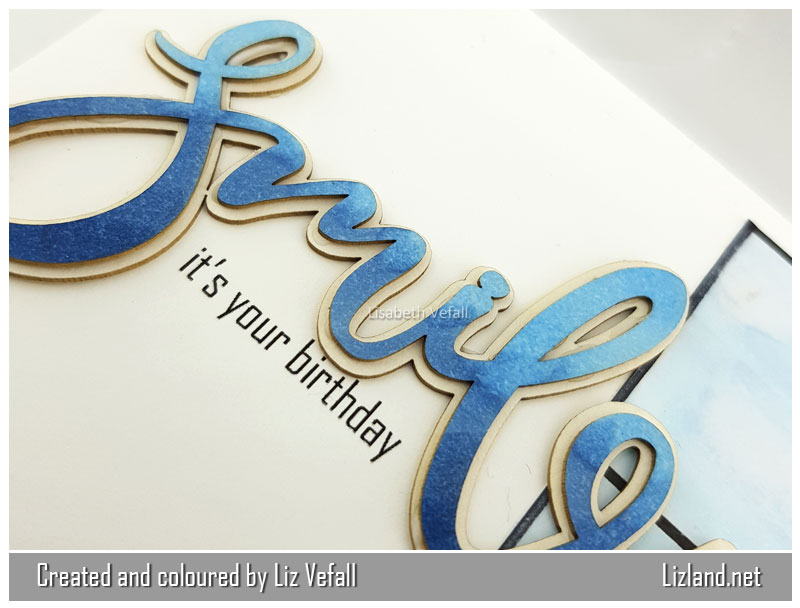
Isn’t the chipboard perfect for this? Make it Crafty chipboards are great. I don’t know why I took so long to acquire some! I coloured it with the same colours I did her dress and then printed the sentiment directly onto the card.

Another photo, of course. Isn’t Wryn the cutest?!

Copics used: (hair) E70, E71, E74, E77, (skin) E000, E00, E04, E21, (dress) B000, B32, B34, B37, (wings) RV00, RV02, RV04, (flowers) R24, R59, Y04, Y19, YG63, YG67, (sky) B000, B32 + blender

——-

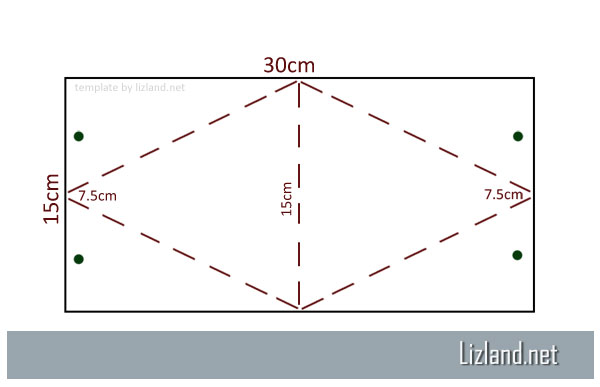
Maybe you’d like to try to make one as well? If you don’t know how to do the frames to put the stamps in, you can use the one I made. Click on the images to get the full size and then right click to save them to your computer. The first one is a .png with a transparent background and the second is a .jpg with a white background.

I would love it if you gave me credit and linked to my site if you decide to use one of them. Please don’t share the images, but direct people here instead. 🙂


11. Triangular Christmas box

Another new thing I have attempted this year is to make a triangular box. A co-worker of mine, who had bought one at a fair a while back, showed it to me and asked if I could make something similar that she could have to put a gift card in. I played around and think it turned out pretty well!

I have added a template at the bottom if you’d like to attempt to make one yourself. I’ve also added some Norwegian instructions at the bottom of the page. (For norsk tekst ang. eske-malen, se nederst i innlegget.)

First photo is a view of it from the front. I have used a lot of Maja Design paper, which I’ve painted white edges on. The sentiment is also from their papers. The glitter paper is from Søstrene Grene. I’ve also coloured and fussy cut two gingerbread from Power Poppy, and added a small Kort og Godt charm to the twine. The tree die is by Noor Design.

Here is a closer look at the colouring. You can find the list of colours I used at the bottom of the post.

With the box rotated slightly you can see that the sides have been decorated with paper on the sides also, and there is twine that ties the box together.

This photo, giving a side view, shows that I’ve also used some cheese cloth, Craftwork cards candi as well as a different Maja Design text.

The box is tired together with twine. It is easy to open and easy to tie back together.

(Informasjon på norsk lenger ned.) Here is the template. You cut at the black solid lines and score the paper on the dashed lines and then fold it all together. I have decorated it with paper slightly smaller than the measurements on the template to get a red edge around it.

The green circles are suggestions for where you add the holes. You can have them either higher up or lower down, but it is easier to have them in the middle as there is less measuring to do. As you can see from the photo above, the edge of the box isn’t straight, so then the holes would have to be in different positions on the base and on the lid.

(If you prefer inches, then you can use 12 inches (30cm), 6 inches (15cm) and 3 inches (7,5cm). Although the numbers don’t equal exactly, the numbers are similar enough to make a same size box.

I have not taken any photos of inside the box, but you can obviously decorate that also, and add a sentiment or two.

Copics used: (gingerbread) E42, E43, E44, E47, (yellow) Y13, Y19, (green) YG01, YG63, YG67, (red) R22, R24, R59, (grey) C1, C3, C9 +  a white pen


*****


Informasjon om malen, på Norsk:

Jeg har også laget en mal. Den sorte, hele linja er hvor man kutter basen, mens den røde stiplete linja er hvor man perger. Begge sidene er like store. De grønne sirklene er hvor man kan lage hull. Du velger selv hvor du vil ha hullene, bare husk på at hvis de er mot bretten på lokket så må de være mot kanten på bunnen, og mye lenger inn (hvis du ser bildet over så skal ikke enden på den siden av boksen være rett), og motsatt.

Dekorasjonen velger man selv, men det er ikke så vanskelig å skjære ut litt mindre trekanter for å pynte med papir. Man kan også pynte inni med både papir og tekst, og det er god plass til for eksempel et gavekort.


*****

I have entered this into the following challenge:

Kreativ Scrapping – #12 Jul