Friendship card

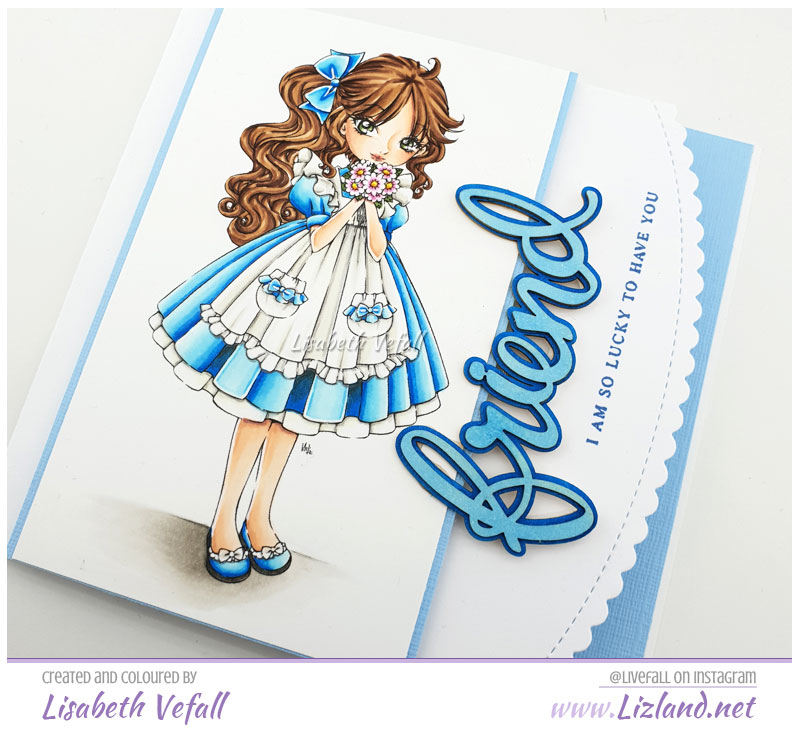
Today I am showing you a card I’ve made for Copic Marker Norge as an inspirational post. I’ve used an image as well as chipboard from Make it Crafty along with a die from Pretty Pink Posh and a sentiment from Altenew.

Here is another photo of the card. This time it is laying down flat so you can see how I decorated the inside in a matching blue so that it is visible behind the border.

Copics used: (skin) E000, E00, E11, E04, R20, (hair) E30, E34, E25, E27, (white) W0, W1, W2, W3, (blue) B000, B00, B02, B05, B28 (I think.. it was a while ago!), (flowers) RV52, RV55, YR23, YG67

Christmas hedgehogs

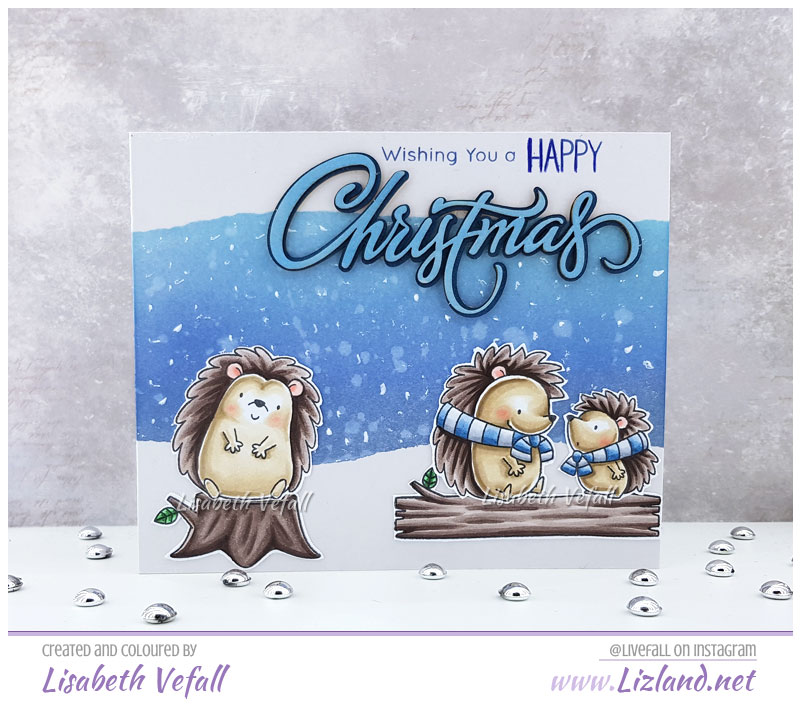
I made this card for the December issue of a Norwegian card making and scrapbooking magazine called Ett Trykk. I used the super-cute hedgehogs from MFT Stamps along with some distress inks and Make it Crafty chipboard. It had to be blue, of course, as I love making blue winter/Christmas cards.

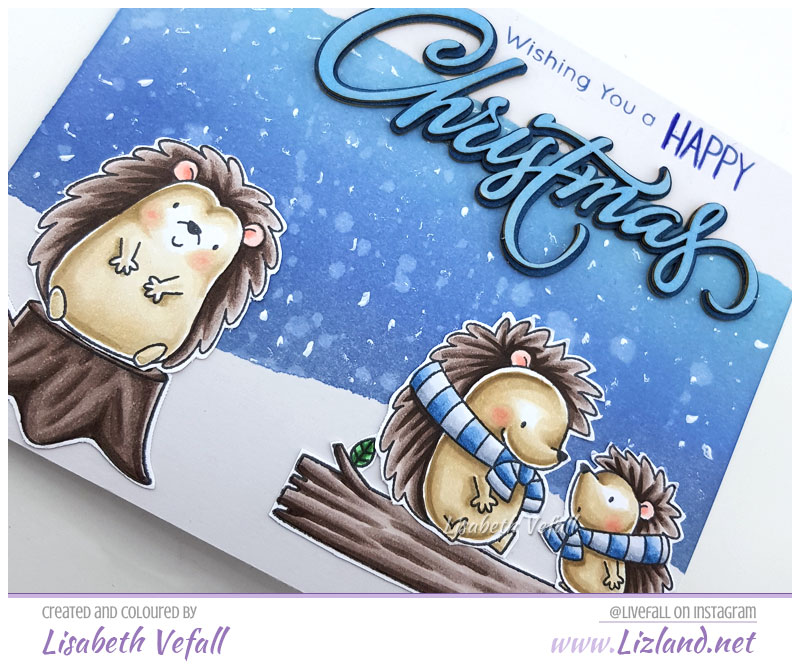
Here is another view of the front of the card

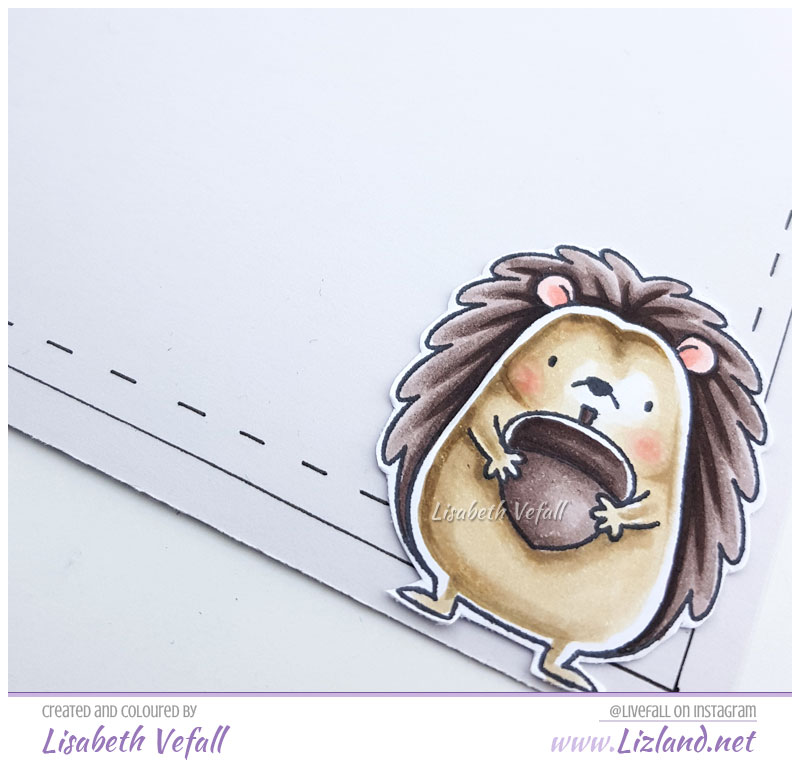
And this little dude appears in the corner on the inside of the card.

Copics used: E70, E71, E74, E77, E79, C1, C3, C5, E41, E42, E43, R20, R22, B91, B95, B97

Tiddly Inks Spring Blog Hop

There is a blog hop! Woo! If you’re super quick you can even be apart of the hop! For the first two hours, from now until midnight CET you can add your card to the InLinkz on the Tiddly Inks blog. You will find all the details HERE on the Tiddly Inks blog. There you will find all the other links to the sites that are taking part in the hop, too. It’s being done a little bit different than usual, but now all the links are available in one place so you don’t have to click around the various sites.

And what can you win?
– Two random blogger participant winners will be announced April 29 and highlighted on my blog. Each will receive a $10 gift voucher.
– Two random commenters will be selected from amongst the blogs to receive a $5 gift voucher.

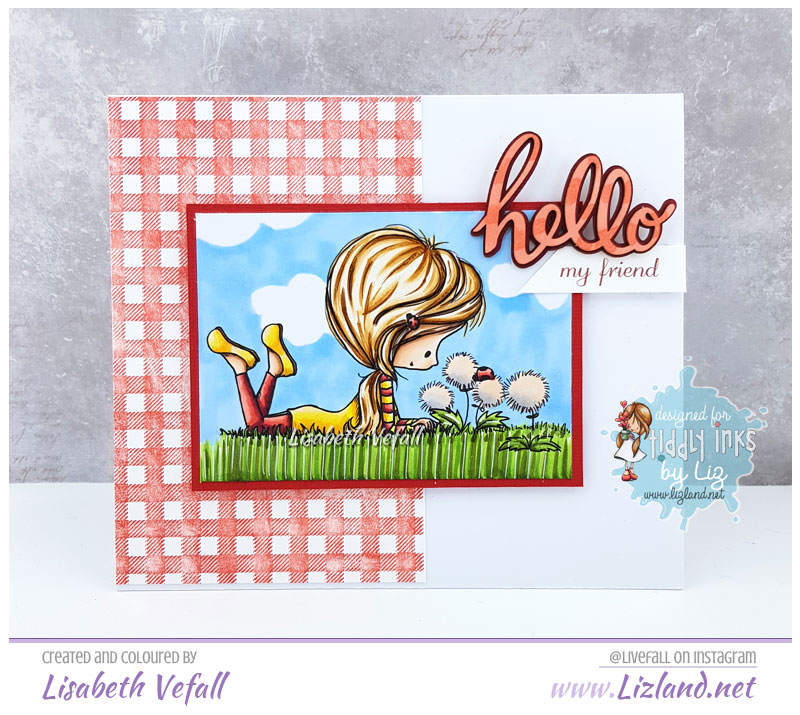
Now for my card. I’ve used the new adorable Little Wishes together with the Just for You background stamp from La-La Land Crafts and a chipboard from Make It Crafty.

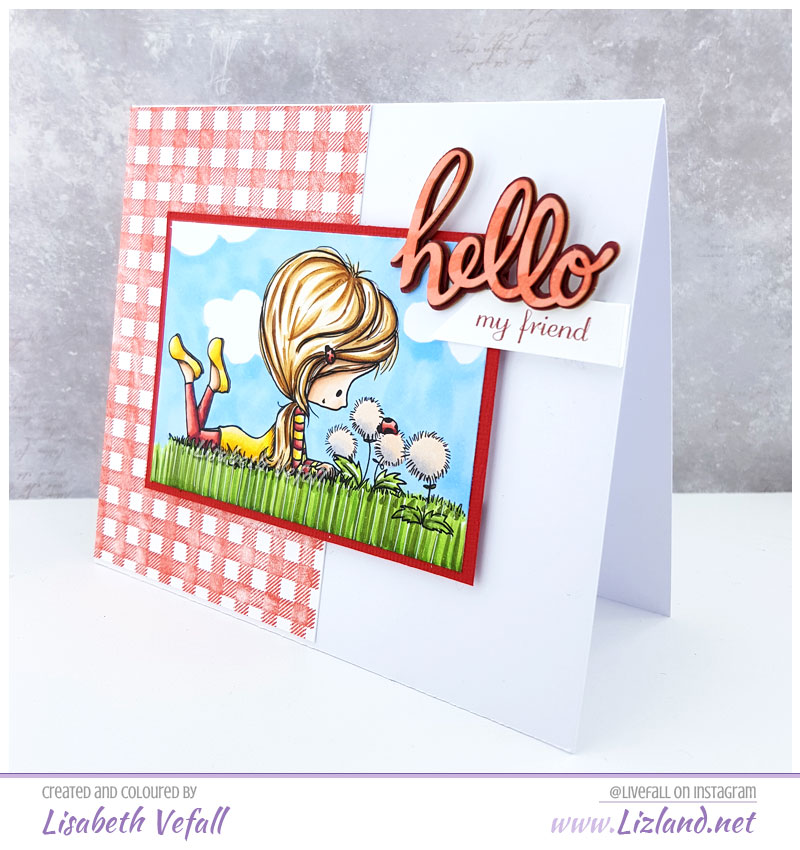
Here is a side on view of the card.

Copics used: (grass) YG13, YG63, YG67, G99, (dandelion) YR00, C1, C3, (hair) E51, E53, E55, E57, (outfit) R22, R24, R59, Y00, Y04, Y38, (sky) B32

Happy birthday, friend

Sometimes colouring is more fun than other times. I have been lucky and have had so much fun colouring this year, trying new combinations, trying new types of images and simply enjoying myself! I’ve lost count how many images I’ve coloured so far this year, which is a bit crazy, haha.

Today I will show one of my favourites so far this year, colouring wise. It is a Make it Crafty image. I played around with making a turquoise coloured dress which has a hint of yellow in it. Then I worked quite hard to try to make all the little details in the image show and I’m quite pleased how well that turned out. It was quite fiddly at times!

The background paper is from Paper Cellar, the gorgeous chipboard is also from Make it Crafty and I added the smaller text myself on printed paper.

Want a closer look at the chipboard? I coloured it with the same colours as the dress, and deliberately did it a bit darker.

Here is a close-up of the colouring as well, in case anybody wanted to look at that!

Copics used: (skin) E000, E00, E04, E21, (white) C1, (hair) BV20, BV23, BV25, BV29, (yellow) Y04, YR15, (purple) V00, V06, V09, (dress) BG53, BG49, G40

Fairy Sunny Day “photos” card

Do you always colour the images as they were when you bought them? Or do you dare to experiment? To crop, resize and make something a bit different? Christy of Tiddly Inks asked a question that (perhaps unintentionally, haha) got me thinking a bit outside the box. I quickly made a few frames in Photoshop using the Fairy Sunny Day stamp to show what I was thinking and was instantly inspired to make a card with it.

My idea was to have several photos in a film strip type style. I aligned her slightly different in each rectangle and then cropped off what I didn’t need. For the final rectangle I zoomed in a little bit to get her nice and close. As I really enjoyed this, you will probably see me do this again!

So what is the most difficult part about using the same image several times?! Trying to colour it somewhat similar in all versions, hahaha. This is the first time I’ve coloured the same image repeatedly for one card! The hair was the most interesting! Let’s see the result.
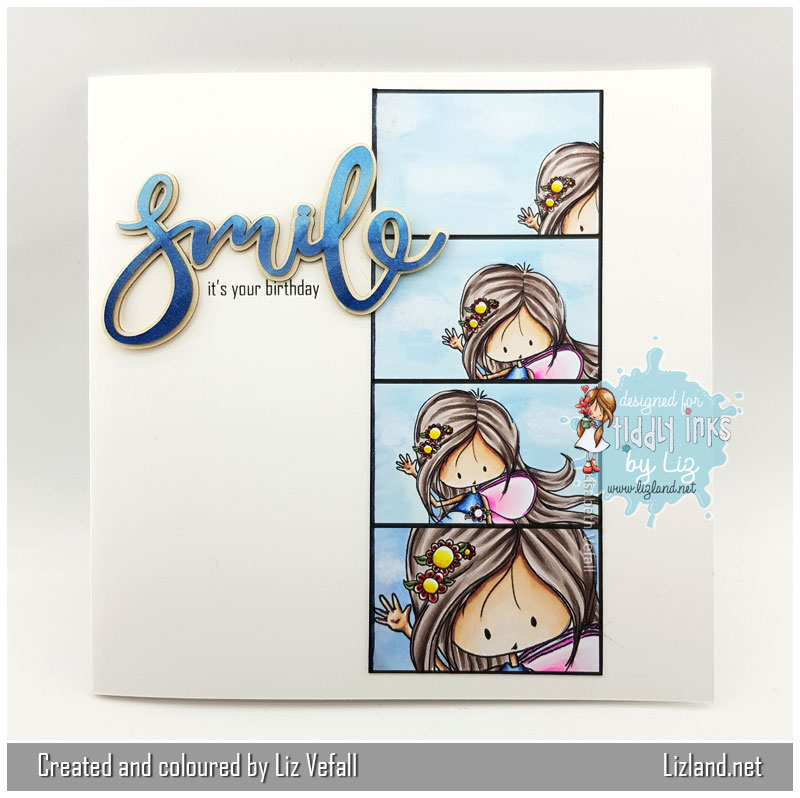
Isn’t the chipboard perfect for this? Make it Crafty chipboards are great. I don’t know why I took so long to acquire some! I coloured it with the same colours I did her dress and then printed the sentiment directly onto the card.
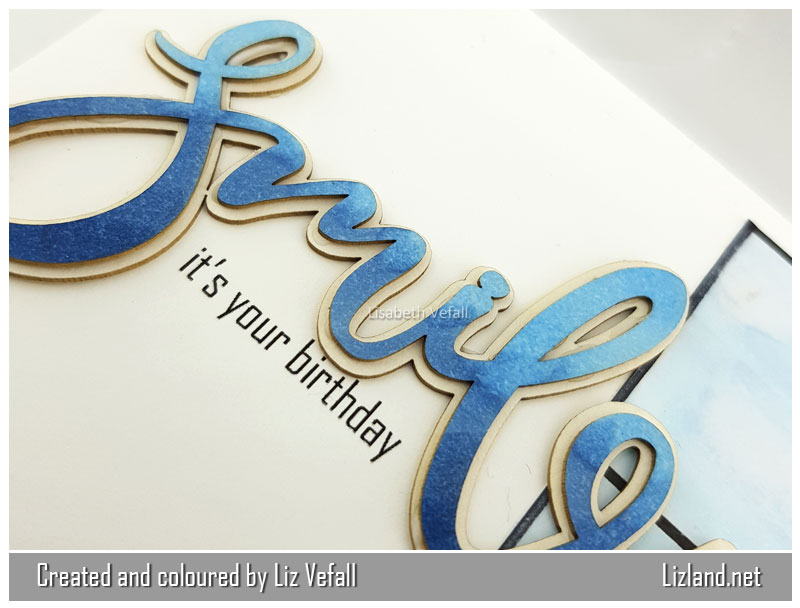
Another photo, of course. Isn’t Wryn the cutest?!

Copics used: (hair) E70, E71, E74, E77, (skin) E000, E00, E04, E21, (dress) B000, B32, B34, B37, (wings) RV00, RV02, RV04, (flowers) R24, R59, Y04, Y19, YG63, YG67, (sky) B000, B32 + blender

——-

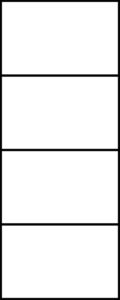
Maybe you’d like to try to make one as well? If you don’t know how to do the frames to put the stamps in, you can use the one I made. Click on the images to get the full size and then right click to save them to your computer. The first one is a .png with a transparent background and the second is a .jpg with a white background.

I would love it if you gave me credit and linked to my site if you decide to use one of them. Please don’t share the images, but direct people here instead. 🙂