Colouring video: Marci’s Sparkly Dress


I’ve made another tutorial for you all. I’ve coloured up La-La Land Crafts Afternoon Tea Marci wearing a sparkly dress. The entire image is coloured in with no-lines technique and in this video I will show you how I coloured up the dress, shoes and  hairband, and flowers.


Would you rather watch this video on You Tube? Click here.

Copics used in this video: (dress, shoes and hairband) RV17, RV52, RV55, R39, (flowers) C1, C3, C5, YG13, YG63, YG67. White dots are made with Sakura Gelly Roll 08 and Sharpie Water Based White (extra fine point)

Colouring video: Faythe’s Cherry Flowers


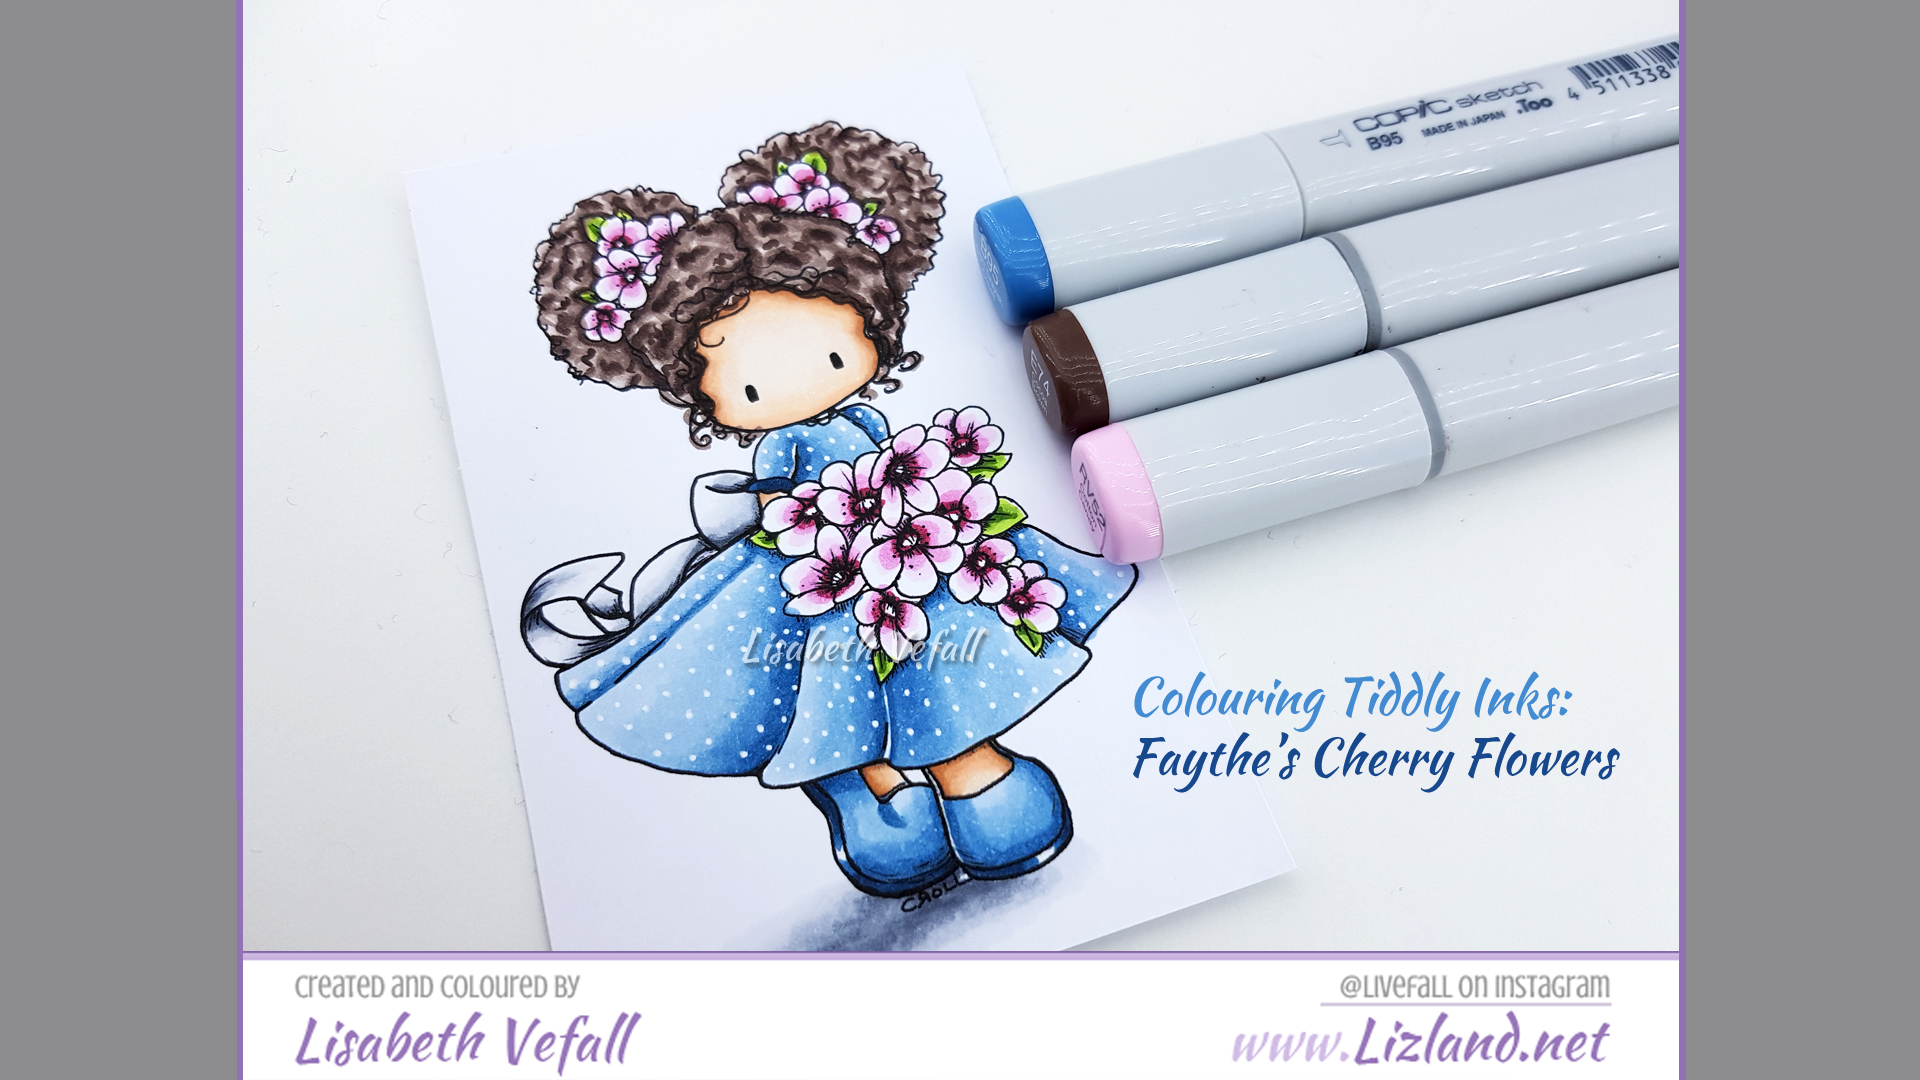
It is time for me to share my first proper tutorial. As usual I like to make it difficult for myself, so it’s a video tutorial. When I was colouring up Faythe’s Cherry Flowers (by Tiddly Inks) the other day I decided to film while doing so. This has now been made into a video where you can see how I’ve coloured up the image while I explain what I’m doing.


Would you rather view it on You Tube? Then you can click here.

I have used the following copics for this: (skin) E000, E00, E02, E13, E15, (hair) E70, E71, E74, E77, E79, (dress and shoes) B91, B93, B95, B97, B99, (flowers) RV52, RV55, R39, YG13, YG63, YG67, (ribbon and shadow) C1, C3, C5

Superhero box card

So, I got a request to make something. A box card, for a young lad. Considering I hardly every make anything for boys, and never had made this type of box before, of course I had to say yes! Haha.

I followed a great tutorial by Jenny at LaLa Land Crafts. It was very easy to follow and my box looks just like it should!

The products I’ve used are two stamps by Tiddly Inks, My Batty Hero and My Super Boy. They have been coloured in with Copic and then cut out by hand. The stars are by Papirdesign, the Happy, cloud and scalloped circle dies are from La La Land Crafts. Let’s look at the box!
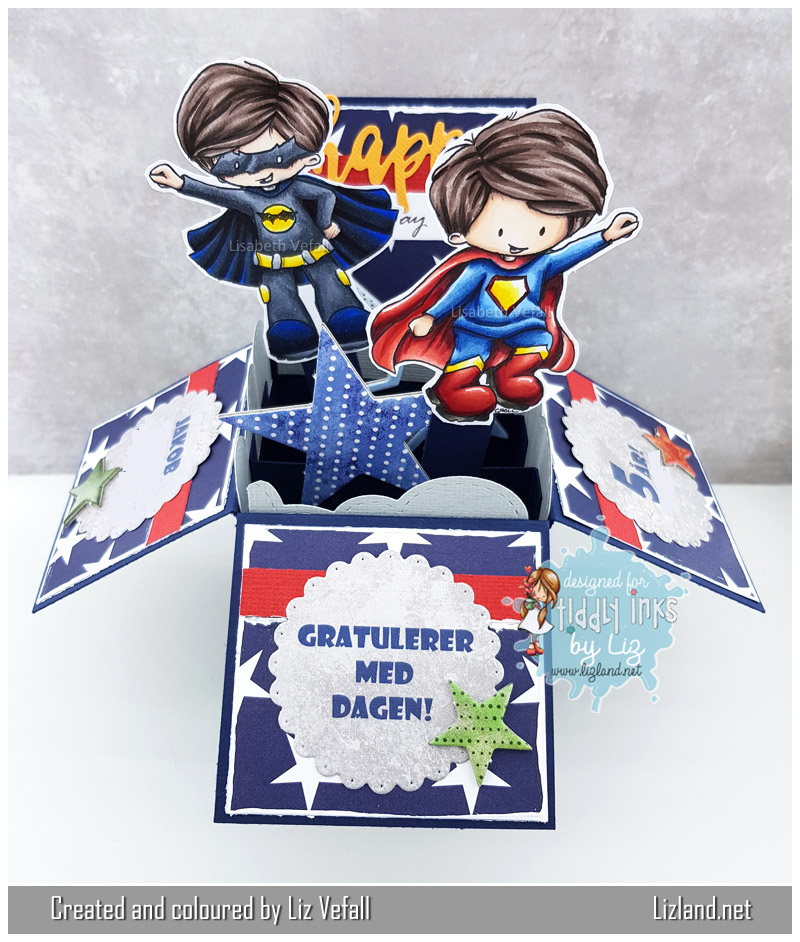
Here you can see the box directly from the front:
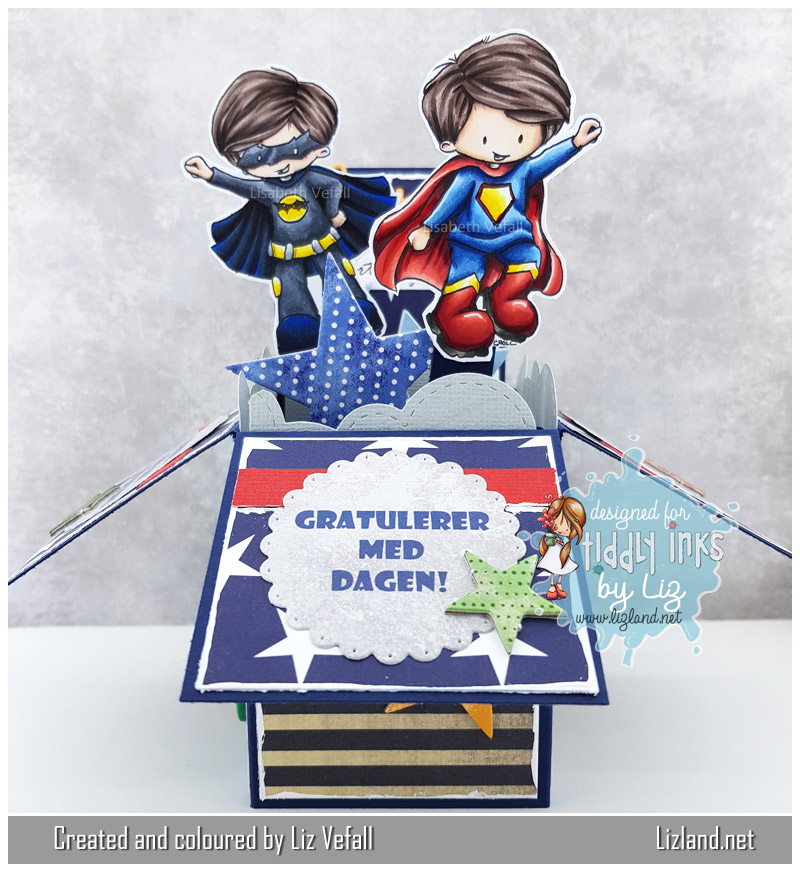
From the left side you can see how the images pop up. The boy’s first name has been left on the photos as per the recipient’s request.
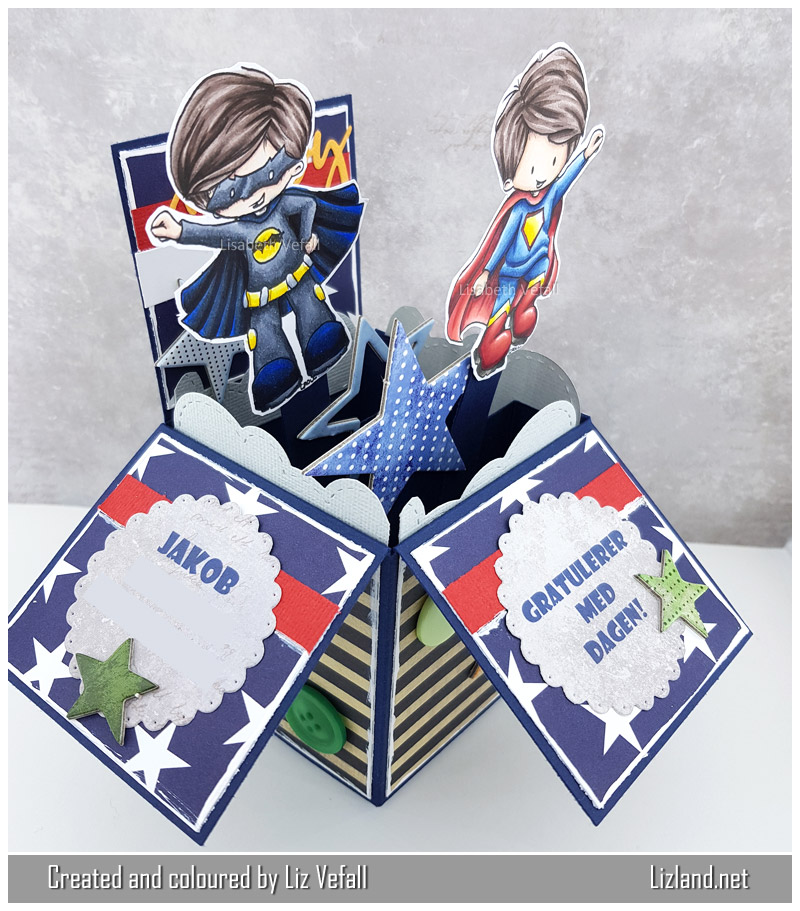
And from the right side you can see the bit behind them quite well with the English birthday greeting and die:
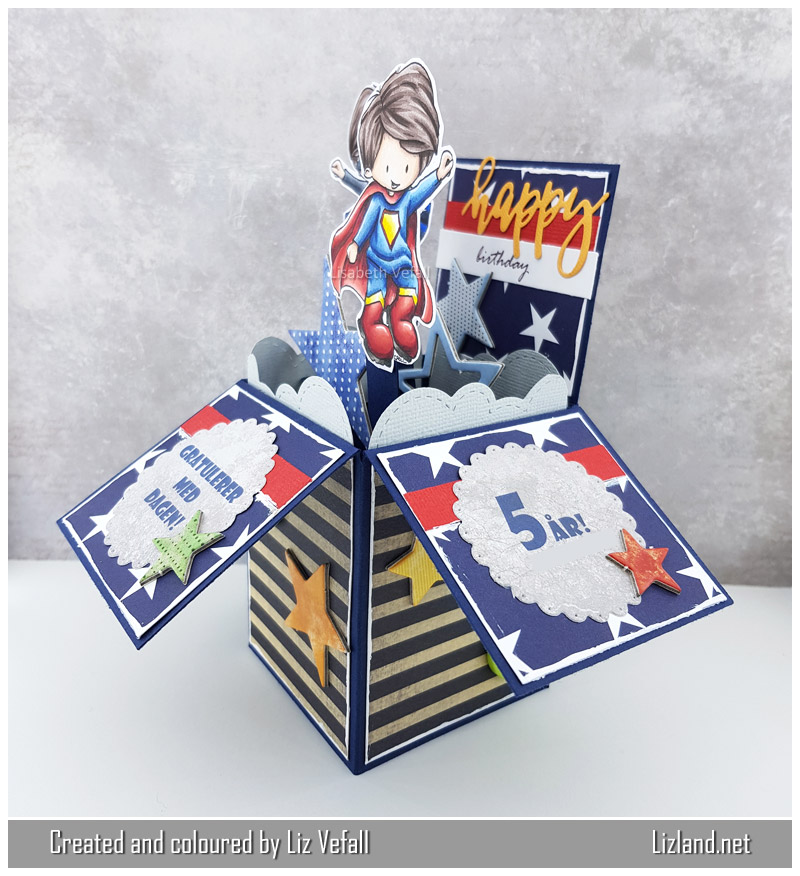
Here is a close-up view of the bottom of the box:
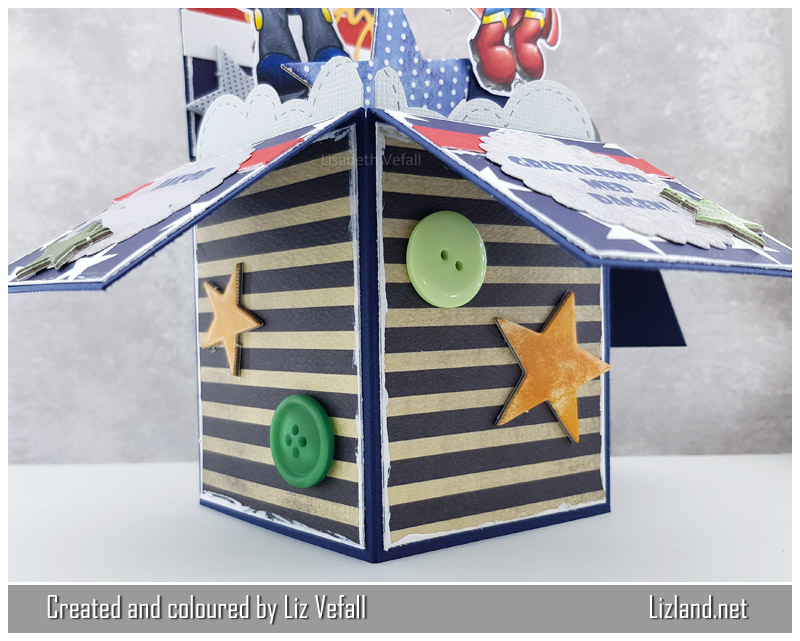
See how nicely it folds down? That made it easy to send it by post!
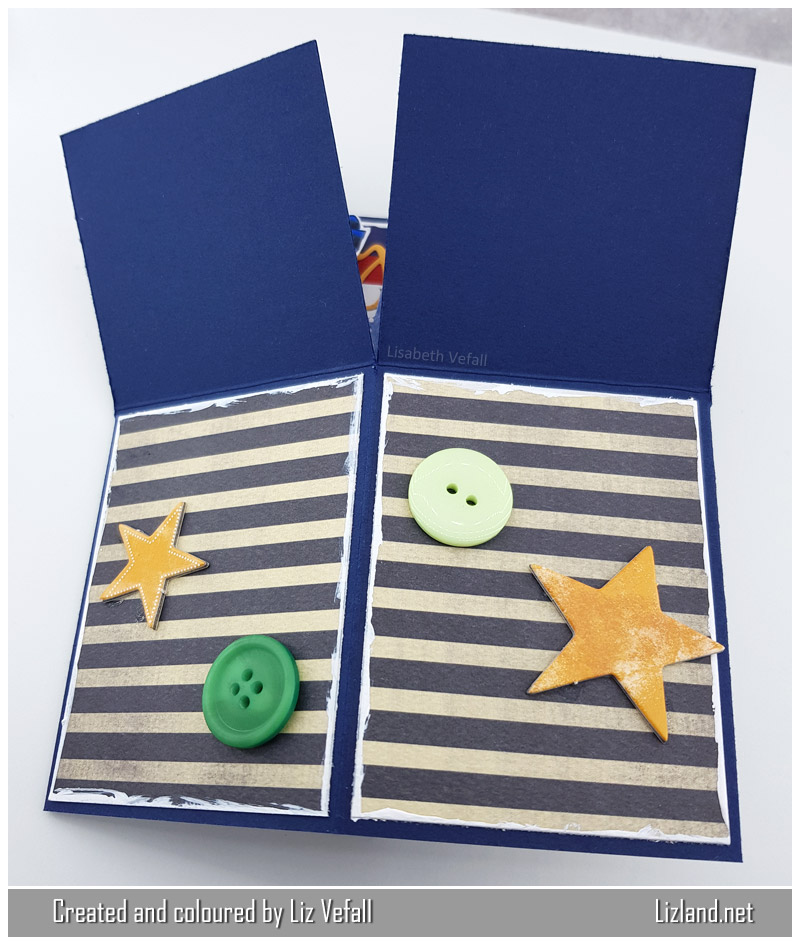
Superman: (skin) E000, E00, E13, E04, (hair) E71, E74, E77, E79, E49, (outfit) B32, B34, B37, B39, R22, R24, R27, R29, R89, Y13, Y19, W5, W7, W9

Batman: (skin) E000, E00, E04, (hair) E71, E74, E77, E79, E49, (outfit) B28, C3, C5, C7, C9, 100, Y13, Y19

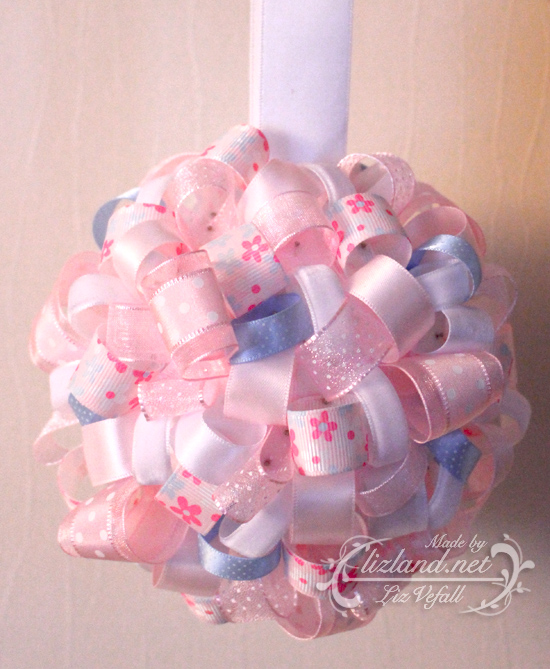
Ribbon bauble for a baby girl

Time for another challenge at the Hobby House! The challenge was added at the start of the month and it is now time for my contribution. We have the fun theme of Ribbons! As I always make cards, I thought I’d give a go at making something else entirely and stumbled upon this tutorial. I didn’t follow it exactly. My bauble base is 10cm diameter and I have used 9 different ribbons, or was it 10? I have definitely lost count of how many pins I used for it! I’ve actually had so much fun making this that I’m already planning on making another one, heh.

All the ribbon I have used in this project are from The Hobby House. They are such pretty ribbons!

craft001

This has been entered into the following challenge:

Divas by Design – Use Ribbons