Mo’s my Boo

I’m back with another card for Mo’s Digital Pencil’s design team this week because I really wanted to make a Halloween card this year using this adorable image. It is called My Boo. I decided to cut off the lower part of the stamp and draw a border around the image this time. A matching card base, some enamel dots and a sentiment from La-La Land Crafts finished off the look.

MFT Clean and simple genius

It’s that time of the year again. My Favorite Things are having their annual card making contest, the Superstar contest. I wasn’t entirely sure if I had the time or energy to take part this time, but after a week of back pain followed by a week with a nasty cold and cough I simply needed something to do! So here I am with my first project. Hopefully there’ll be at least one more.

White on white is quite common, but I wanted something different. So for my sympathy card I’ve gone with black on black. I think it’s the first time I make a proper black card, actually.

I’ve used the Magnolia Blossoms stamp set. This time I embossed it with clear embossing powder onto black card stock before colouring it up with my Prismacolor Pencils. A STAX stitched rectangle die cut and an essential stitched banner die for the embossed text (from the same set as the flowers, the card kit version), both added with foam tape, gave the card a bit more interest and dimension.

MFT Stamps – Superstar – Clean and Simple genius

Pencil coloured statement flowers

Did you see the colouring video I made back at the end of February? You can view it on YouTube here and the blog post can be found here. I used Prismacolor pencils for colouring up the Altenew Statement Flowers and now I’ve finally completed the card as well. I cut it out by hand and added some foam tape to the back of it, sprayed some black ink on a kraft card base, doodled a little in the corners and used their Hello die and enamel dots to finish off the card.

Whimsy penguins with snowman

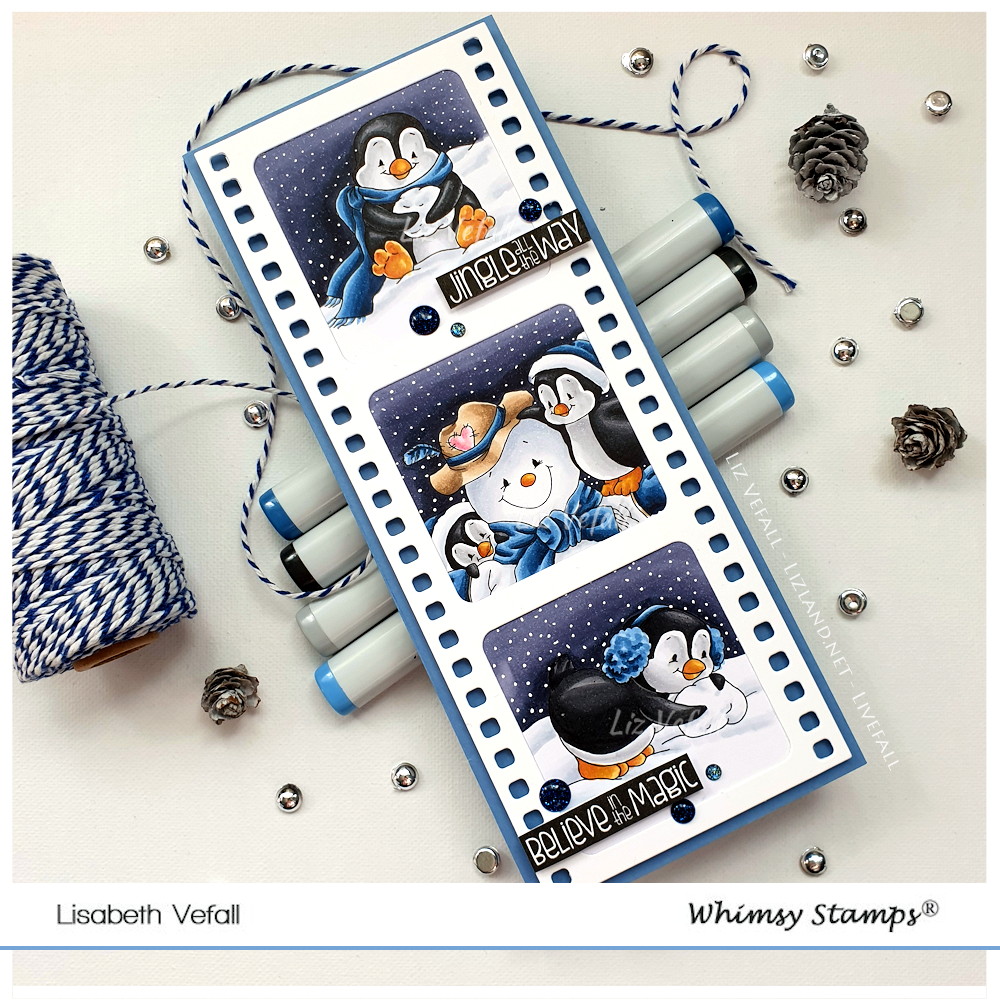
One of the great advantages of digital stamps is how you can split and resize and remove things to fit your project. That is what I’ve decided on this time. All of these penguins are part of the same digital stamp. The stamp is part of the new digital release at Whimsy Stamps and is called Penguins Build a Snowman.

I opted for a slimline card this time using the great slimline film strip die. I digitally cut the digital stamp into the sections I wanted and resized them accordingly so each would fit in one of the frames. Then I erased the lines that was a part of the other sections of the original image to make them look like stand alone stamps.

To finish it off I used an inverted colour version of Merry and Bright sentiment stamp and some sparkly enamel dots.

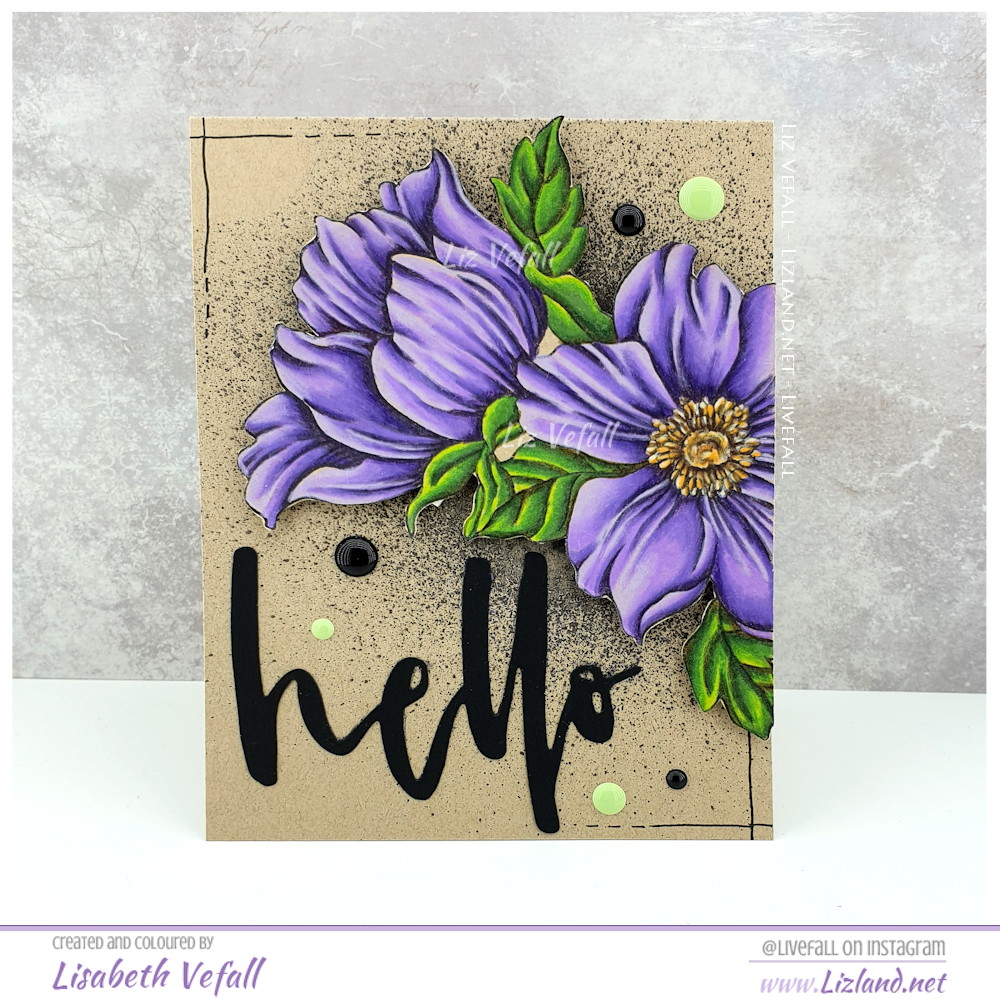
Copics used: N0, N1, N2, N3, N5, N7, N9, C0, C1, C2, B91, B93, B95, B97, B99, YR31, YR23, E34, E97, E41, E42, E43, RV10, RV32, RV34, BV23, BV25, BV29

Happy Christmas penguin

Another simple Christmas card with a little penguin. This time the penguin is from MFT Stamps and I’ve coloured it up with Copic. I did a funky cut of a paper by Panduro and glued some big snowflakes on top of it. A chipboard sentiment with a printed sentiment (because I have somehow managed to misplace my heating gun…) as well as some sequins finished off the card.