6. A winter card, and a sticky marker cover up

The first week of December has almost passed already. That went fast, didn’t it?! Today I have a cold, blue winter card to show you. It holds my very first no-lines colouring of a full image! (The few strands on hair I did previously hardly counts!) The lovely image is by Tiddly Inks and is called Key to my Heart. Not really a Christmas image, I know, but the dress is so pretty I wanted to make it work!

Unfortunately it nearly went very wrong! My B95 was misbehaving as I hadn’t realised it was nearly empty and when most of the image is done you don’t want to start over. So to avoid disappointment and possibly not doing another no-lines image for a while, I decided to try to save it.

And so I did. With dots. A lot of dots!

You can’t even see the sticky patch anymore!
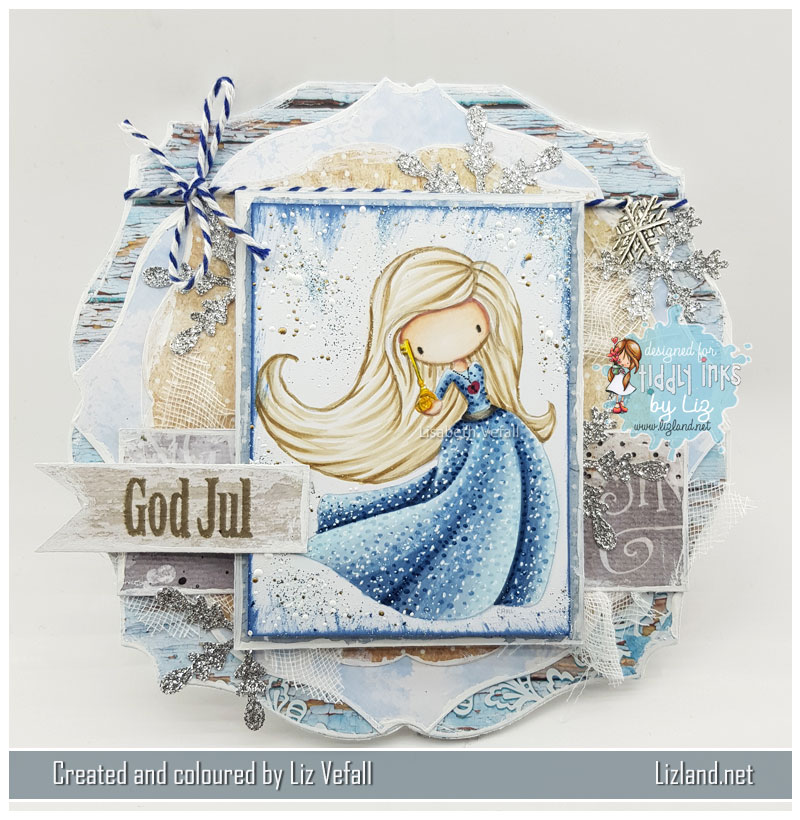
The papers are from various places. If I recall correctly it is primarily Papirdesign, LemonCraft and Studio Light. The gorgeous snowflakes are made with a Memory Box die that appeared in my mail a couple of weeks ago from my lovely Secret Santa Sue of Tanglemouse Cards. Lucky me! It’s perfect!

I’ve also used some distress ink, frantage, twine, cheesecloth and a Panduro text stamp. The main shape of the card is made with GoKreate dies.
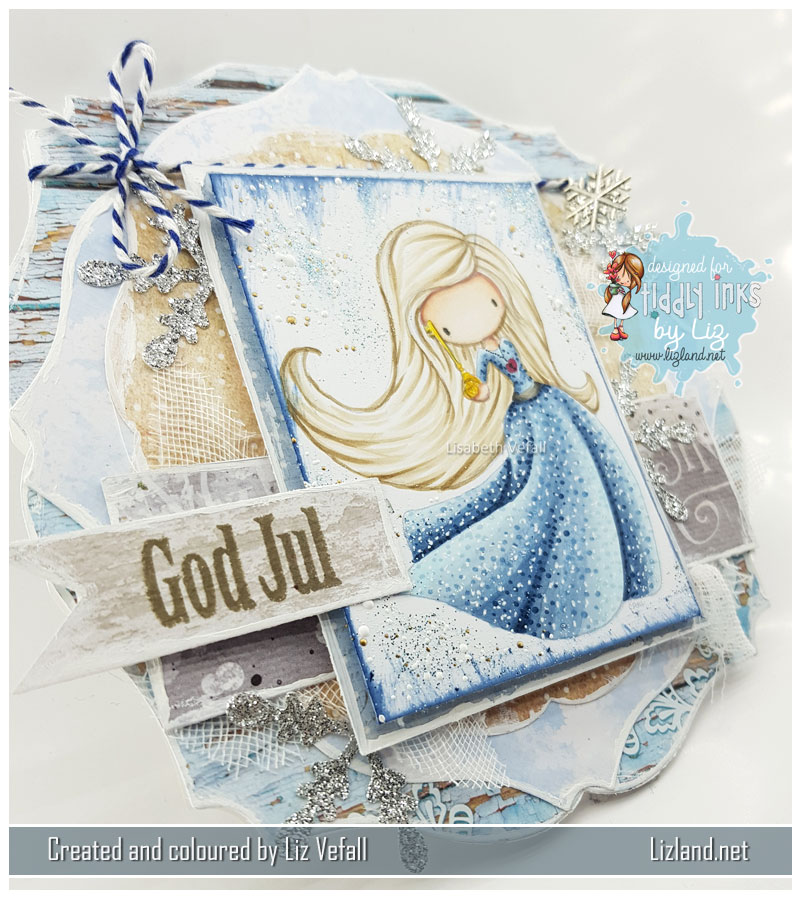
Do you want to see what it looked like before I decided to try to save it? Of course you do, so here it is! Very shiny and horrible right? I think it turned out pretty good in the end, though, and all I did was add loads of little dots with the various colours I had used on the dress, as well a white pen! Try it! It is far better than having to bin your colouring!
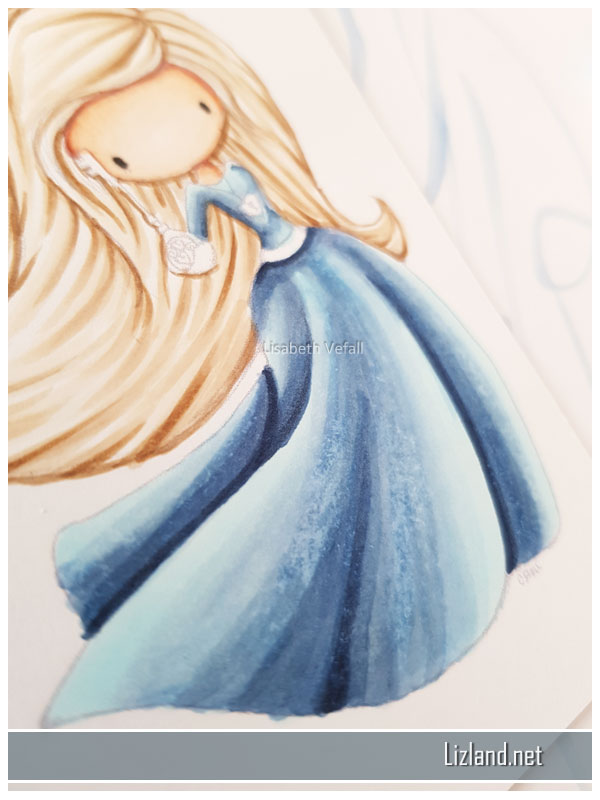
Copics used: (skin) E000, E00, E11, E21, (hair) E41, E42, E43, (dress) B91, B93, B95, B97, B99, (belt) C5, C7, C9, (key) Y13, Y17, YR15
5. CAS Winter Wryn

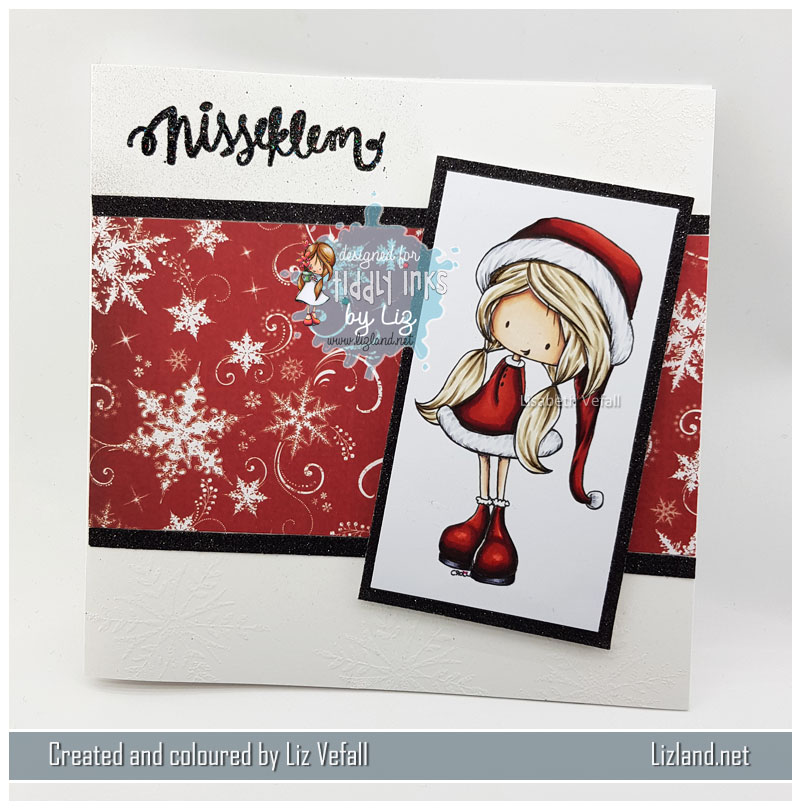
Day 5 holds my inspiration card for the newest Tiddly Inks challenge. It is called Be Merry. We would love to see loads of fabulous entries over the next few weeks!

I used the Winter Wryn image for this. The stamp also comes with a snowman, but I decided to keep it simple for this one. The paper is  from Papirdesign, the text stamp from Norsk Stempelblad, and I have used black embossing glitter and black glitter paper. I’ve also made embossed snowflakes on the white part of the card, but it was near impossible to get them to show in the photo!

Copics used: (skin) E000, E00, E04, E11, E21, (hair) E41, E42, E43, E44, (red) R22. R24, R27, R89, (grey) W0, W2

2. Fly away

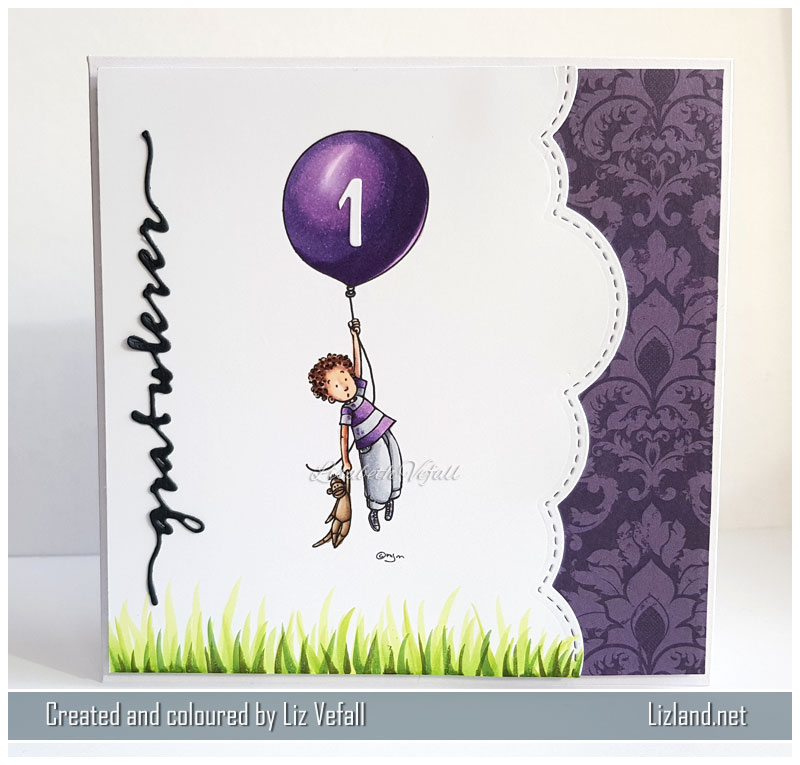
Day two of the daily posts through December is here. This time it is a birthday card. A clean and simple one at that.

I’ve used a Mo’s Digital Pencil image and Copic Markers. The three dies are from papirdesign (gratulerer), Kaboks (the 1 is a cut off M ;)) and Linda Design (border) I got at Papirgleder. I drew in some grass at the bottom to make it look like he was indeed flying away.

Copics used: (skin) E000, E00, E21, E04 (purple) V09, V12, V15, V17, (bear) E42, E44, (grey) C1, C3, C5, (grass) YG01, YG03, YG13, YG67, G99

1. Winter Stella’s winter scene in traditional Christmas colours

Today is the first of December. I have decided I’m going to try to make one post here every day for the whole month! I certainly have enough to catch up on posting, so hopefully that will help me get caught up somewhat! It won’t be only Christmas and not only cards! Nor will they all have colouring.

Some of my projects will correspond with posts elsewhere, like this one. Copic Marker Norge is having an advent calendar and today is one of my days!

This card was made for a Secret Santa card swap in Make it Crafty.

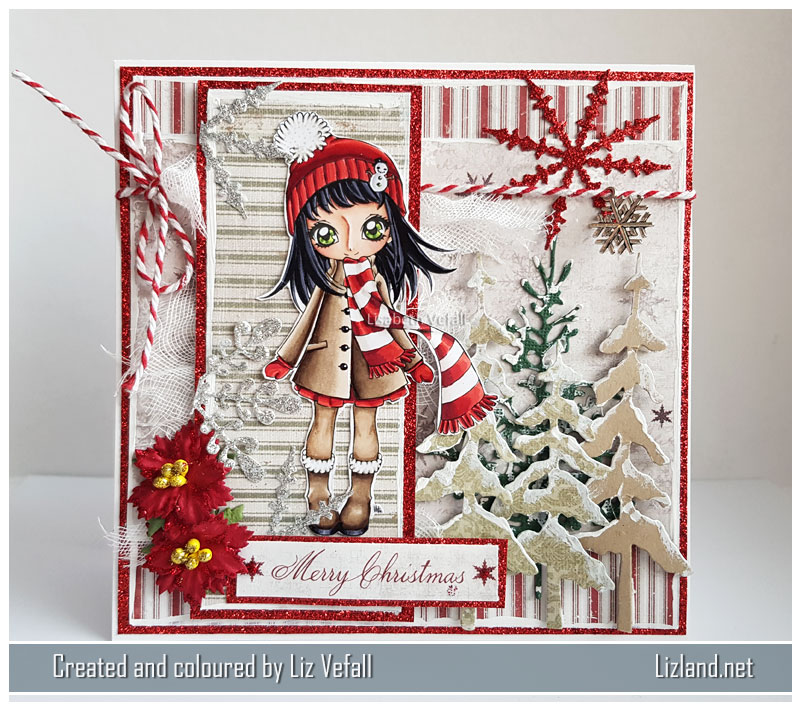
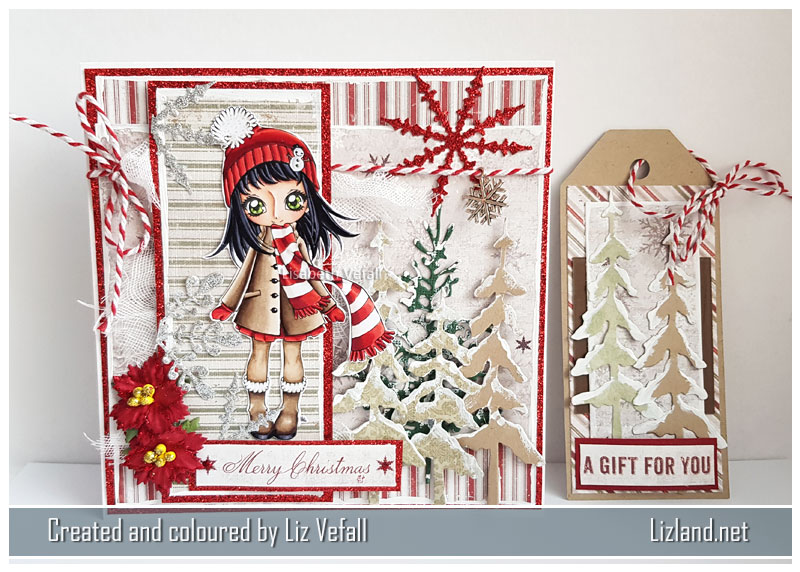
The stamp is Winter Stella from Make it Crafty and is coloured in with copics. You can find the list of colours at the bottom. I have used various papers from Maja Design; the sentiment is from one of those papers, too. One of the dies is from Magnolia and the rest is from Noor Design. The glittery paper is from Søstrene Grene and I’ve used white acrylic paint on a lot of the elements. The flowers are by Papirdesign.

This is what it looks like with its matching tag

And here is a close-up of the colouring for a change.

Copics used: (skin) E000, E00, E04, E11, E21, (hair) BV21, BV25, BV29, (eyes) YG01, YG03, YG67, (clothes) R22, R24, R27, R59, W0, W2, E41, E42, E43, E44, E47

Tall cake

I’ve been enjoying colouring up images by Mo’s Digital Pencil the past couple of weeks. This tall cake one I bought specifically to use for a couple of birthday cards I had coming up. Isn’t she the best?!

For the cake my sister insisted I needed to have some glitter. I used mostly transparent glitter, but with a bace layer of R00 and R12. As you can see from the colour list below, you don’t need to use a lot of Copics to colour up a pretty image and make it into a card. This time I stuck with just 2 colours for most of it, sometimes 3 if I was colouring up bigger areas. It was fun colouring up a lighter image again after the very bright contrast ones I’ve done in the past few blog posts!

I’ve used a fair few dies on this card: butterfly and leaf die by Precious Marieke, border die by La-La Land, alphabet die by Kaboks and gratulerer by Papirdesign. The flowers are as usual by Wild Orchid Crafts. And I used a bit of white acrylic paint around the edges of most elements.

Copics used: (skin) E000, E00, E04, E11, (hair) E25, E29, E31, (clothes) W1, W3, YG01, YG03, YG67, (cake) E41, E43, R00, R12, Y13, YG16, (plate) C1, C3