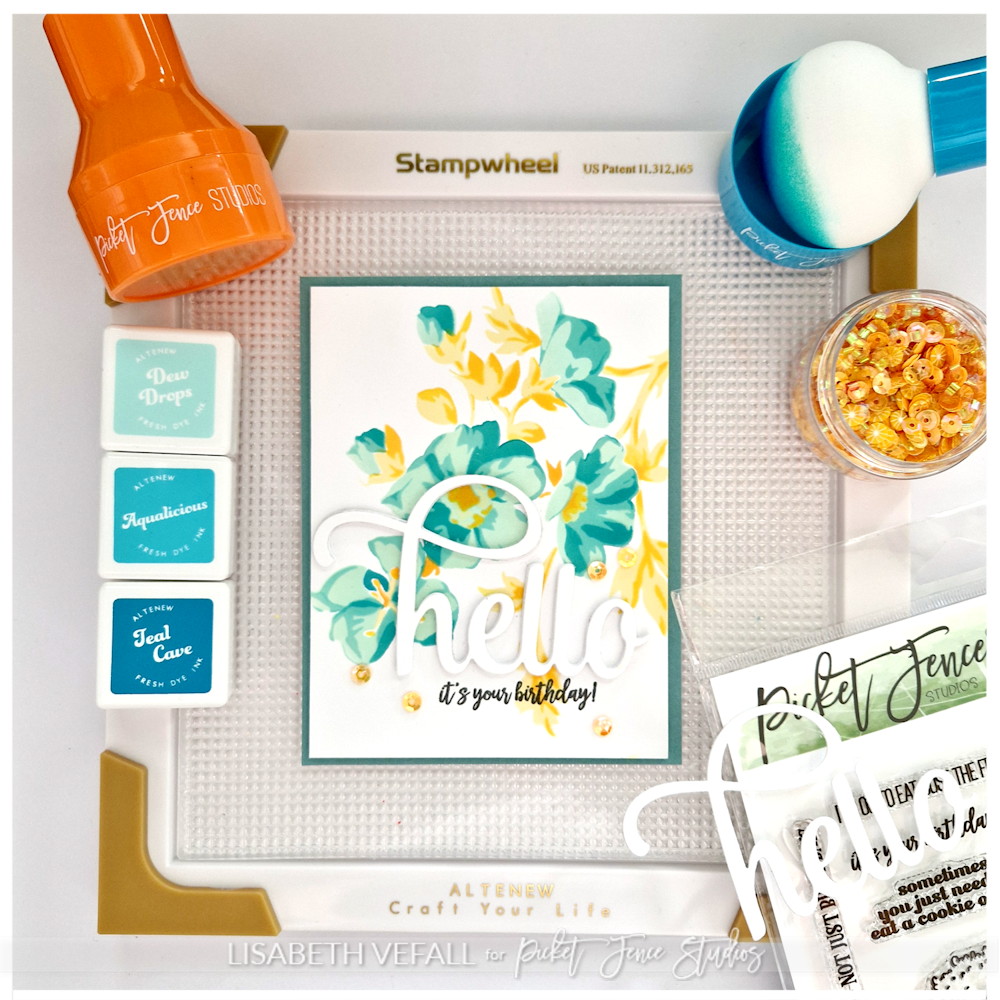
This is it! I’ve finally made my first cardmaking video! I’ve used the Stampwheel, some stencils, various inks and the Paper Pouncers. This video is made as part of a collaboration between Altenew and Picket Fence Studios (these and all links to follow are affiliate links). It is a video hop with various prizes, so please visit YouTube HERE to take part in the hop and see all the details about the Giveaway!
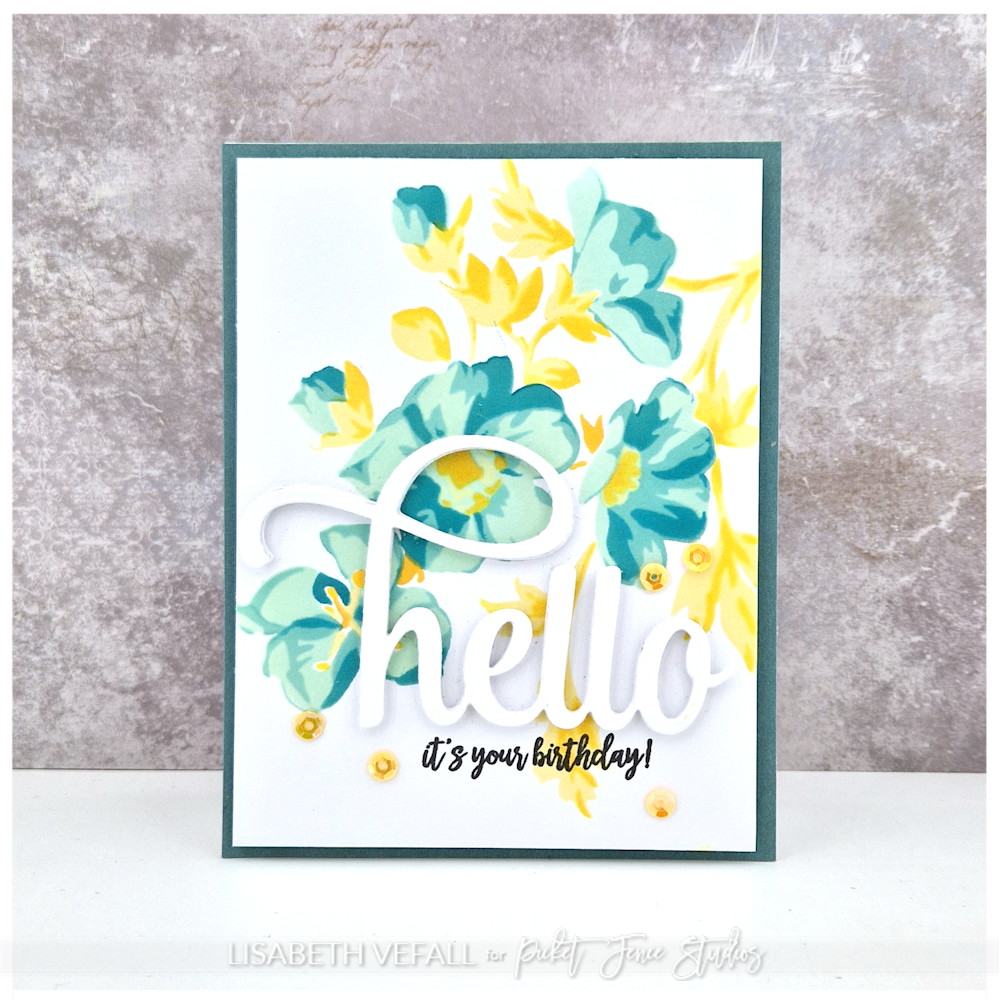
This was so much fun. I used the Paper Pouncers Bright Rainbow and Paper Pouncers White to apply the ink through the stencils. They are perfect for getting all those little details showing. I used some new inks I bought at the weekend on the Swamp Buttercup stencils I bought this spring. Several layers of the Oversized Hello die in white made worked really well on top, I thought. Below you can see the video of the cardmaking process:
For the Stampwhel itself, please visit Picket Fence Studios here or Altenew here.
For this collaboration I have been gifted a Stampwheel to try, and various Picket Fence Studios products as part of my design team spot at PFS. The remaining Altenew products are my own purchases. All products used to showcase the Stampwheel are my own choices.
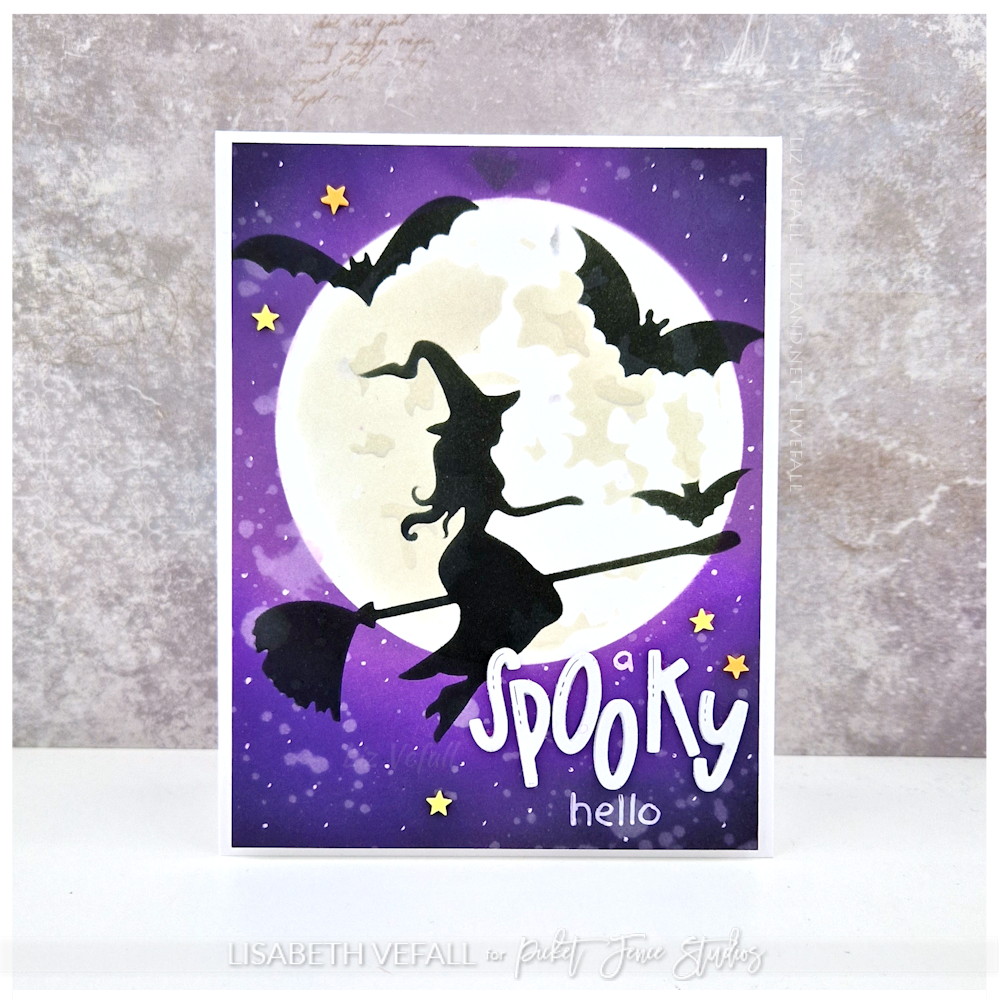
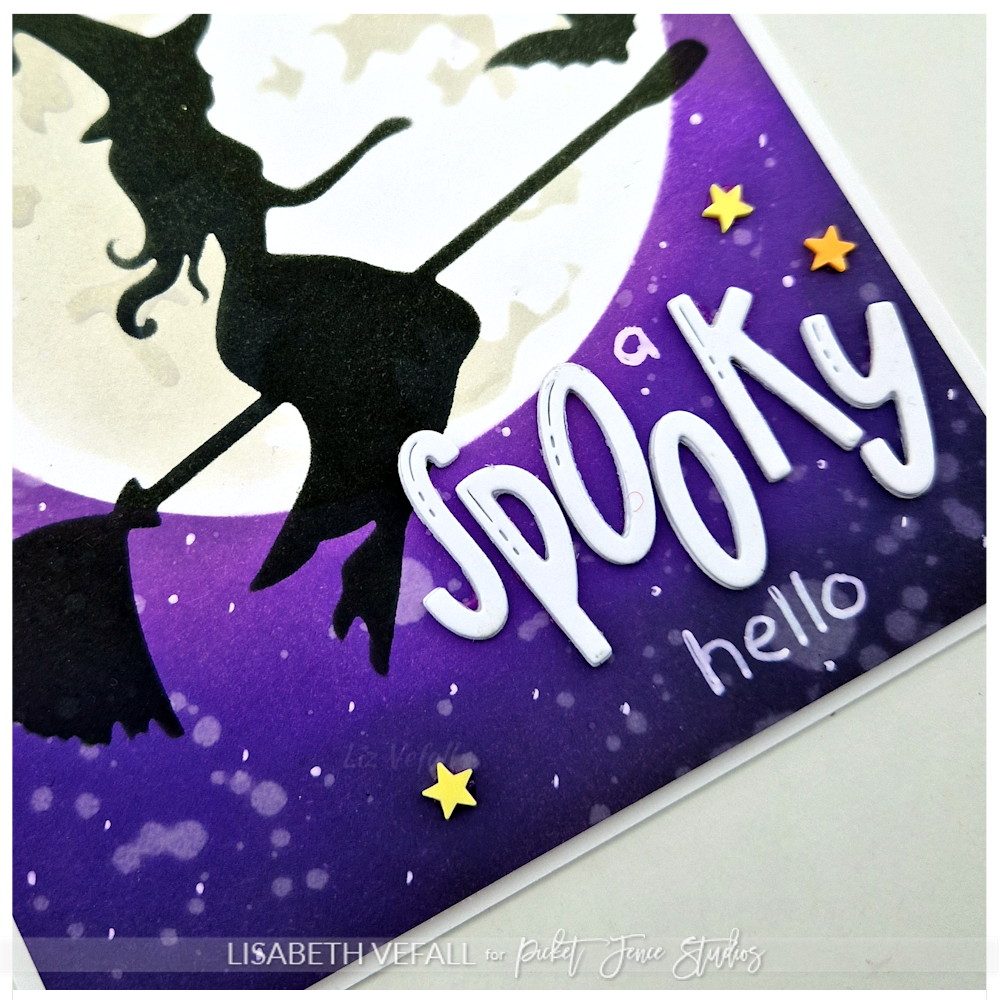
As I wrote in the other post: I’ve had fun playing with inks and stencils for the new Picket Fence Studios (this and all following links are affiliate links). Here I’ve used the same purple inks to ink blend the background, as I really liked how it turned out for the other card! I’ve added some water splatter this time, though. I did make sure I had a white border around it this time.
First I covered up the moon to keep the back of it nice and white before using a pale ink to colour in the shadows of it using the Haunted Moon blending stencil. Then I used the Flying Witch A2 stencil, but masked out the other parts to only use the witch itself. And then I selected a few of the bats from the Bat Crazy 6×8 stencil and masked out the surrounding ones to make the bats look like singles. I love that they have different shapes.
For the sentiment I used the alphabet dies from the older Double Stitched Rectangle Dies set. I cut it out a few times and then stacked them to give them some dimension before gluing them on in a rather wonky way. Then I wrote in the other words to go with before added a few stars from the Pumpkin Patch sequin mix at the end.
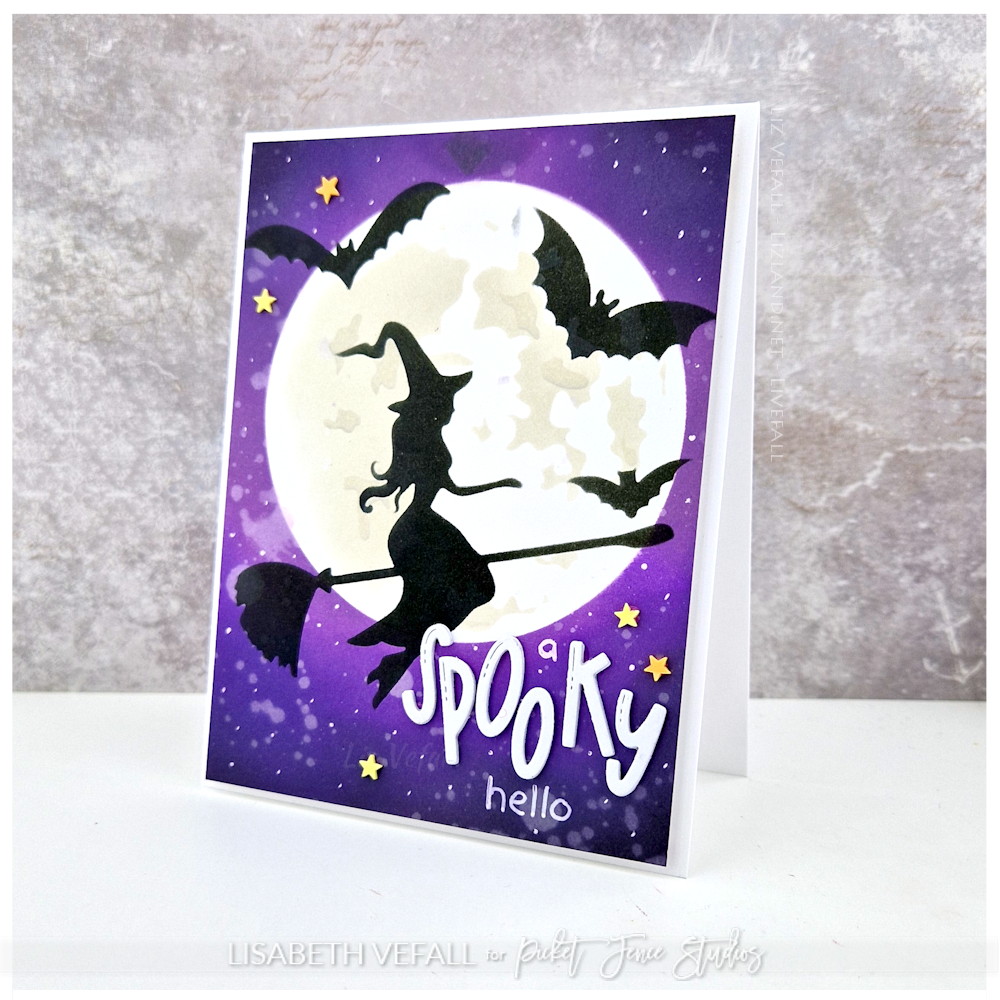
A side on view that shows the word spooky raised from the paper so they kind of look like they are floating.
There is a new Picket Fence Studios (this and following links are all affiliate links) release out today and guess what?! I’ve been playing with stencils, inks and paper glaze. So yeah, this is going to be a long post. You might as well grab a cuppa before scrolling through.
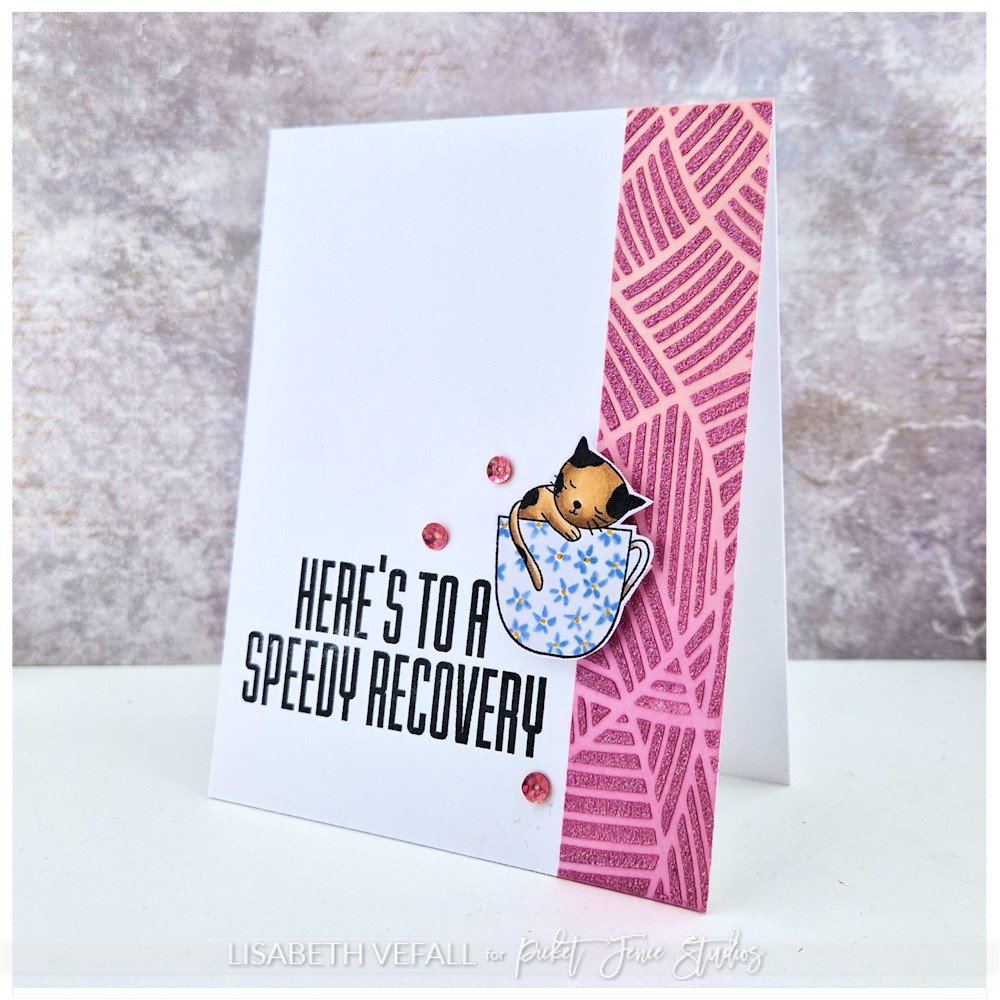
First up I have a simple card where I started off by using masking tape to leave a stripe on the side. First I ink blended with various pink oxides to create a gradient effect, and then I used the Pathways 6×6 stencil together with the Paper Glaze Luxe Pink Magnolia. I applied it with one of the tools from the Mixed Media Spatulas tools package and I love the effect.
I coloured up one of the stamps from the Animal Crackers Caring Friends stamp set and because I had a cup of tea in a cup with blue flowers on at the time I simply add to add that to this cup as well. Before popping on the card with foam tape I used one of the bigger sentiments from the same set and added it towards the bottom of the card. A few pretty sequins from the Vintage Bulbs sequin mix finished off the look this time.
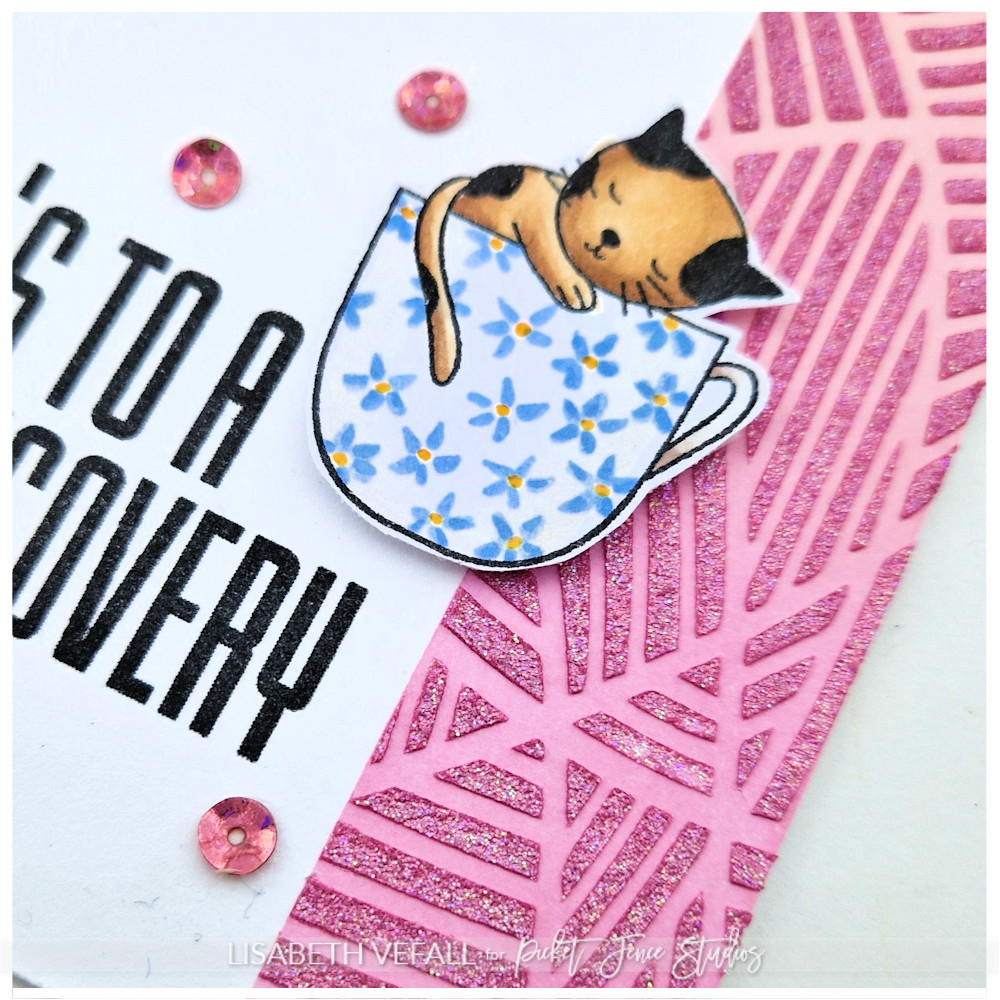
You can see how the glaze is raised off the card base and that it is quite glittery.
Here you can see the great sparkle and shine in the glaze. Isn’t it pretty? I love it and I don’t even normally like adding sparkles to my cards! You can also see how beautiful the sequins are!
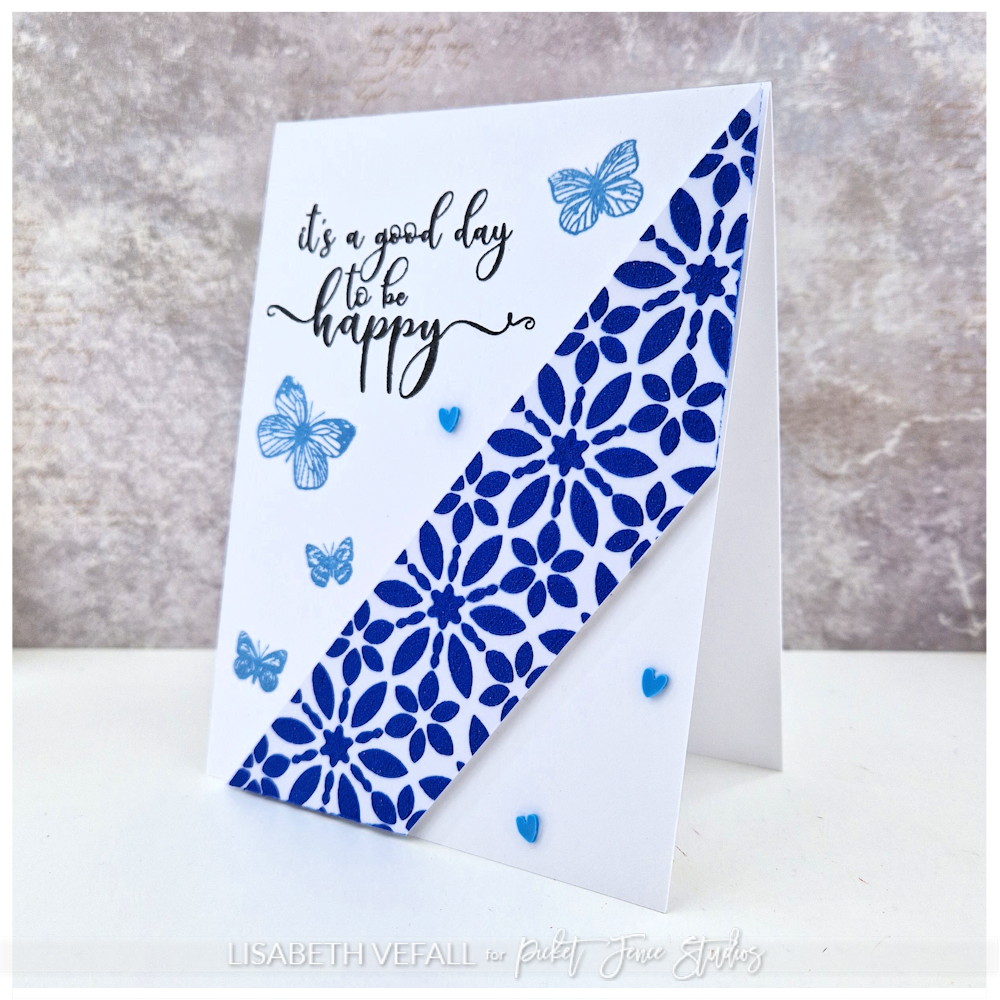
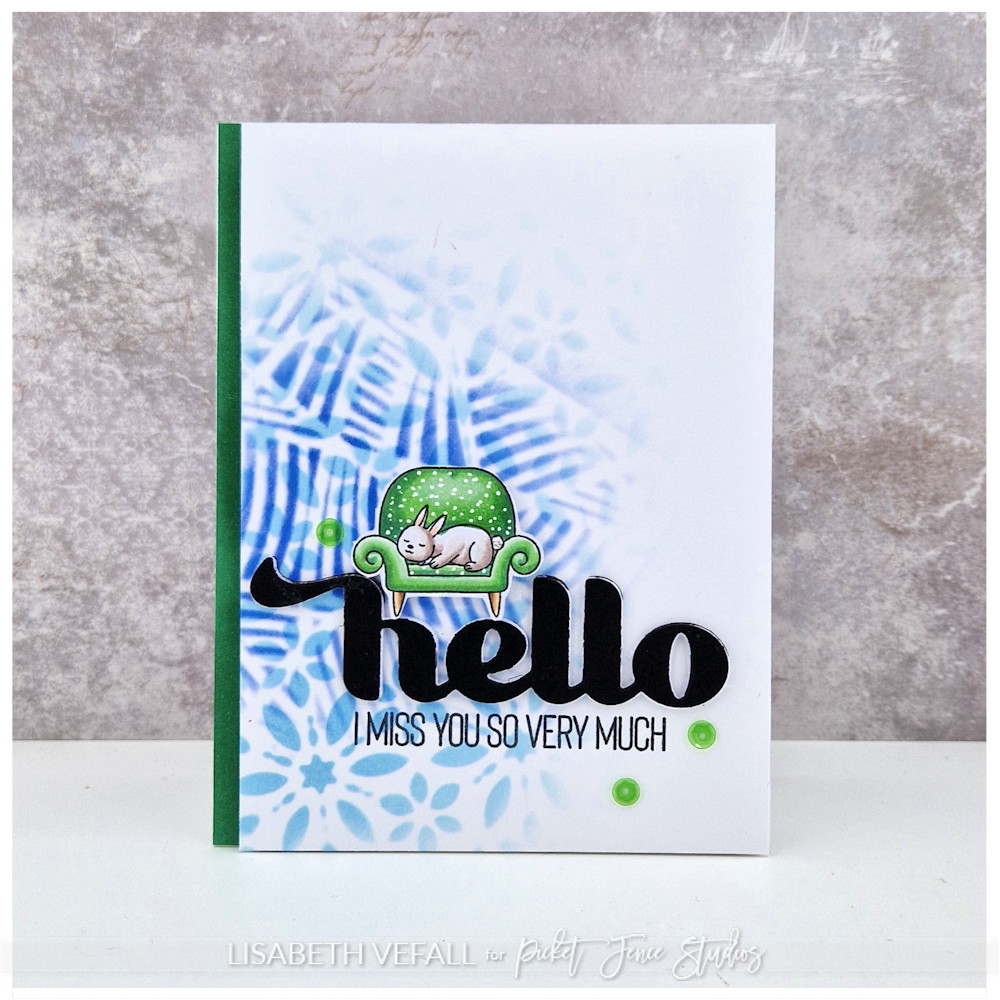
Why stop at two cards, right? Of course I had to make one with my usual “mash up” as well. I’ve used both of the above stencils, Slim Line Flower Burst and Pathways 6×6, for this together with two different distress oxide colours. I used a different stamp from the Animal Crackers Caring Friends set and popped it up on foam tape over a hello die cut, from the Double Stitched Layering Rectangle Dies set, which is like six die cuts glued together for dimension. I coloured up a small paper strip to match the green chair and finished off with a smaller stamped sentiment from the same Animal Crackers Caring Friends set and some sequins from Chicks in the Grass embellishment jar.
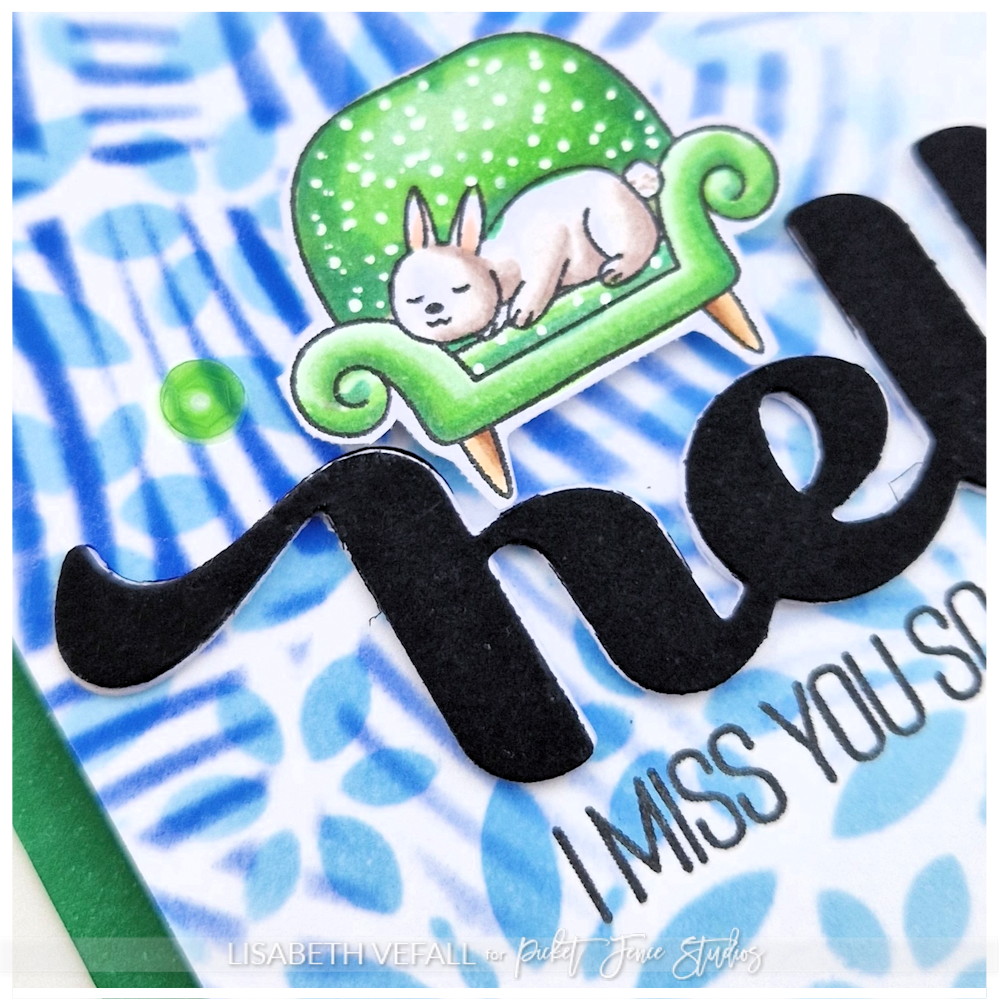
Here is a close-up of this card as well!
Here are links to all the products used for the above cards: