Hello Butterfly

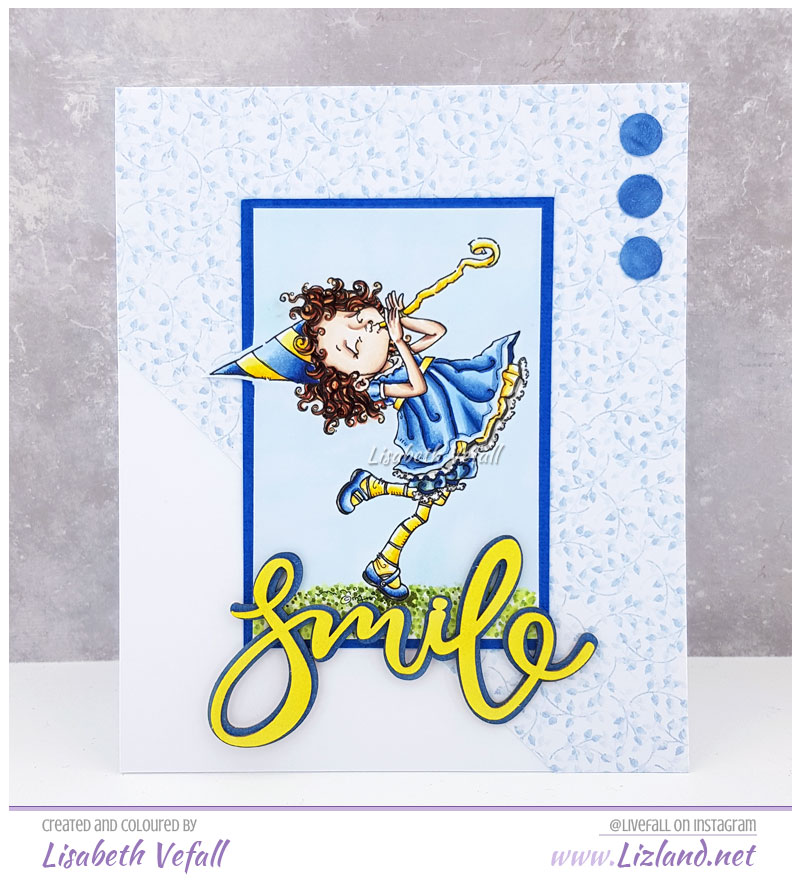
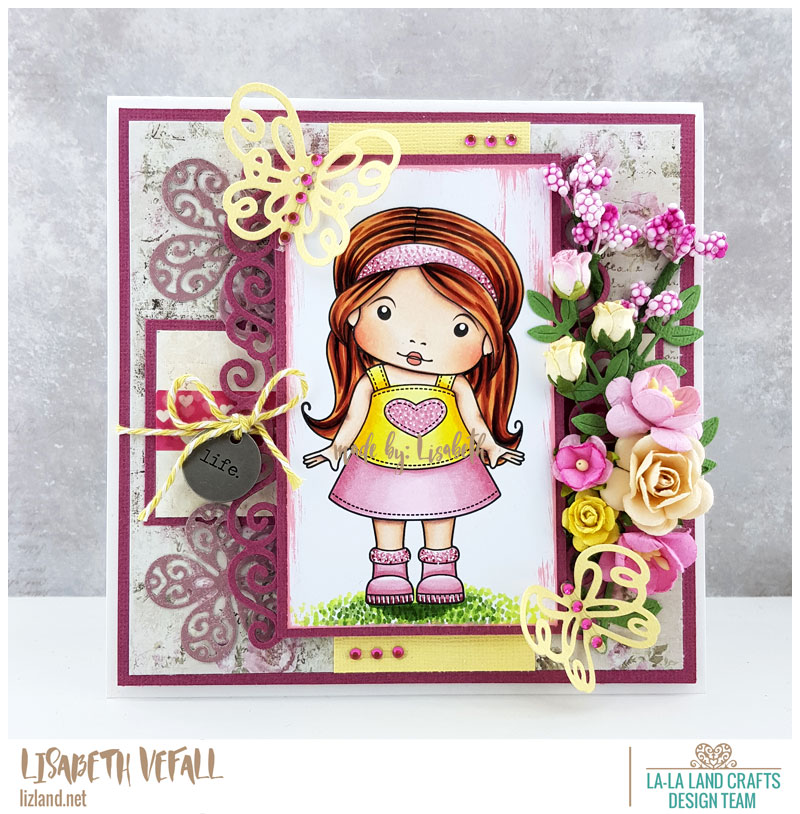
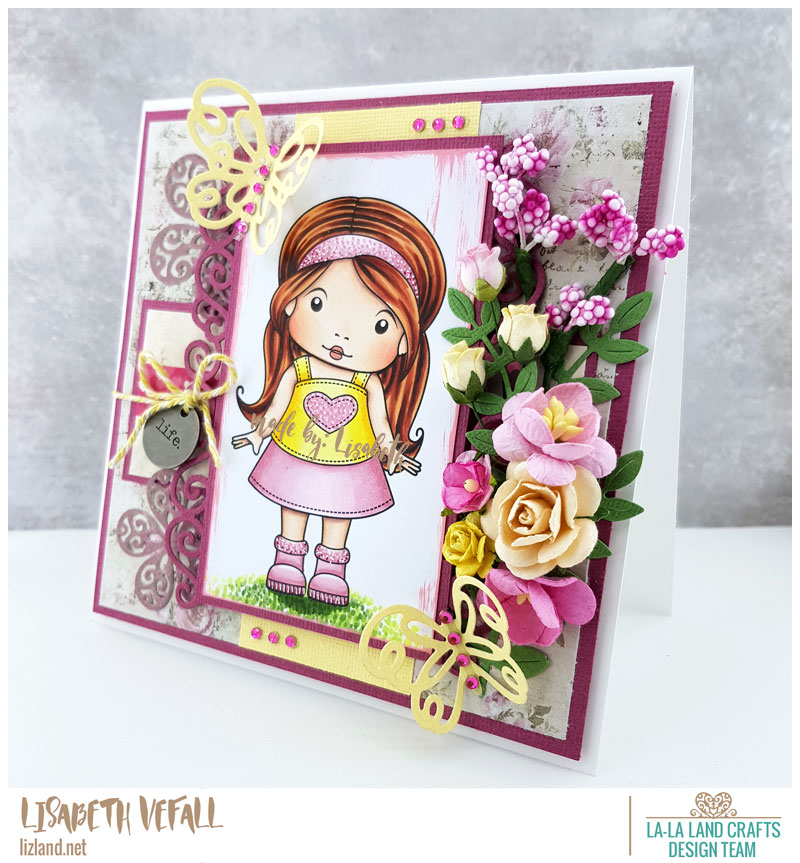
I’ve had so much fun making backgrounds with the new background stamps from La-La Land Crafts. For this card I’ve used the one called Just for You. I think it is my favourite! I love how the pattern looks and that I can have it any colour or colour combination I want. I definitely need more background stamps!

Additionally I’ve used a Magnolia stamp which I’ve coloured in with Copic Markers, chipboard from Make It Crafty and sentiment from MFT Stamps and some candi I coloured in a matching colour.

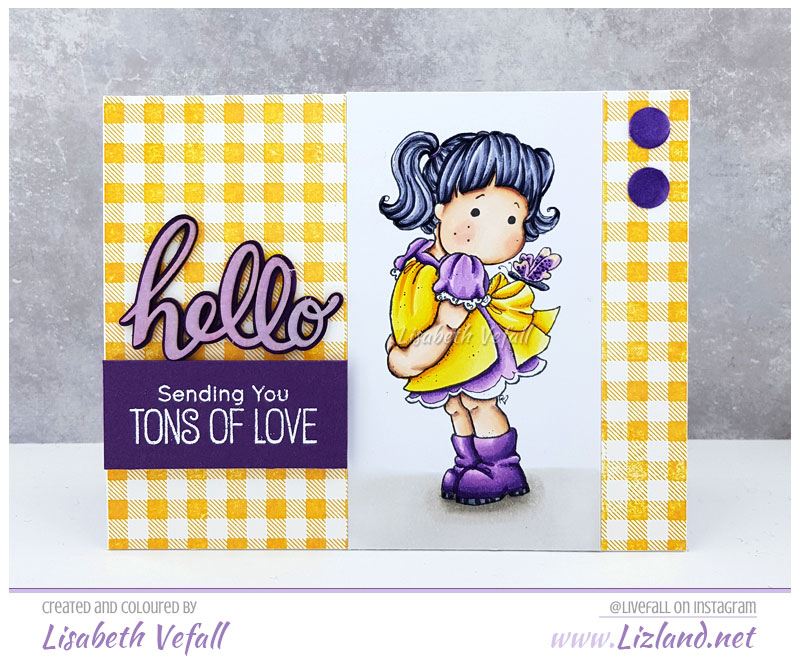
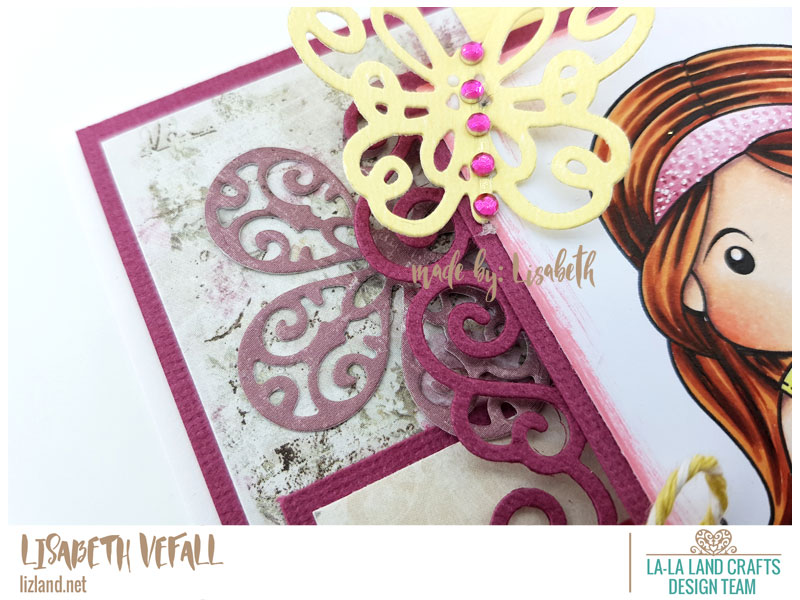
Here is a photo from the side. The sentiment has been put on foam pads and the chipboard is in two layers.

Copics used: (skin) E000, E00, E04, E21, R20, (hair) BV20, BV23, BV25, BV29, (purple) V12, V15, V17, V09, (yellow) Y11, Y13, Y19, Y38, (ground) W1, W3, W5

Bella Birthday

Today I am showing you card I made with a Mo’s Digital Pencil image called Bella Birthday. The girl looks perfect for a happy or celebrations card! I decided to keep it clean and simple again, so what I’ve used is paper from Lili of the Valley, chipboard from Make it Crafty.

And here you can see the card a bit from the side.

Copics used: (blue) B32, B34, B37, B39, (yellow) Y13, Y19, Y38, (skin) E000, E00, E04, E21, (hair) E08, E18, E19, E49, E97, (grass) YG13, YG61, YG63, YG67, G99

Thinking of you Marci

Another Monday, another La-La Lands Crafts day! It is getting pretty close to easter and I doubt I will have much time to craft over the next two weeks or so. For once I am pretty much on top of things, though. Go me!

This week our theme is Flowers. A good excuse for me to make a new cards with flowers on. You will find a list of products I’ve used with links to the items below the photos, above the list of Copics. I’ve gotten better at layering up cards again lately at least, not all clean and simple cards, but I am still not great at using flowers on a lot of projects. But here is one! The flowers are all from Wild Orchid Crafts and Live and Love Crafts, the papers by Maja Design and charm by Tim Holtz.

The leaves are pretty great. They cut wonderfully and you have one going each direction! Yey!

Here you can see how I’ve layed up the dies. First the Filigree Flower under the image, then the Deco Border around the image itself, and lastly the butterfly on top.

I love these butterflies! I’ve given them a prominent body with a string of pearls.

Here is one final photo of the card from the floral arrangement side.

Stamp:
Thinking of You Marci

Dies:
Two Butterflies
Deco Border
Two Branches
Filigree Flowers

Copics used: (skin) E000, E00, E02, E04, E13, R20, R22, (hair) E08, E18, E19, E49, E97, (clothes) R59, R81, R83, R85, Y11, Y13, Y17 + white gel pen, (grass) G99, YG61, YG13, YG63, YG67

This card has been entered into the following challenge:

Deep Ocean Challenges – Spring/Easter

Clean, simple and yellow.

I’m joining in with team 1 this month for our new moodboard challenge at Copic Marker Norge. I have been quite heavily inspired and had some random impulse to just try to make most of it myself.

It is funny really… yellow must be the colour I use the least when I craft. I don’t really like it. But this, this I can live with. I think it turned out quite cool!

I’ve drawn in the background with a Copic multiliner 0.1 black. I went with the patterns and feeling I got from the moodboard. (You can see the moodboard here.) I ended up drawing tons of little lines and it was actually fun! I think I will practice this and try it again. After colouring in the border on top I coloured in the yellow with Y11 and coloured in a couple of candi to match (100 and BV25). I then drew three lines across at the bottom and then started filling it in with loads of little lines before I decided to make the bottom part of the card yellow as well.

Before I glued on the image and the candi, I printed out the sentiment I made on the PC straight onto the card base I’d coloured up. Thankfully I managed to get it where I wanted it… that could have ended quite badly, haha. Now I just need to pick out a thicker multiliner next time I am the shops so I don’t have to colour in thin lines again!

The image I’ve coloured in is by The Greeting Farm. This is the first time I’ve made a card with one of their images. Cute one, right?

Yesterday, my boyfriend made me a new box to take photos in, and I LOVE it! I can now have a background behind the photos to make it easier to see the edges of the cards as well as taking photos of the cards a bit side on. Doesn’t it make the photo look great?!

And now I can also take the photos like this! Yey!

Copics used: (skin) E00, E02, E04, E13, E15, (hair) B60, BV23, BV25, BV29, (clothes) Y11, Y13, Y19, E97, W0, W3, W5, (self-made card background: Y11, 100, multiliner)

Wryn fairy

Did you see the new release over at Tiddly Inks? There are so many cute ones and they have even got a few brand new clear stamps! Yey!

One of my favourites from this new release is the little fairy! The image is called Magical Day. I decided to doodle a bit on this one and gave her a striped top so she looks a little like a bee fairy! I also embossed the wings with gold glitter and white after colouring them yellow to make them sparkle.

It’s not a big surprise anymore than this is yet another CAS card. I made the background with a Tim Holtz stencil, some distress oxide inks and gold embossing powder. The butterfly is also coloured with distress oxide and cut out with a Precious Marieke die. I printed the words “my friend” onto the card base and then embossed a Little Birdie text stamp in white.