I had fun playing around with Distress Oxide Inks again. A couple of pink shades this time. I did a random circle and a strip on the side which I then doodled around using my Copic multiliner and then I added some white dots in various sizes using a sharpie marker. I then drew up some dots on the top and bottom before adding my bear and sentiment to it. I coloured up the cardstock for the die cut in a matching colour as well. The die and the bear are both MFT Stamps..
Tag: cake
Black, white and more cake
It is time for a new challenge over at Copic Marker Norge. As usual, our theme of the month is Anything Goes, and the DT have been challenged to make their projects on a certain topic. This time it is black and white, or sepia. I’ve opted for a clean and simple black and white card. I’ve used a stamp from Mo’s Digital Pencil, text stamps from Neat and Tangled and MFT Stamps and a die cut from La-La Land Crafts. I’ve drawn in the borders to have an extra design element on my card, which I decided to make as a bit of a wider rectangular than I usually do.
Copics used: N0, N1, N3, N5, N7, N9
Cake? Did someone say cake?!
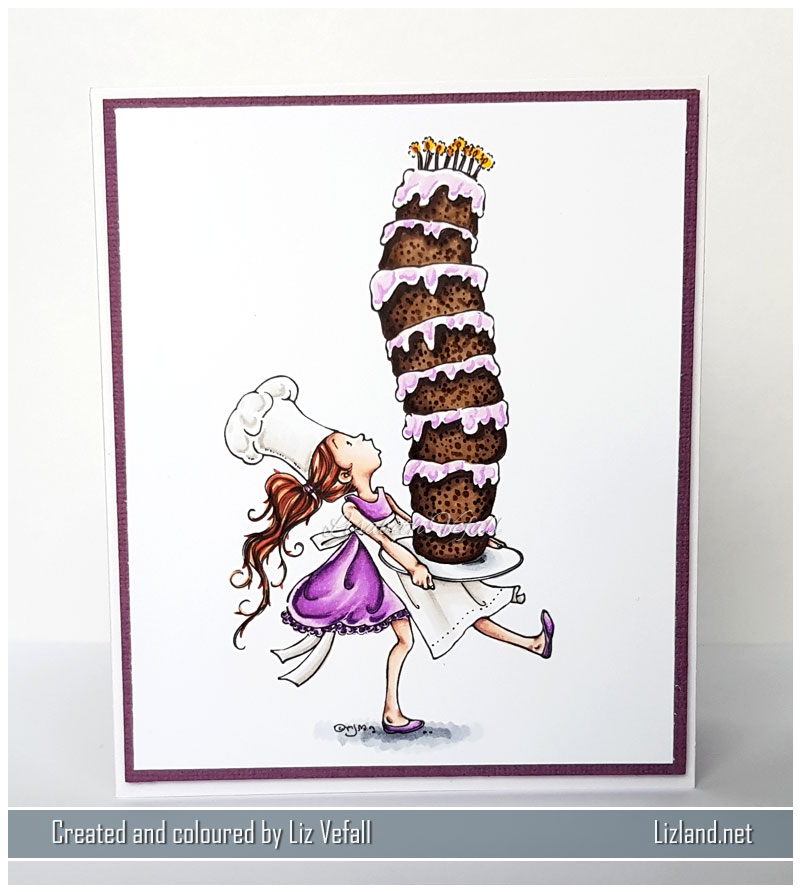
Maybe there’s been too many Christmas cards on my blog lately. I can assure you that there are plenty more to come at least. So why not break it up a little with a cake? A massively huge chocolate cake at that.
The image is by Mo’s Digital Pencil and to no one’s surprise it was coloured in with Copic markers. It ended up as yet another CAS card.
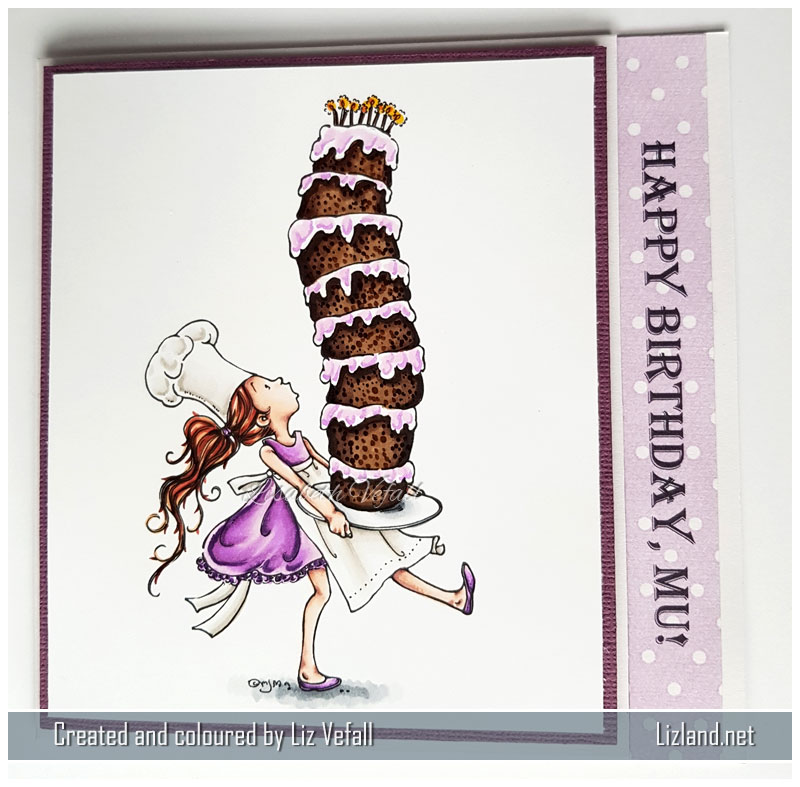
This is how the card looks when stood up, open.
Here it is laying down. I added the strip of paper with printed text just on the side inside the card so the inside part is slightly wider than the front is.
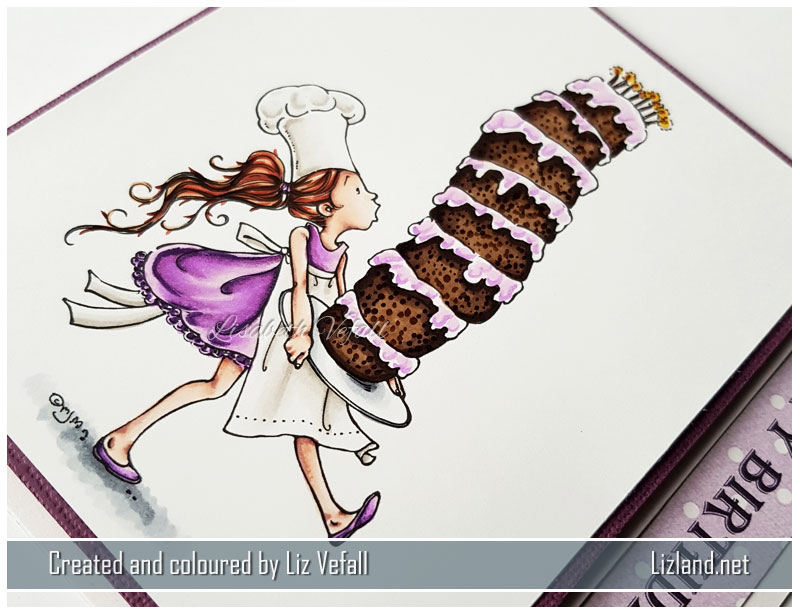
At a different angle as usual! And a little closer…
Copics used: (skin) E000, E00, E04, E11, (hair) E08, E18, E19, E97, (white) W0, W1, W2, W3, W5, (ground) C1, C3, C5, (dress) V01, V04, V06, V09, (cake) V01, E43, E47, E49
Tall cake
I’ve been enjoying colouring up images by Mo’s Digital Pencil the past couple of weeks. This tall cake one I bought specifically to use for a couple of birthday cards I had coming up. Isn’t she the best?!
For the cake my sister insisted I needed to have some glitter. I used mostly transparent glitter, but with a bace layer of R00 and R12. As you can see from the colour list below, you don’t need to use a lot of Copics to colour up a pretty image and make it into a card. This time I stuck with just 2 colours for most of it, sometimes 3 if I was colouring up bigger areas. It was fun colouring up a lighter image again after the very bright contrast ones I’ve done in the past few blog posts!
I’ve used a fair few dies on this card: butterfly and leaf die by Precious Marieke, border die by La-La Land, alphabet die by Kaboks and gratulerer by Papirdesign. The flowers are as usual by Wild Orchid Crafts. And I used a bit of white acrylic paint around the edges of most elements.
Birthday cake
I have lost my motivation, completely. I have managed to make a handful of cards the past month, but that is about it. I’ve not felt like updating the blog, even though I have had photos ready to put up. However, it is time to snap out of it and carry on. So here is another card.
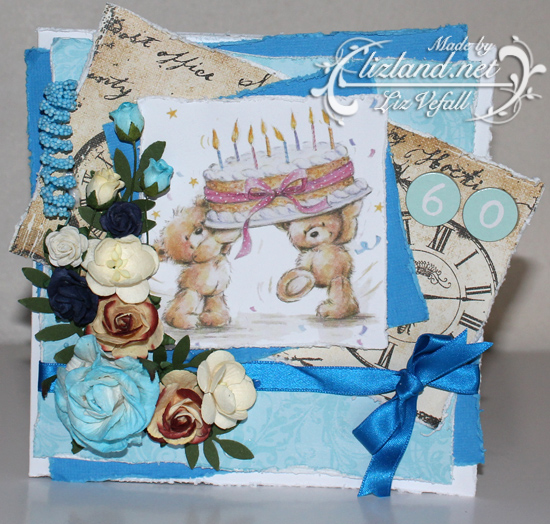
I have used a pre-coloured topper by Lili of the Valley, as well as lots of flowers from Wild Orchid Crafts. Most of the other stuff is bits I have had laying about for quite a while, and lost the lables a long time ago.