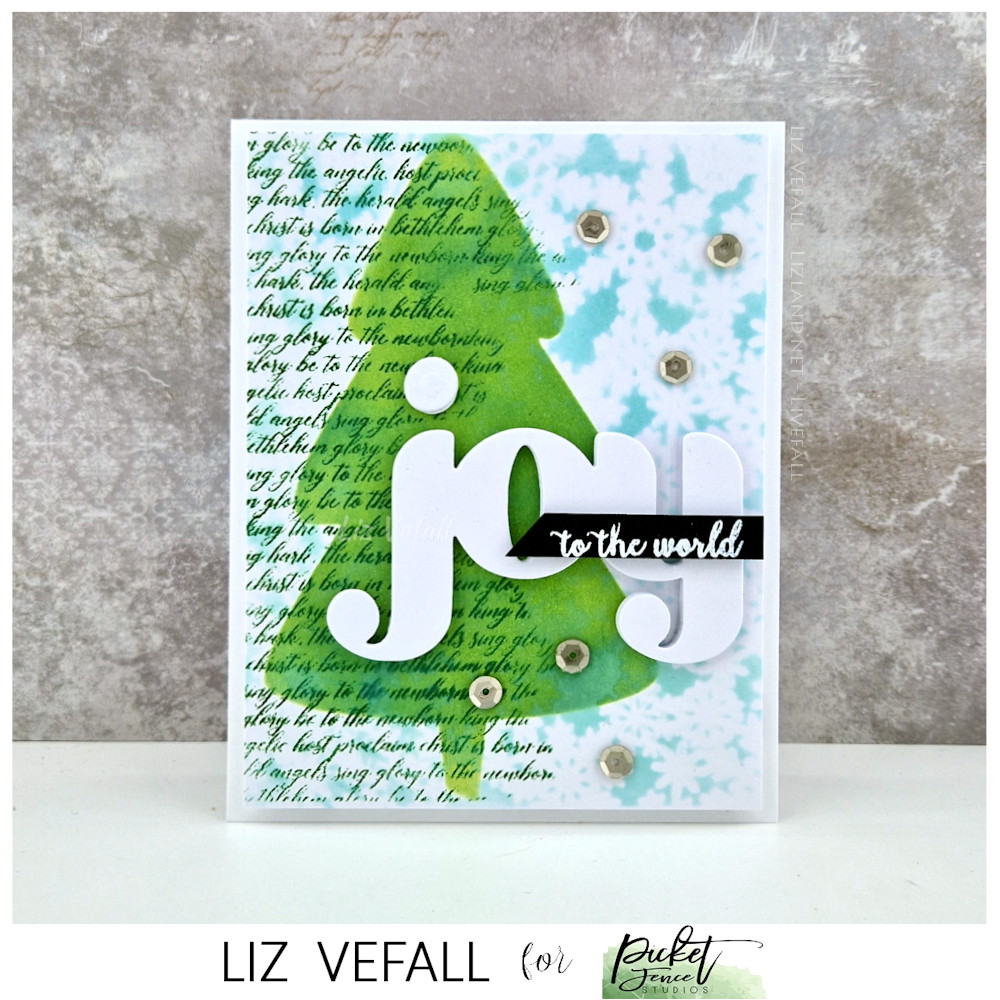
Picket Fence Studios (this and all following links are affiliate links) is out with one massive release. It’s very spooky and autumn themed, and it also has quite a few florals. Isn’t that just perfect? I’ve actually chosen to play with stencils, die cuts and colours for my release cards this month. First I will show you this spooky house card and tomorrow you will also find a witch card on the blog!
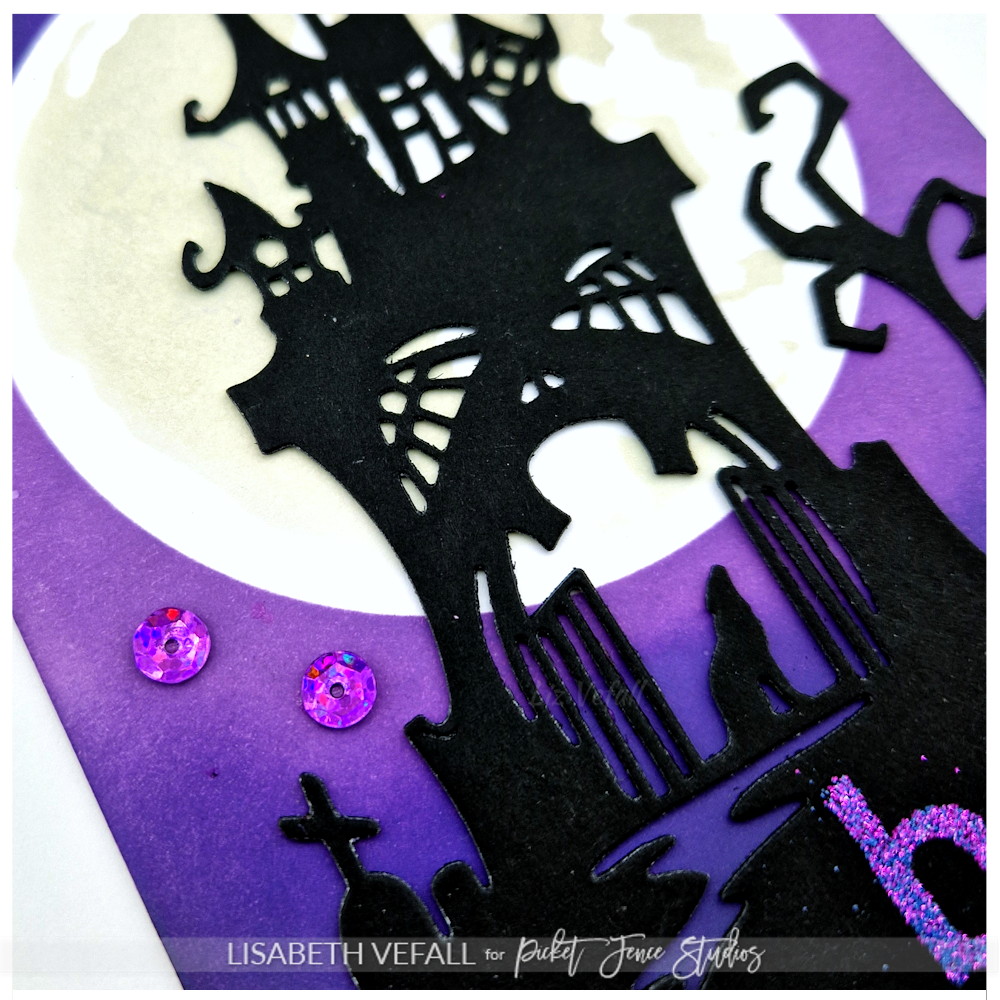
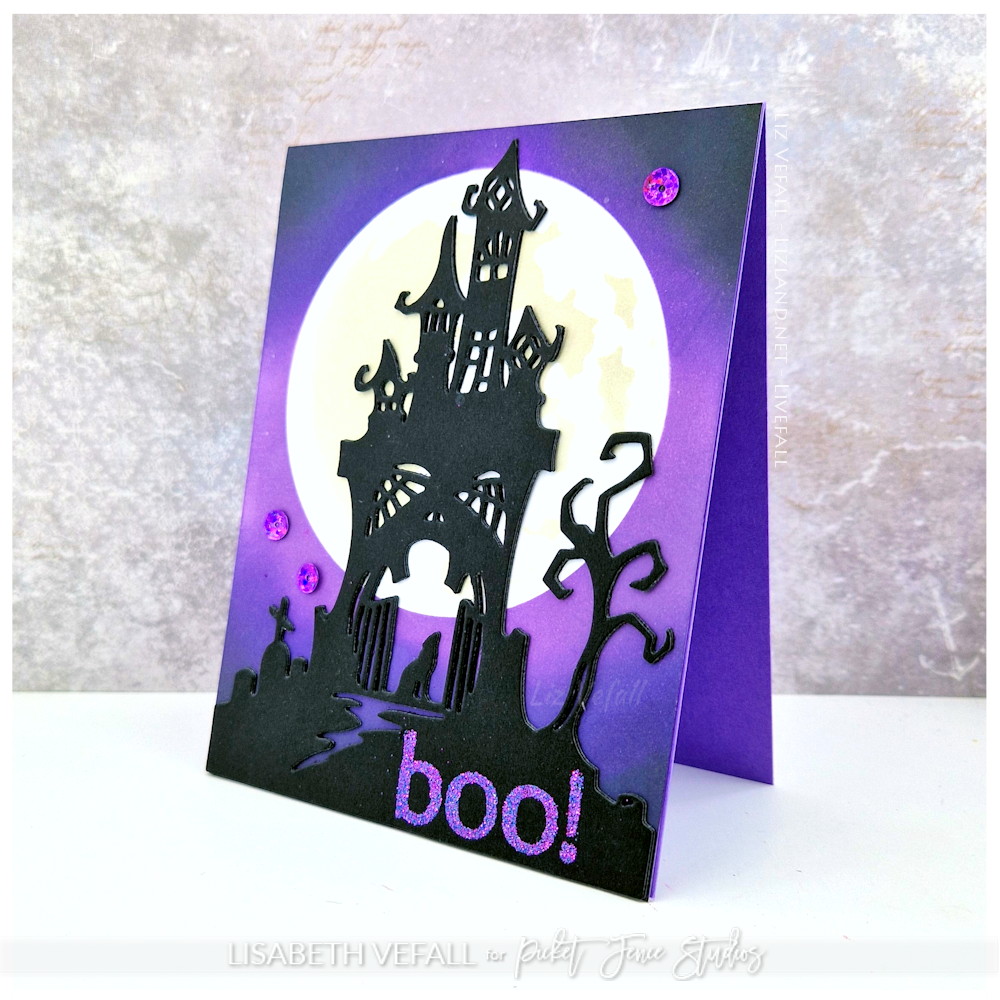
I started by ink blending the background by covering the area for the moon so it would have any ink on it. I ink blended straight onto the card base and made sure it covered well all the way to the edges. Then I used the Haunted Moon blending stencil and a pale coloured ink to make the moon. Later I die cut the A2 Ghost House cover plate die a few times and glued them together for dimension. Before gluing the top layer I embossed the Boo! sentiment. The sentiment is from the Ghosts of Halloween Past set. A few pretty purple sequins from the I’m Alive embellishment jar finished off the card.

Here is a side-on view of the card. You can see the house is raised from the background. That is because I have cut it out three times and glued them together.
And here you can see a more detailed photo.