It’s time for another card! But first off I’d like to mention the GREAT sale that is going on at Picket Fence Studios at the moment. 25% off everything lasts through today. Pop over to their homepage (this and following links are affiliate links) to start browsing your favourites! (Don’t forget to look at the tools section, Paper Pouncers and the free gifts!)
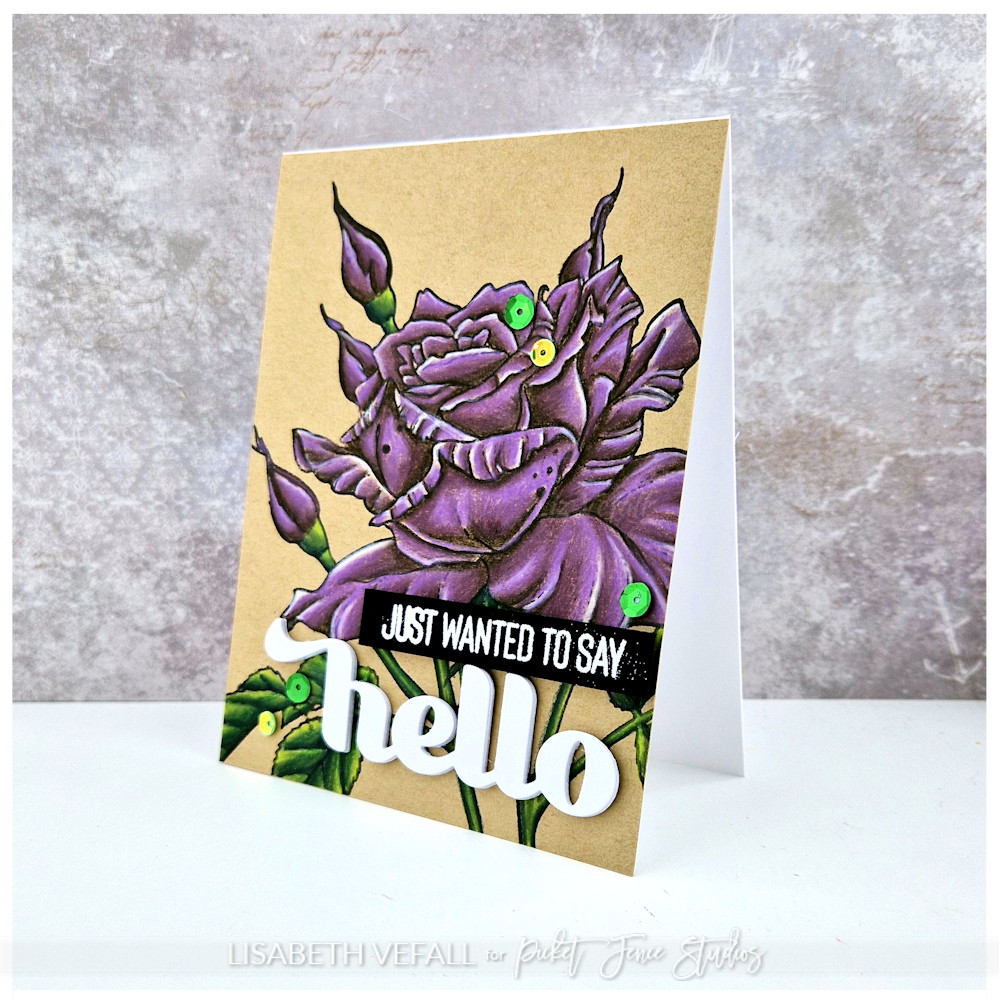
I’m back today with another throw back. This time I’ve coloured up the Budding Roses. Once again I’ve turned to pencils, mostly because I got some new ones that I wanted to try. I love the deep purple against the kraft card, don’t you?
I’ve used sequins from the Peacock Tails mix. The hello die comes with the Double Stitched Layering Rectangle Dies and the embossed sentiment is from the Tweet Tweet Friends set.

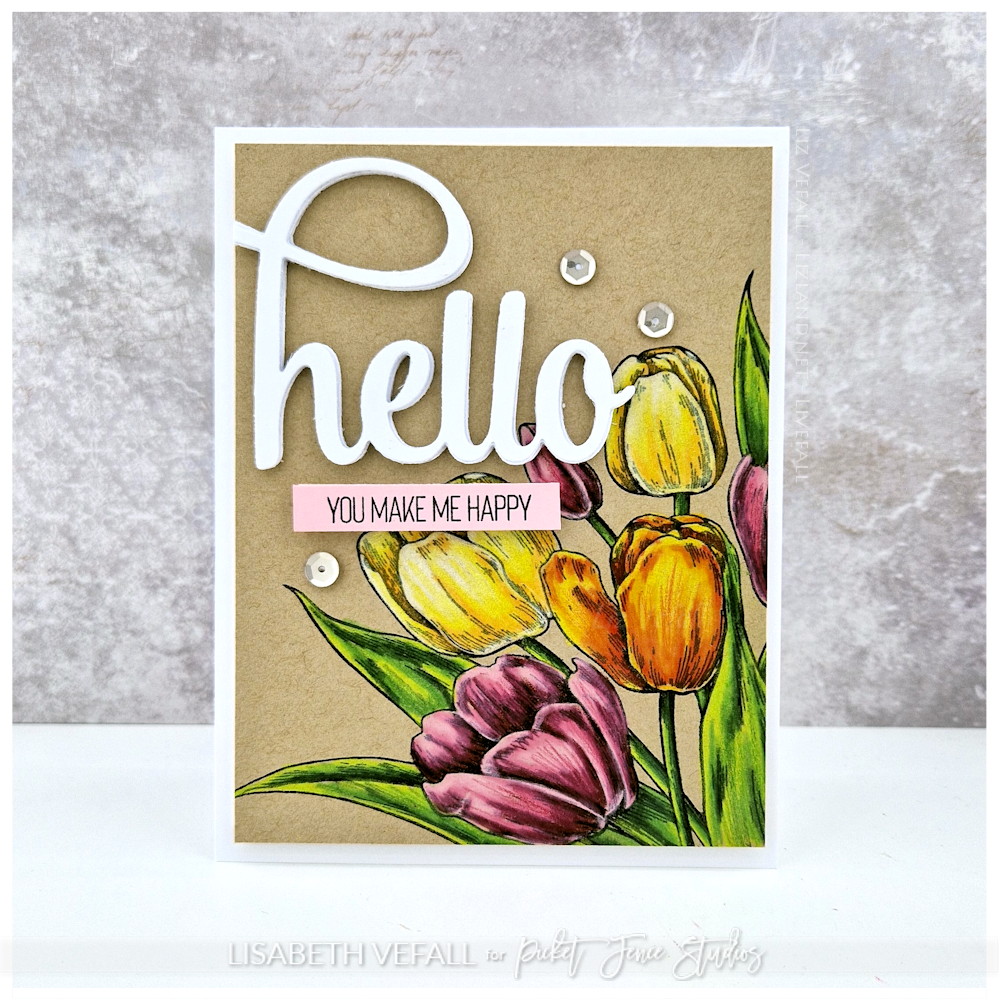
Here is another photo of the card